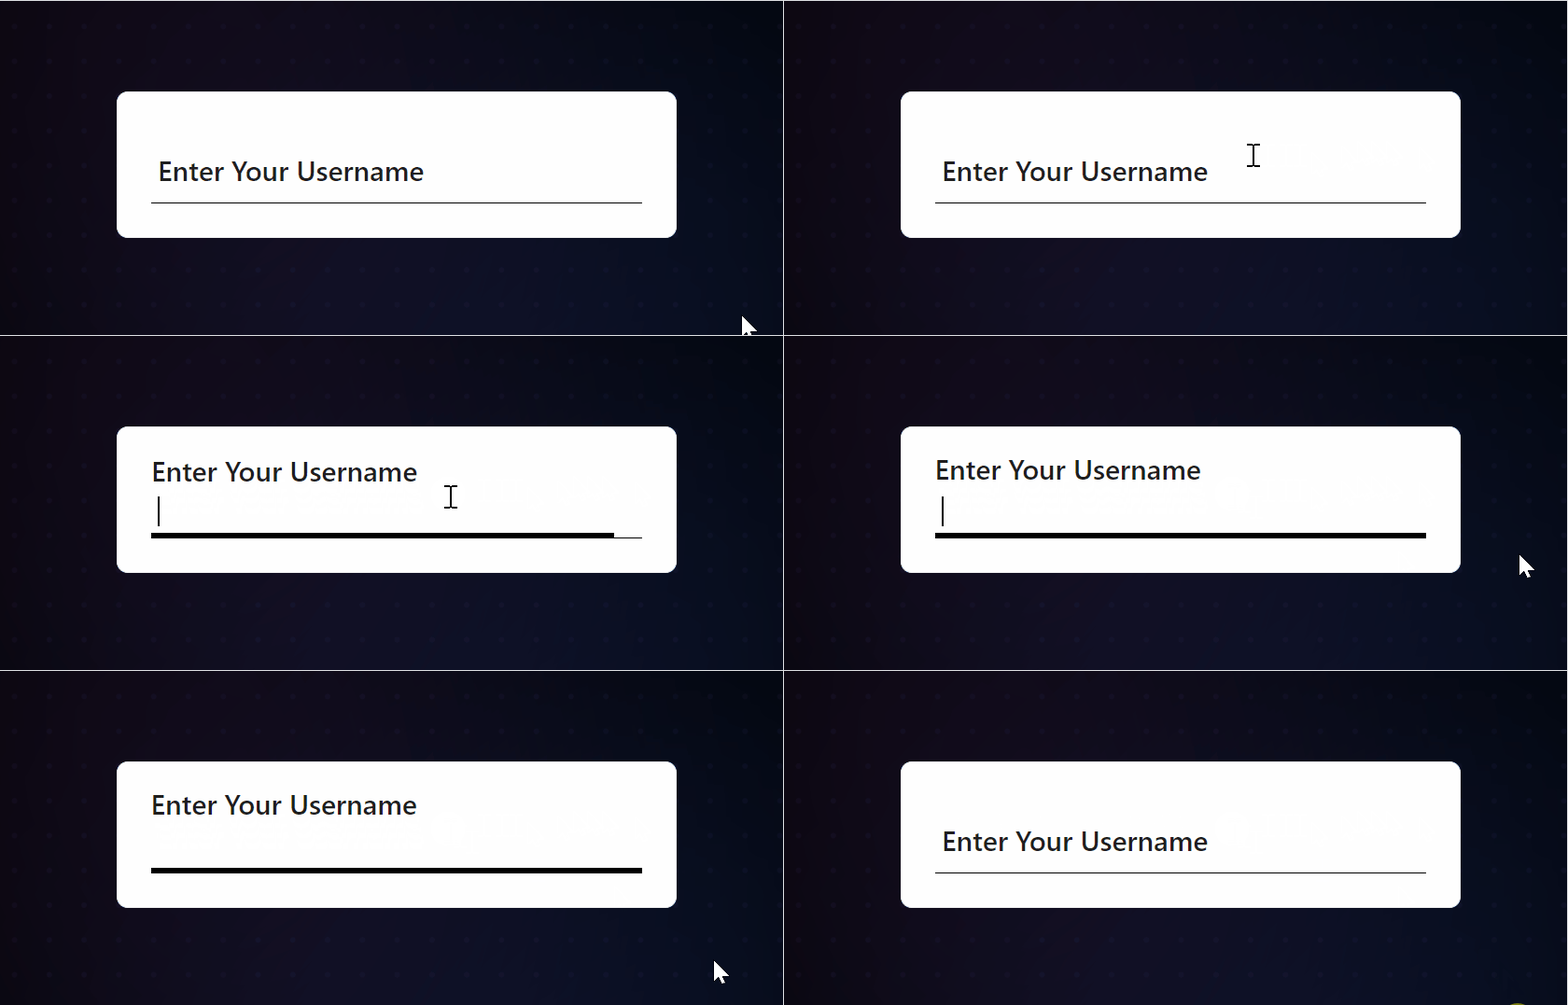
最近看到一个组件库叫做 Material-UI,它里面有一个 Input 框的效果非常有意思,效果如下
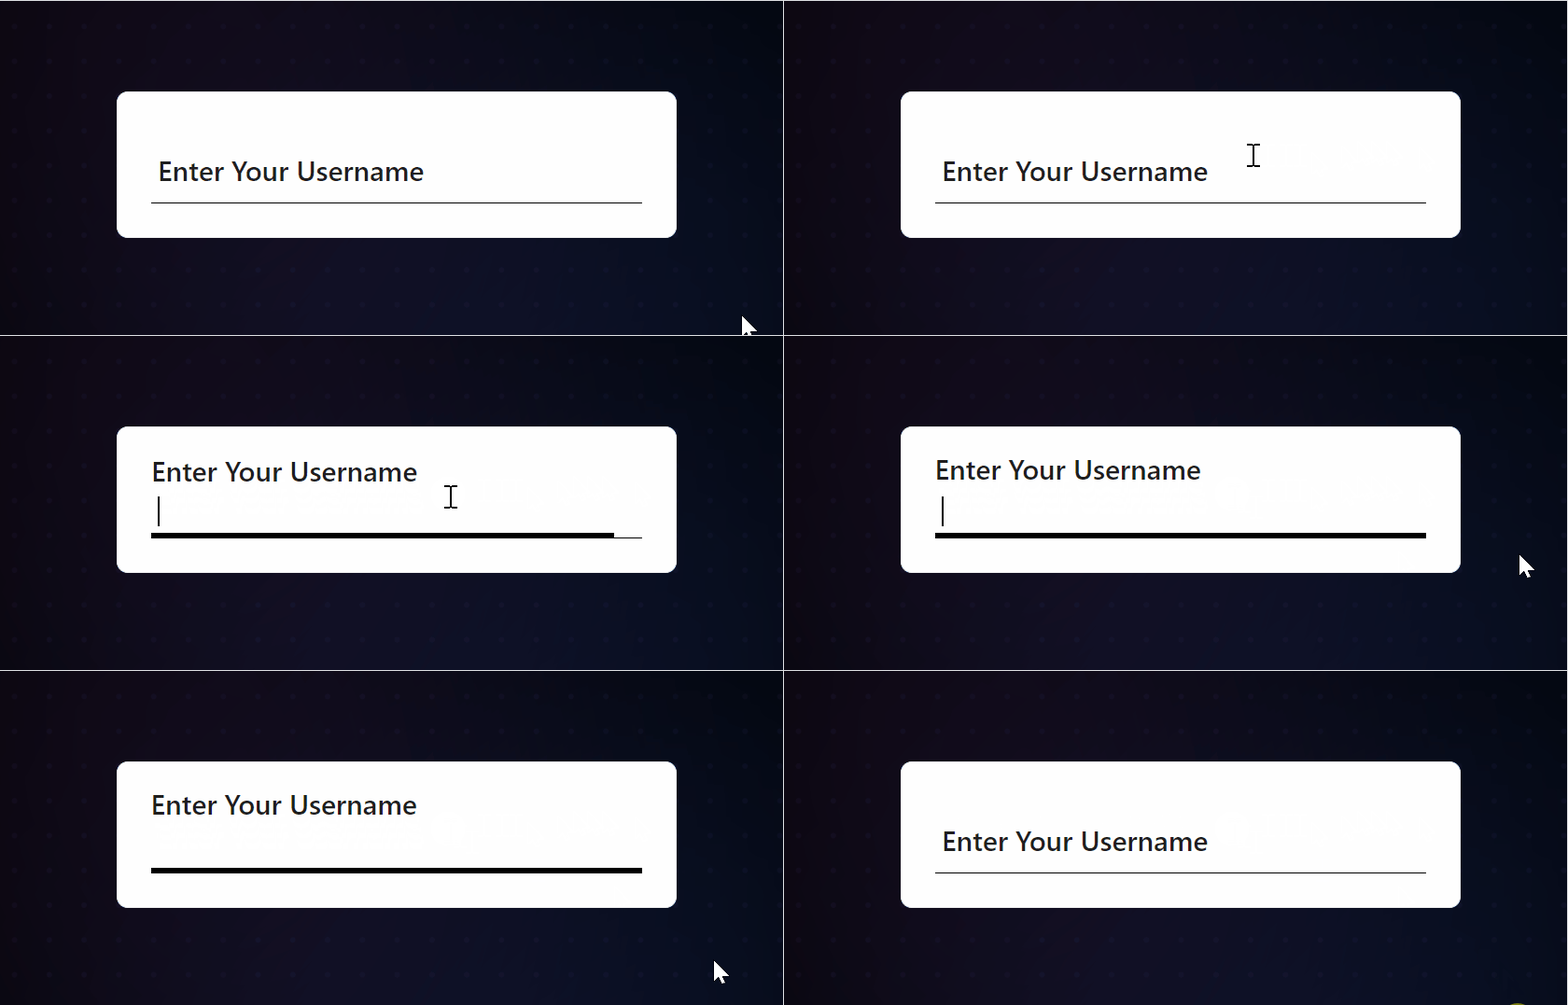 图片
图片
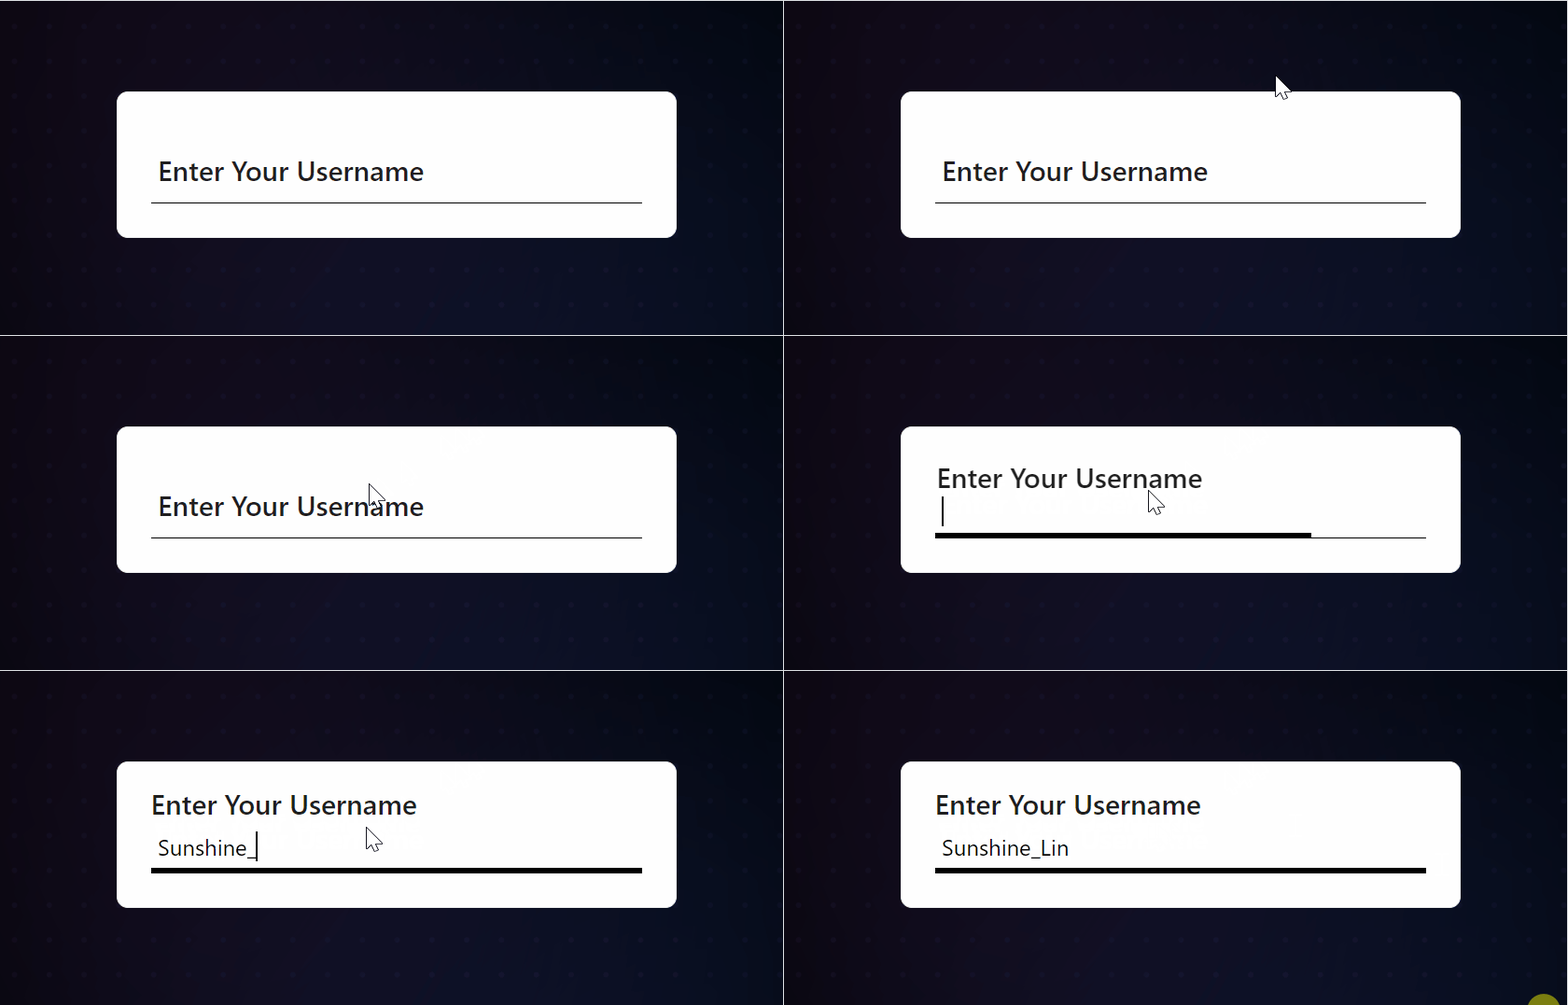 图片
图片
所以想自己实现一遍,并分享给大家~
基础组件代码
这个效果有两个动画点:
- 1、提示文本移动到上分
- 2、下方滑动条
提示文本可以使用绝对定位,将它移动到 input 的上方,并且要跟 input 的 placeholder水平一致。
可以先设置 input 的 placeholder,然后慢慢调整 top 定位,直到水平对齐,再去掉 placeholder。
至于滑动条,直接放置在容器底部即可!
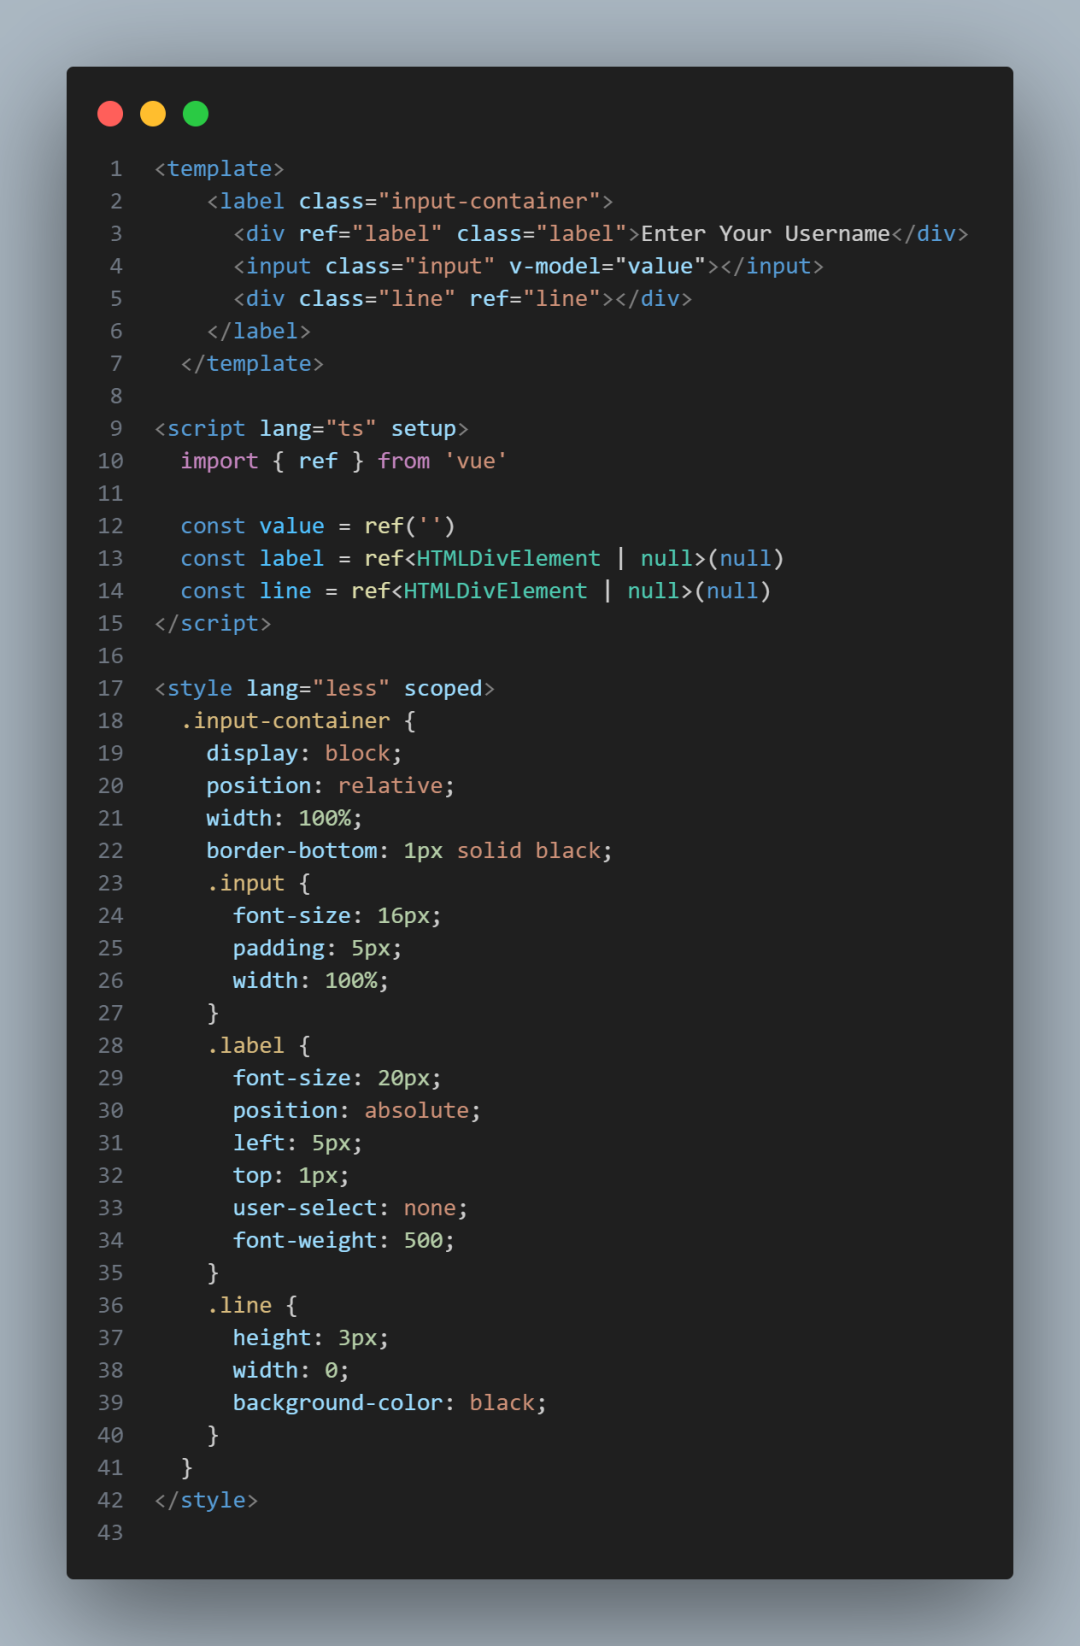 图片
图片
现在可以得到基础的组件效果。
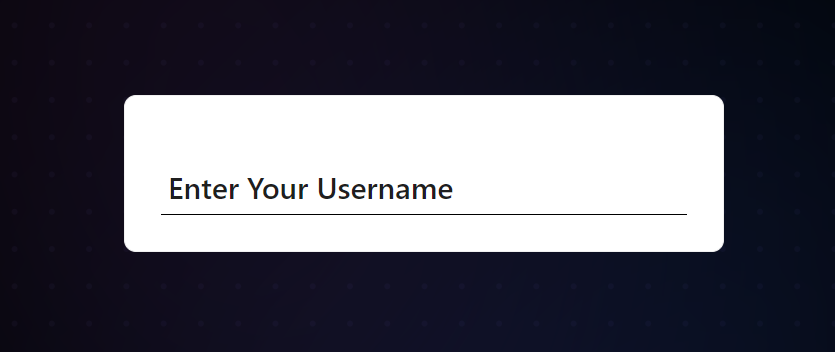 图片
图片
动画效果
两个动画效果:
- 1、提示文本移动到上分
- 2、下方滑动条
 图片
图片
这两个动画效果的触发时机都是:input 框聚焦的时候。
所以需要监听 input 的聚焦事件,去触发动画效果,第一个动画效果改动的是top: 1px -> -30px、left: 5px -> 0px,第二个动画效果改动的是width: 0 -> 100%。
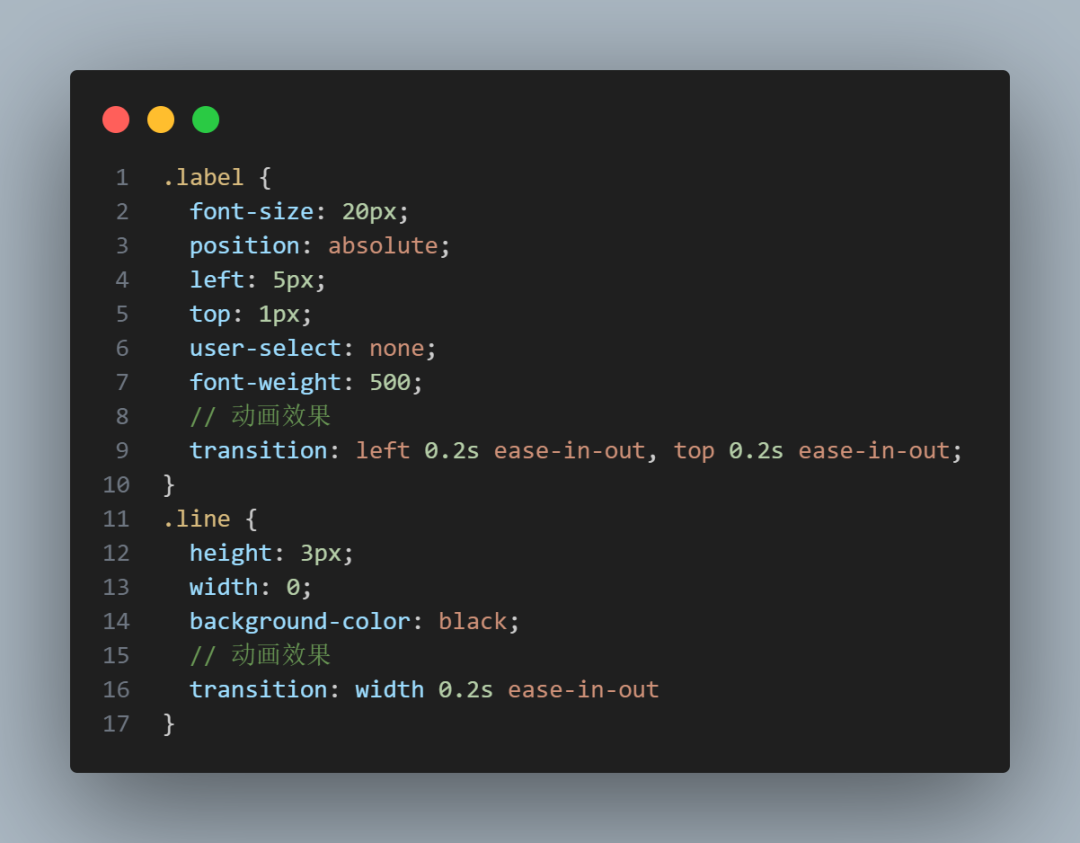
所以我们需要给这两个节点样式先设置对应样式的 transition。
 图片
图片
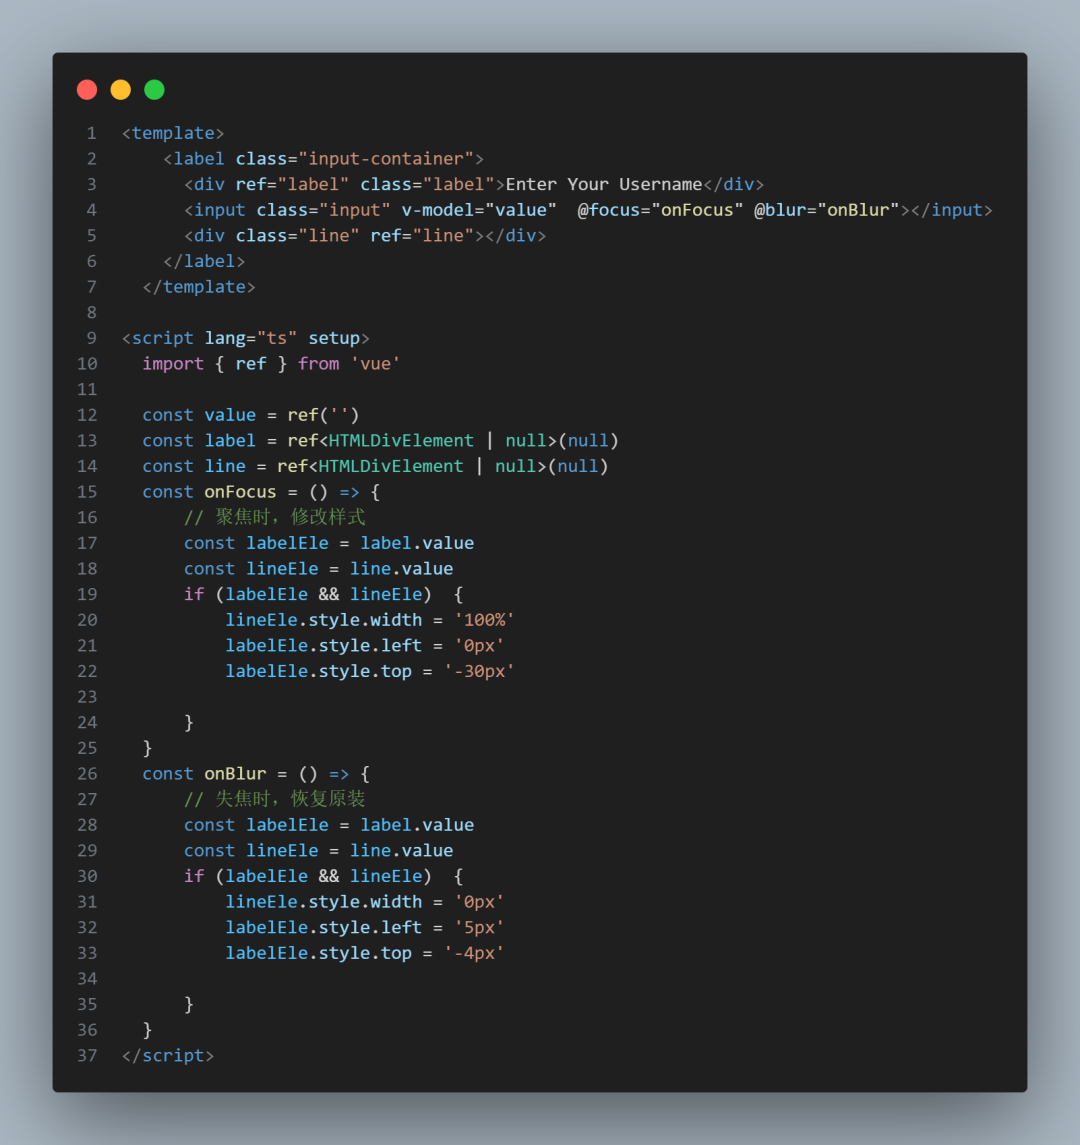
设置好transition就要开始去触发动画效果了,需要监听 input 的聚焦事件。
注意:失焦时需要恢复默认样式。
 图片
图片
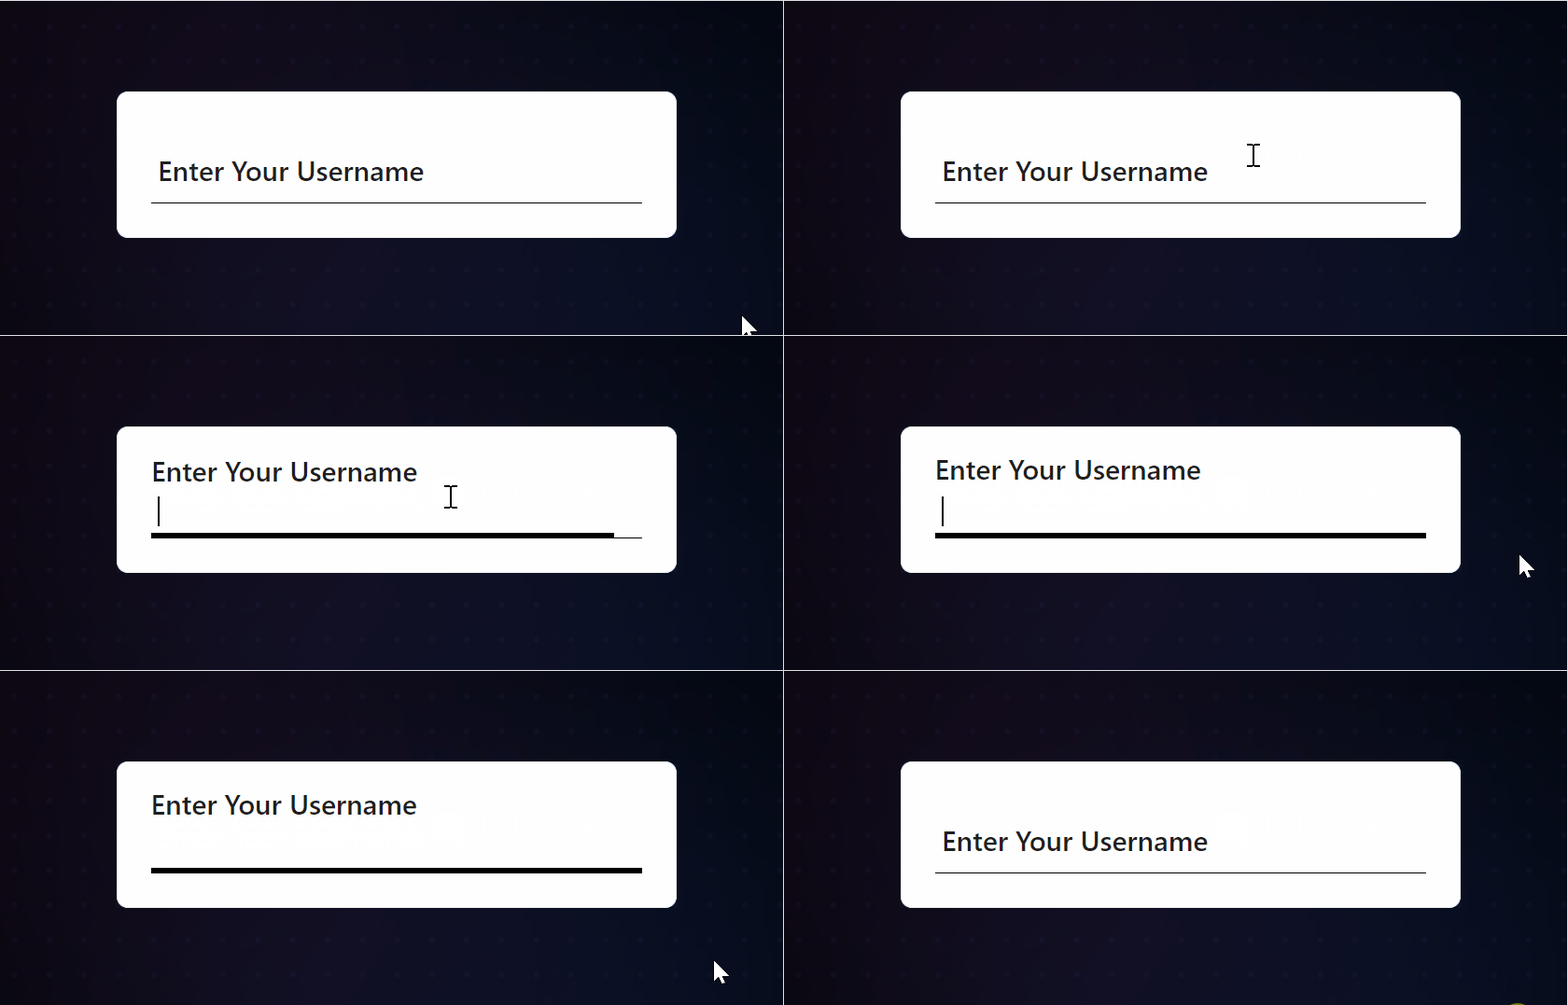
现在就能达到我们想要的动画效果了~
 图片
图片
检测 Input 的值
有一个小优化点就是,当 input 框有值的时候,提示文本不应该恢复原状,不然就会导致重叠效果,如下:
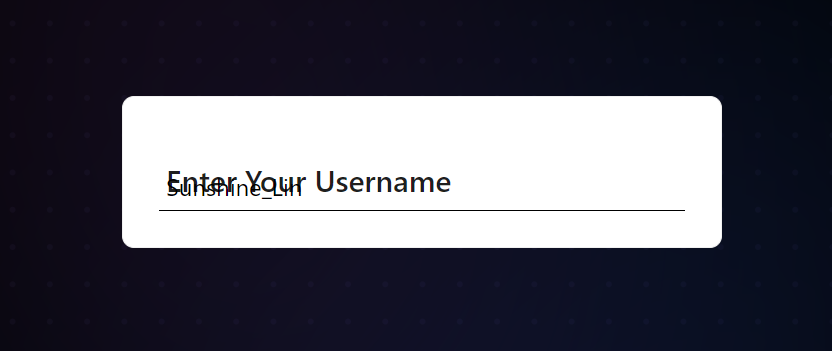
只需要在失焦的时候判断拦截一下即可。
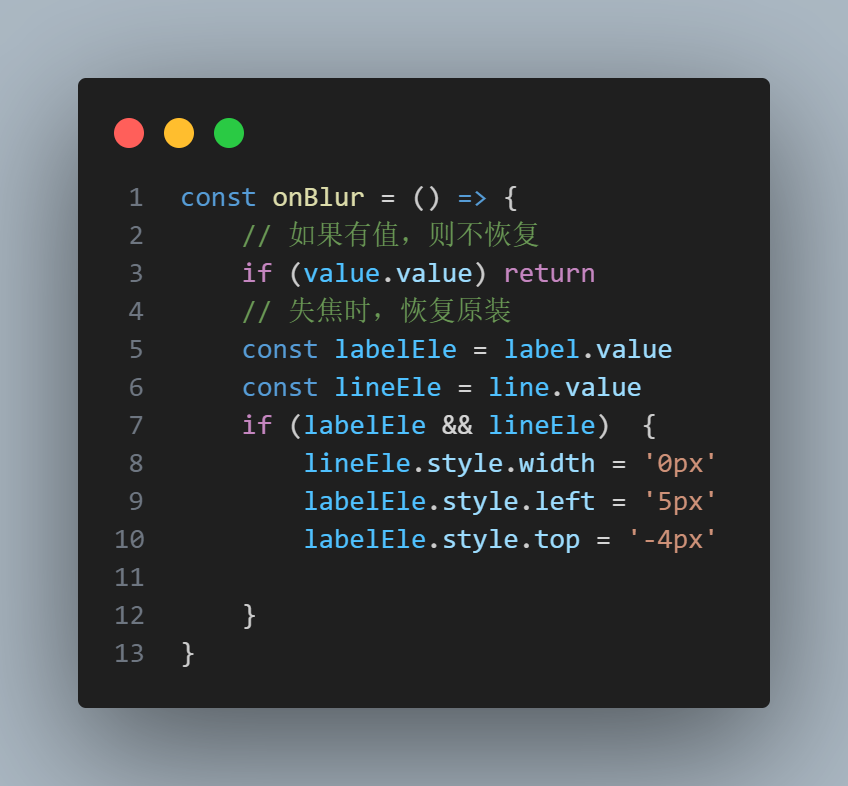 图片
图片
最终效果 & 完整代码
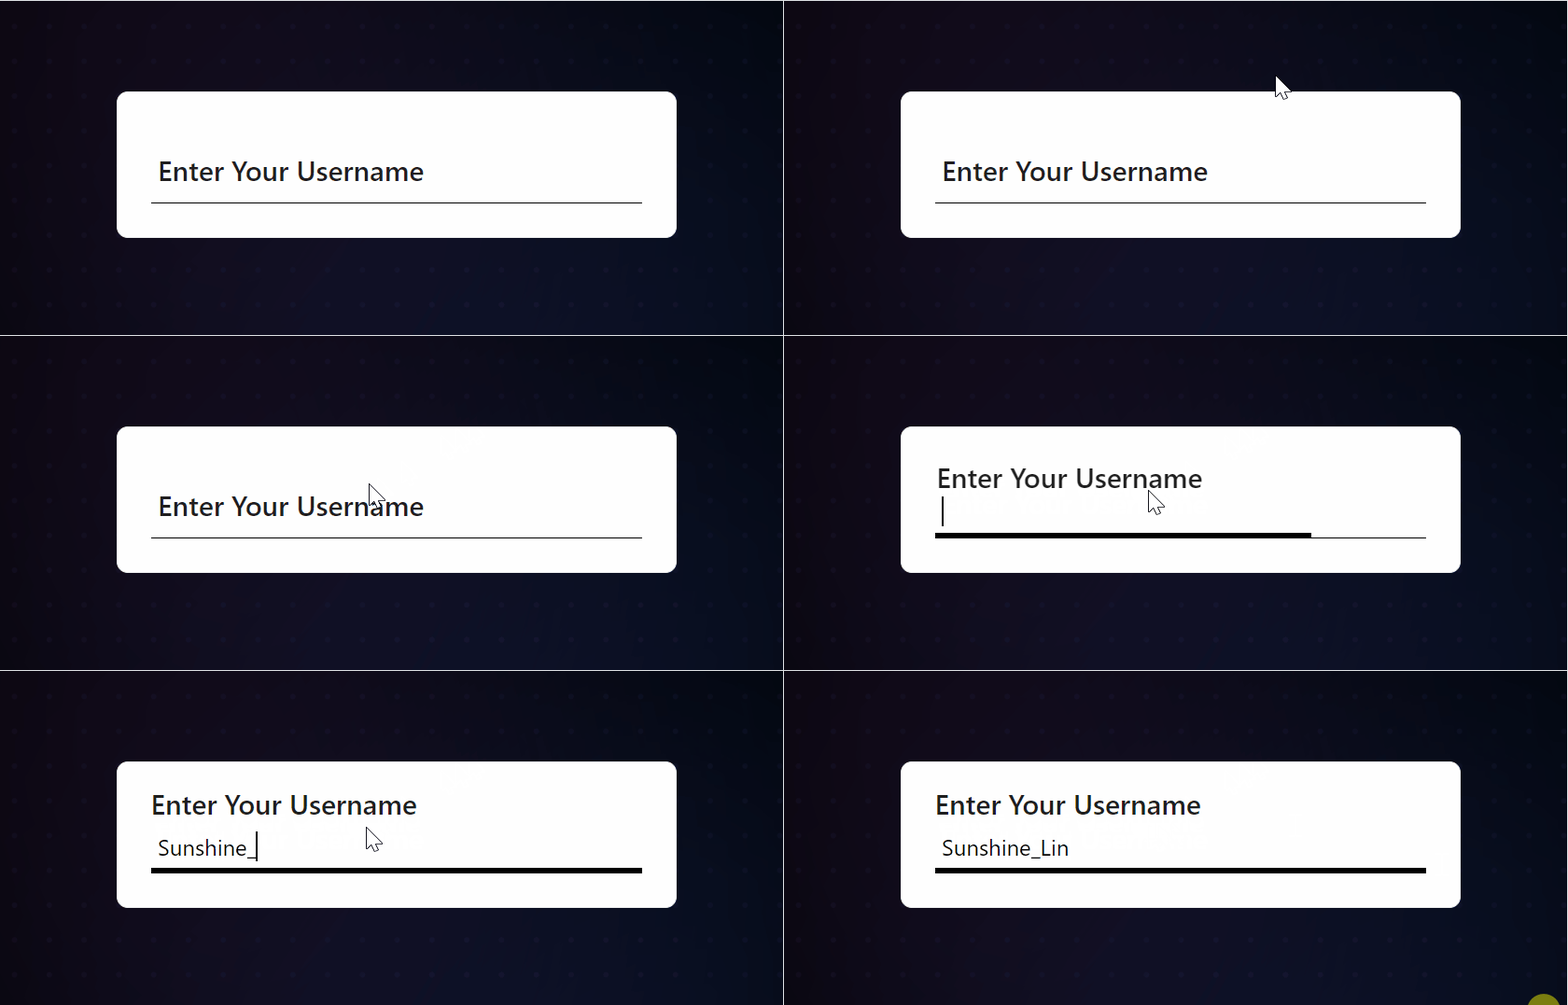 图片
图片
<template>
    <label class="input-container">
      <div ref="label" class="label">Enter Your Username</div>
      <input class="input" v-model="value"  @focus="onFocus" @blur="onBlur"></input>
      <div class="line" ref="line"></div>
    </label>
  </template>

<script lang="ts" setup>
  import { ref } from 'vue'

  const value = ref('')
  const label = ref<HTMLDivElement | null>(null)
  const line = ref<HTMLDivElement | null>(null)
  const onFocus = () => {
      // 聚焦时,修改样式
      const labelEle = label.value
      const lineEle = line.value
      if (labelEle && lineEle)  {
          lineEle.style.width = '100%'
          labelEle.style.left = '0px'
          labelEle.style.top = '-30px'

      }
  }
  const onBlur = () => {
      // 如果有值,则不恢复
      if (value.value) return
      // 失焦时,恢复原装
      const labelEle = label.value
      const lineEle = line.value
      if (labelEle && lineEle)  {
          lineEle.style.width = '0px'
          labelEle.style.left = '5px'
          labelEle.style.top = '-4px'

      }
  }
</script>

<style lang="less" scoped>
  .input-container {
    display: block;
    position: relative;
    width: 100%;
    border-bottom: 1px solid black;
    .input {
      font-size: 16px;
      padding: 5px;
      width: 100%;
    }
    .label {
      font-size: 20px;
      position: absolute;
      left: 5px;
      top: 1px;
      user-select: none;
      font-weight: 500;
    }
    .line {
      height: 3px;
      width: 0;
      background-color: black;
    }
  }
</style>


