为什么Tailwindcss在开发者中如此受欢迎?揭秘背后的原因!

开发 前端
在原子化 CSS 中,CSS 组件被拆分为更小的部分,这些部分可以独立地编辑、测试和重用。这些原子通常是单个像素或极其微小的变化,例如颜色、大小、位置等。

1.邂逅 tailwindcss

我们平时写 css 样式是这样的:

<template>
  <div class="zhifou">
    <p>好好学习</p>
    <p>天天向上</p>
  </div>
</template>
<script setup></script>
<style lang="scss" scoped>
.zhifou {
  margin: auto;
  width: 600px;
  height: 300px;
  background-color: blue;
  font-size: 20px;
}
</style>

后来随着前端技术的发展,原子化 CSS 出现了。原子化 CSS 是一种 CSS 框架。

在原子化 CSS 中,CSS 组件被拆分为更小的部分,这些部分可以独立地编辑、测试和重用。这些原子通常是单个像素或极其微小的变化,例如颜色、大小、位置等。

原子化 CSS 有助于减少代码量,提高代码的可维护性和可重用性。

原子化 CSS 写法:

<div class="w-10 h-10 bg-red-100 text-10">
    <p>好好学习</p>
    <p>天天向上</p>
  </div>

原子化 CSS 框架更像是一个已经封装好的 CSS 工具类。

例如:我们在类选择器中写了 w-[10px],原子化 CSS 框架经过扫描,将 w-[10px] 扫描成

width:10px;

也就是说,我们只要按照这个框架的要求去任意组合,框架最后一扫描,就能生成我们想要的 CSS 样式。这样会大大减少代码量,提高工作效率。

而本文介绍的 tailwindcss 就是市面上非常热门的原子化 CSS 框架。

tailwindcss 中文网
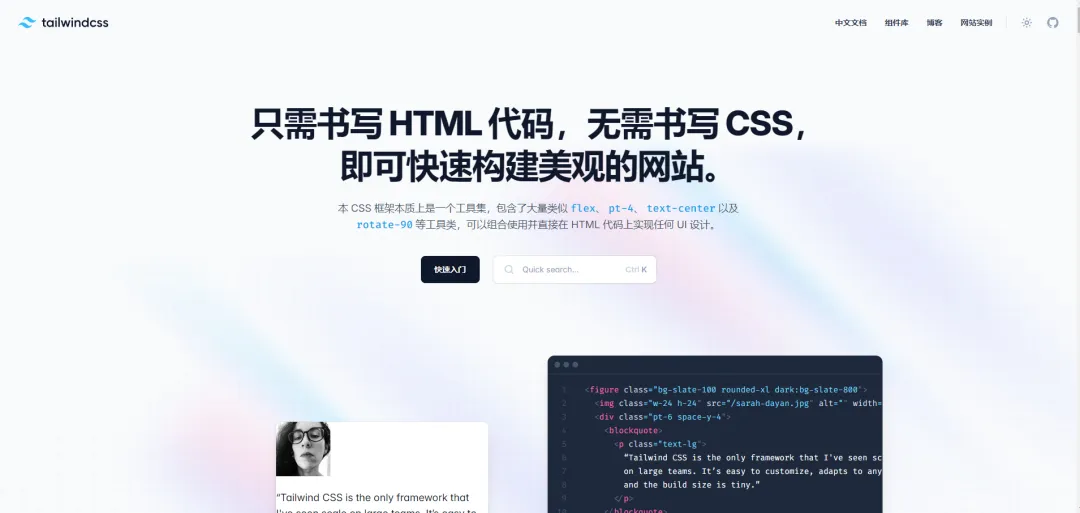
https://www.tailwindcss.cn/

图片图片

2.Vite 安装配置 tailwindcss

2.1 安装 tailwindcss

npm install -D tailwindcss postcss autoprefixer
npx tailwindcss init -p

其中第一行命令会安装 tailwindcss 的依赖

第二行命令会创建 tailwindcss 配置文件,包含 postcss.config.js 和 tailwind.config.js 文件。

postcss.config.js 主要用来给项目中添加 tailwindcss 的插件。

图片图片

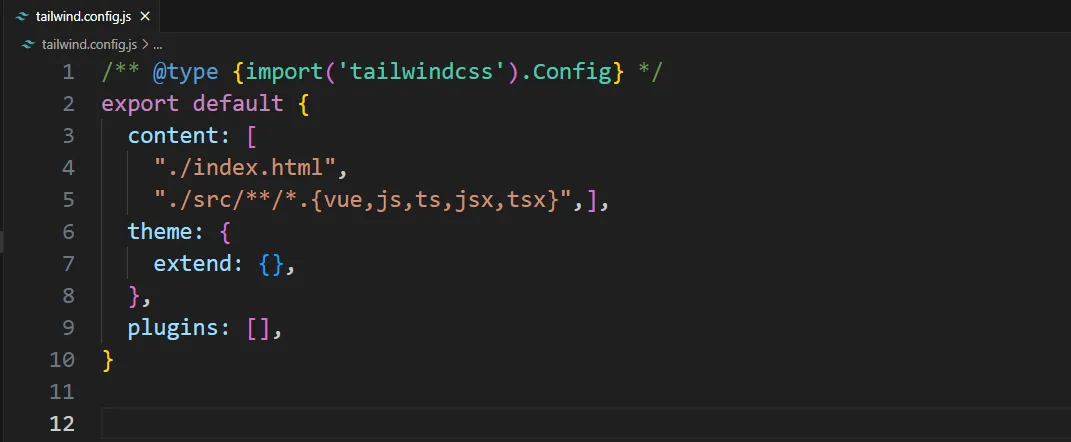
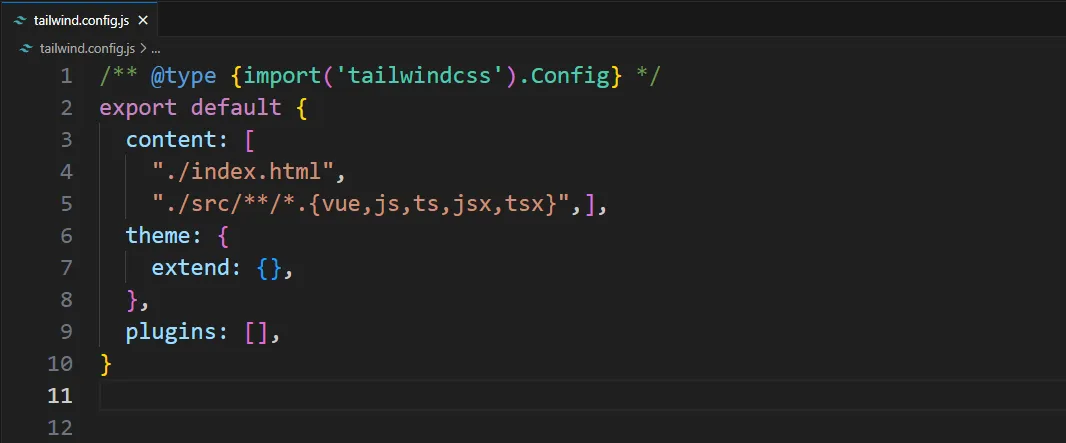
tailwind.config.js 主要用来配置 tailwindcss 的扫描规则、设置主题等。
图片图片

2.2 配置 tailwind.config.js

图片图片

/** @type {import('tailwindcss').Config} */
export default {
  content: [
    "./index.html",
    "./src/**/*.{vue,js,ts,jsx,tsx}",],
  theme: {
    extend: {},
  },
  plugins: [],
}

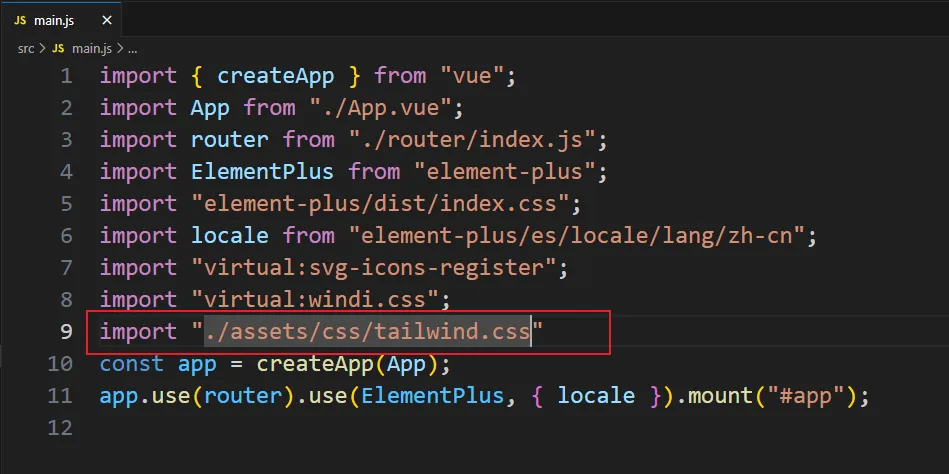
2.3 添加 tailwindcss 的基本指令

新建样式文件,在 main.js 中导入该文件

@tailwind base;
@tailwind components;
@tailwind utilities;

图片图片

图片图片

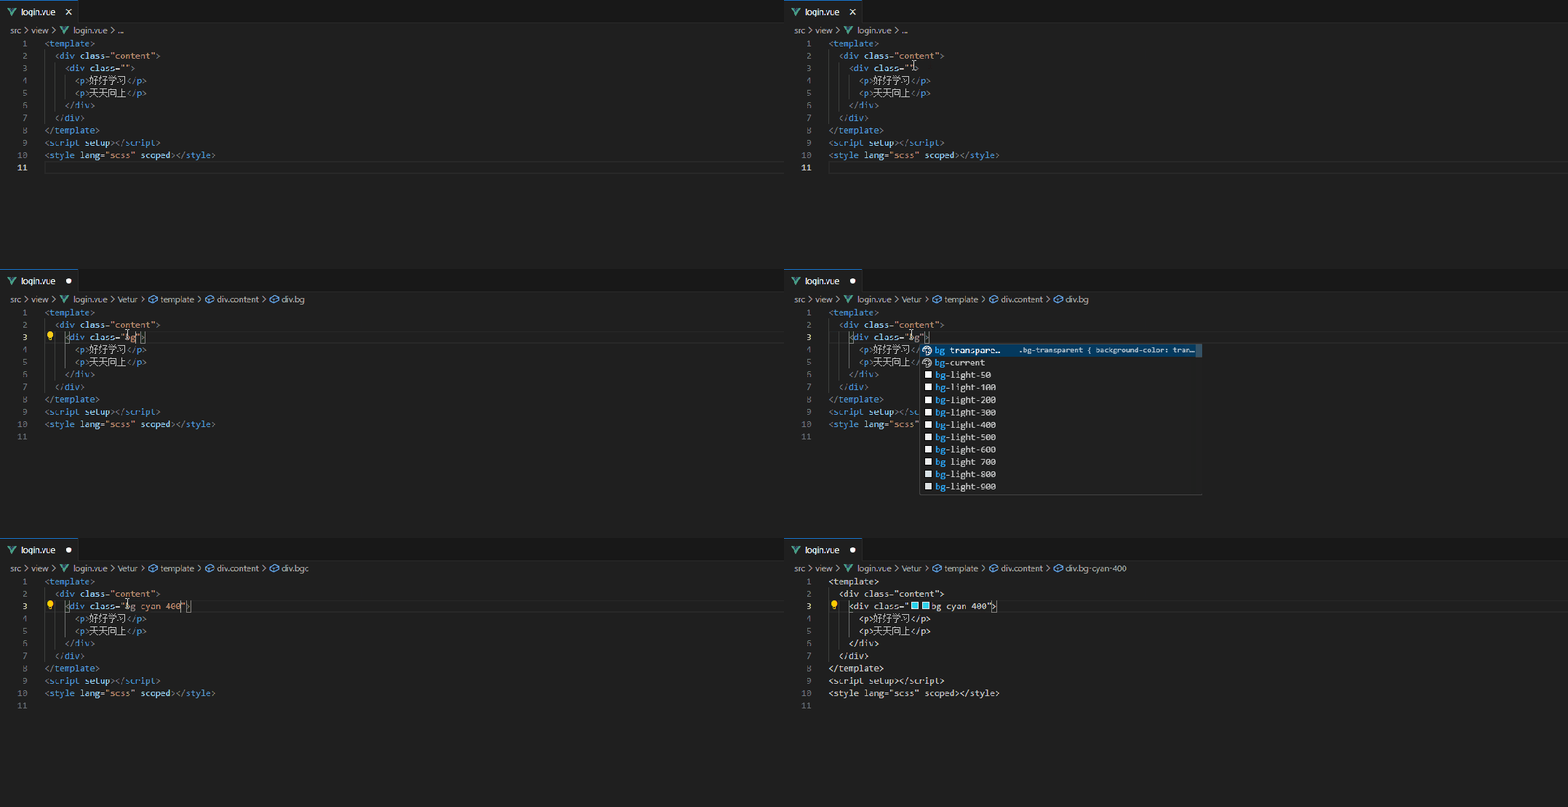
3. 编辑器安装 tailwindcss 辅助插件

这里我们使用的编辑器是 VScode。

新手刚开始用 tailwindcss 时,需要不断从官网查询相关原子类的写法,这样太繁琐。

安装插件之后,编辑器就能智能提示了,非常的方便

图片图片

图片图片

4. tailwindcss 常用方法

4.1 设置宽高

1.w-[ ],h-[ ] 设置任意宽高

<template>
  <div>
    <div class="bg-blue-600 w-[200px] h-[100px]">
      <p>好好学习</p>
      <p>天天向上</p>
    </div>
    <div class="bg-red-600 w-[20rem] h-[10rem]">
      <p>好好学习</p>
      <p>天天向上</p>
    </div>
  </div>
</template>
<script setup></script>
<style lang="scss" scoped></style>

图片图片

2.w-1/2 设置比例

<div class="bg-red-600 w-1/2">
  <p>好好学习</p>
  <p>天天向上</p>
</div>

3.占满宽度和高度

w-full:占满父容器的宽度

h-full:占满父容器的高度

w-screen:占满整个屏幕的宽度

h-screen:占满整个屏幕的高度

<template>
  <div class="w-[400px]">
    <div class="bg-red-600 w-full">
      <p>好好学习</p>
      <p>天天向上</p>
    </div>
    <div class="bg-blue-600 w-screen">
      <p>好好学习</p>
      <p>天天向上</p>
    </div>
  </div>
</template>
<script setup></script>
<style lang="scss" scoped></style>

图片图片

4.设置最小和最大宽度、高度

设置最小最大宽度:min-w-[]、max-w-[]

设置最小最大高度:min-h-[]、max-h-[]

<div class="w-[400px]">
  <div class="bg-red-600 w-full min-w-[200px] min-h-[500px]">
    <p>好好学习</p>
    <p>天天向上</p>
  </div>
  <div class="bg-blue-600 w-screen max-w-[100px] max-h-[300px]">
    <p>好好学习</p>
    <p>天天向上</p>
  </div>
</div>

4.2 设置边距

1.margin

mt-* : margin-top

mb-* : margin-bottom

ml-* : margin-left

mr-* : margin-right

mx-* : margin-left, margin-right;

my-* : margin-top, margin-bottom;

mx-auto : margin: 0 auto;

<div class="bg-red-600 w-[100px] h-[100px]">
  <p>好好学习</p>
  <p>天天向上</p>
</div>
<div class="bg-blue-600 w-[300px] h-[300px] mt-20px mx-auto">
  <p>好好学习</p>
  <p>天天向上</p>
</div>

图片图片


2.padding

  • pt-* : padding-top
  • pb-* : padding-bottom
  • pl-* : padding-left
  • pr-* : padding-right
  • px-* : padding-left, padding-right;
  • py-* : padding-top, padding-bottom;
<div class="bg-blue-600 w-[300px] h-[300px]">
  <p class="pt-20 px-10 bg-red-300">好好学习</p>
  <p class="py-3 px-10 bg-green-400">天天向上</p>
</div>

图片图片

4.3 设置边框

1.设置边框宽度,如果不写数值,默认是 1px

  • border-t-数值 :border-top-width;
  • border-r-数值 :border-right-width;
  • border-b-数值 :border-bottom-width;
  • border-l-数值 :border-left-width;
  • border-x-数值 :border-left-width; border-right-width;
  • border-y-数值 :border-top-width; border-right-width;

2.设置边框颜色

border-颜色-数值

border-red-500

例:

<div class="bg-blue-600 w-[300px] h-[300px] border-t-2 border-b-2 border-red-500">
  <p class="pt-20 px-10 bg-red-300">好好学习</p>
  <p class="py-3 px-10 bg-green-400">天天向上</p>
</div>

3.设置边框线条类型

  • border-solid :border-style: solid;
  • border-dotted  :border-style: dotted;
  • border-dashed  :border-style: dashed;
  • border-double  :border-style: double;
<div
  class="bg-blue-600 w-[300px] h-[300px] border-t-2 border-b-2 border-dotted border-red-500"
>
  <p class="pt-20 px-10 bg-red-300">好好学习</p>
  <p class="py-3 px-10 bg-green-400">天天向上</p>
</div>

4.4 设置背景颜色

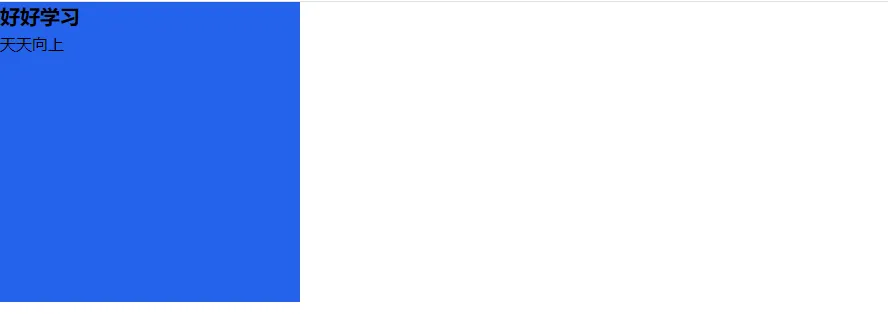
bg-颜色-数值

<div class="bg-blue-600 w-[300px] h-[300px]">
  <p>好好学习</p>
  <p>天天向上</p>
</div>

图片图片

4.5 设置文本字体

1.设置字体大小: text-[ ]

<p class="text-[20px]">好好学习</p>


2.设置字体加粗

  • font-thin 表示 font-weight: 100;
  • font-light 表示 font-weight: 300;
  • font-normal 表示 font-weight: 400;
  • font-bold 表示 font-weight: 700;
  • font-black 表示 font-weight: 900;
<div class="bg-blue-600 w-[300px] h-[300px]">
  <p class="text-[20px] font-bold">好好学习</p>
  <p>天天向上</p>
</div>

图片图片

3.设置字体颜色:text-颜色-数值

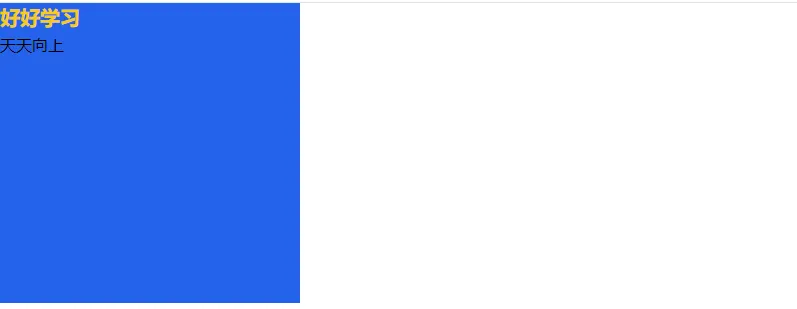
<div class="bg-blue-600 w-[300px] h-[300px]">
  <p class="text-[20px] font-bold text-yellow-400">好好学习</p>
  <p>天天向上</p>
</div>

图片图片

4.6 伪类

hover:
  • hover:bg-red-300
  • hover:text-[60px]
  • hover:w-[500px]
  • hover:h-[200px]
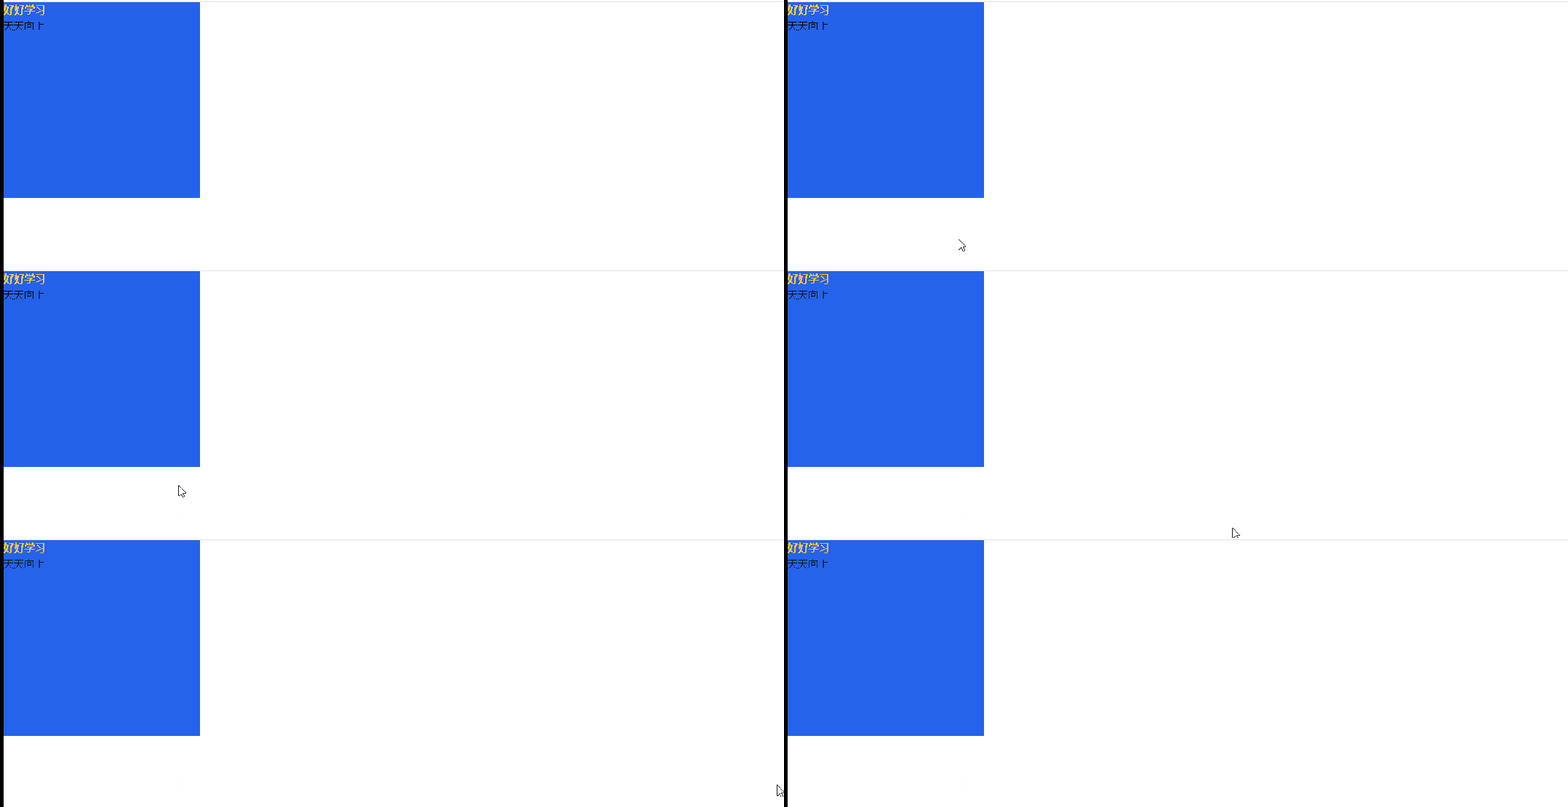
<div
  class="bg-blue-600 w-[300px] h-[300px] hover:bg-red-300 hover:text-[60px] hover:w-[500px] hover:h-[200px]"
>
  <p class="font-bold text-yellow-400">好好学习</p>
  <p>天天向上</p>
</div>

图片图片

4.7 定位

  • relative 表示 position: relative;
  • absolute 表示 position: absolute;
  • fiexed 表示 position: fiexed;
  • z-1 表示 z-index:1;

数值:1 表示 4px

  • top-1 表示 top: 4px;
  • left-2 表示 left: 8px;
  • right-10 表示 right: 40px;
  • bottom-3 表示 bottom: 12px;

任意值:

  • top-[5px]
  • left-[10rem]
  • right-[20px]
  • bottom-[100px]

例:

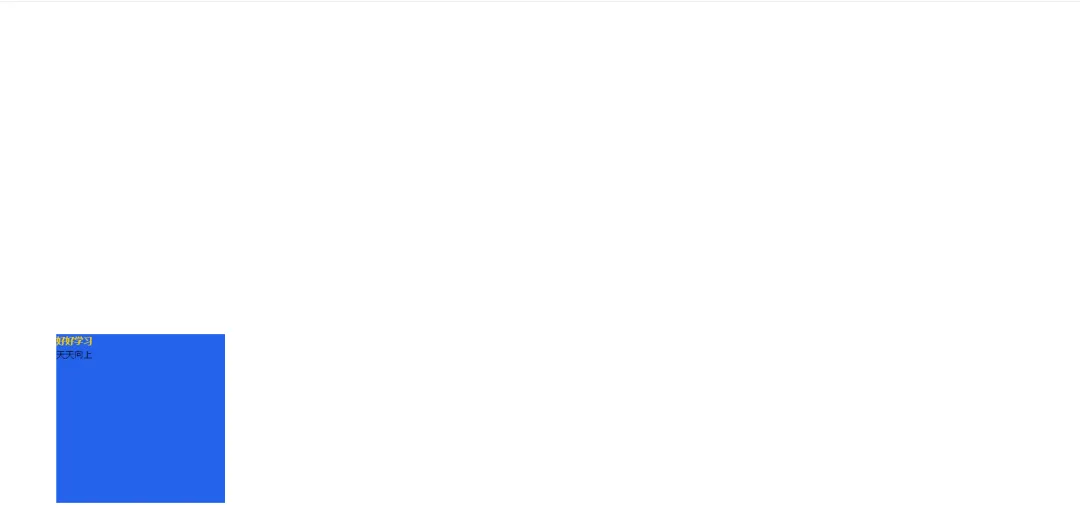
<div
  class="bg-blue-600 w-[300px] h-[300px] hover:bg-red-300 fixed bottom-[20px] left-[100px]"
>
  <p class="font-bold text-yellow-400">好好学习</p>
  <p>天天向上</p>
</div>

图片图片

4.8 flex 布局

  • flex 表示 display: flex;
  • flex-row 表示 flex-direction: row;
  • flex-col 表示 flex-direction: column;
  • justify-center 表示 justify-content: center;
  • items-center 表示 align-items: center;
  • flex-wrap 表示换行
  • flex-nowrap 表示不换行
  • flex-1 表示 flex:1;

例:

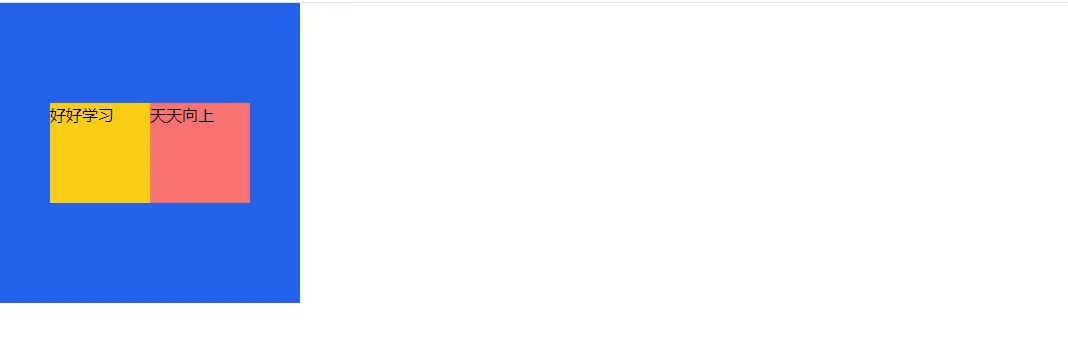
<div
  class="bg-blue-600 w-[300px] h-[300px] flex flex-row justify-center items-center "
>
  <p class="bg-yellow-400 w-[100px] h-[100px] text-white-400">好好学习</p>
  <p class="bg-red-400 w-[100px] h-[100px] text-white-400">天天向上</p>
</div>

图片图片

4.9 样式复用

下面的例子中 p 标签有重复的样式

<div
  class="bg-blue-600 w-[300px] h-[300px] flex flex-row justify-center items-center flex-wrap"
>
  <p class="bg-red-400 w-[100px] h-[100px] text-white text-[20px]">好好学习</p>
  <p class="bg-yellow-400 w-[100px] h-[100px] text-white text-[20px]">天天向上</p>
</div>

如果遇到重复的样式,我们可以借助 @layer 和 @apply 指令定义全局复用的样式:

1.在 TailwindCSS 的样式文件中定义复用样式

图片图片

@layer components {
  .title {
    @apply w-[100px] h-[100px] text-white text-[20px];
  }
}

2.在类选择器中使用复用类名

<p class="title">好好学习</p>
<p class="title">天天向上</p>


责任编辑:武晓燕 来源: 知否技术
相关推荐

2017-07-26 10:21:46

DockerLinux容器

2020-06-02 19:14:59

Kubernetes容器开发

2024-05-07 06:36:59

2020-11-17 11:39:00

JavaScript前端编程语言

2016-05-19 10:31:35

数据处理CassandraSpark

2024-08-26 08:16:13

2023-09-17 23:01:39

Python编程语言

2024-04-28 09:15:22

人工智能人形机器人

2014-09-17 10:16:41

Java 9

2021-03-02 16:25:13

手机iPhone安卓

2020-06-16 14:13:50

Kubernetes容器Linux

2011-05-30 14:07:42

2024-01-15 08:47:22

3D自动驾驶

2014-12-10 10:01:31

PHP

2018-03-06 09:57:17

HackerRankPython编程

2018-02-01 13:42:47

编程语言开发者行业

2022-06-16 20:56:53

边缘计算

2013-03-28 19:25:35

腾讯云

2020-07-01 23:21:11

Python web框架开发

2021-03-19 11:10:51

比特币外汇加密货币
点赞
收藏

51CTO技术栈公众号