集成GPT-4的Github Copilot X还在小范围内测中,而集成GPT-4的Cursor已公开发行。Cursor是一个集成GPT-4的IDE,可以用自然语言编写代码,让编写代码和聊天一样简单。
GPT-4和GPT-3.5在处理和编写代码的能力上差别还是很大的。官网的一份测试报告。

前两个是GPT-4,一个采用文本输入,一个采用图像输入;第三个是GPT3.5,可以看出GPT-4的代码能力相较于GPT-3.5有较大能力的提升。
集成GPT-4的Github Copilot X还在小范围内测中,而集成GPT-4的Cursor已公开发行。Cursor是一个集成GPT-4的IDE,可以用自然语言编写代码,让编写代码和聊天一样简单。
集成GPT-4的Cursor,快捷键:windows电脑 ctrl+k,mac电脑 comand+k 唤起需求输入框,来用自然语言编写代码;ctrl+l,comand+l 唤起聊天窗口,让编写代码和聊天一样简单。
首先,按下 ctrl+k。写下一段需求:写一个python程序,要求实现图片转字符画并写入文件,要用到pillow 库的使用,araparse库

cursor在一个空白的文件中,生成了一段完整的python代码。
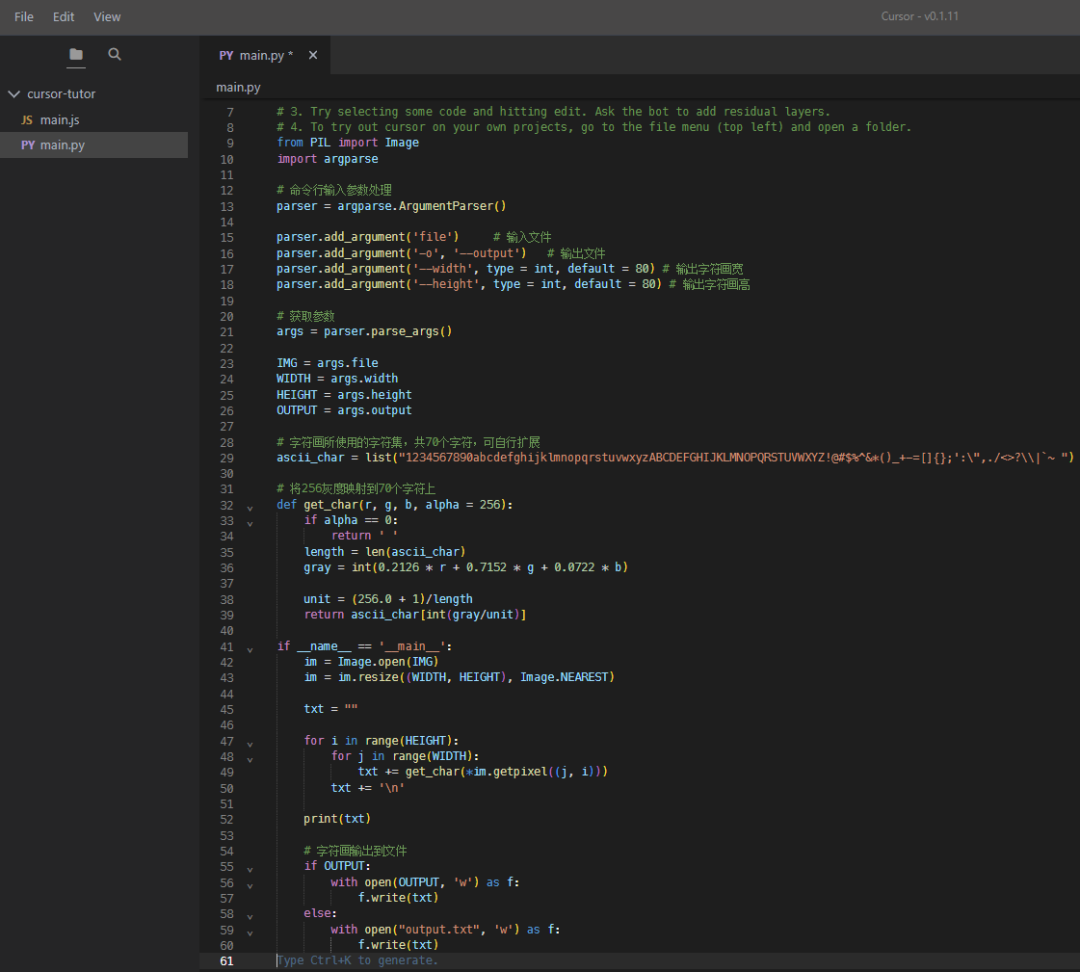
# Welcome to Cursor


# 1. Try generating with command K on a new line. Ask for a pytorch script of a feedforward neural network
# 2. Then, select the outputted code and hit chat. Ask if there's a bug. Ask how to improve.
# 3. Try selecting some code and hitting edit. Ask the bot to add residual layers.
# 4. To try out cursor on your own projects, go to the file menu (top left) and open a folder.
from PIL import Image
import argparse

# 命令行输入参数处理
parser = argparse.ArgumentParser()

parser.add_argument('file')     # 输入文件
parser.add_argument('-o', '--output')   # 输出文件
parser.add_argument('--width', type = int, default = 80) # 输出字符画宽
parser.add_argument('--height', type = int, default = 80) # 输出字符画高

# 获取参数
args = parser.parse_args()

IMG = args.file
WIDTH = args.width
HEIGHT = args.height
OUTPUT = args.output

# 字符画所使用的字符集,共70个字符,可自行扩展
ascii_char = list("1234567890abcdefghijklmnopqrstuvwxyzABCDEFGHIJKLMNOPQRSTUVWXYZ!@#$%^&*()_+-=[]{};':\",./<>?\\|`~ ")

# 将256灰度映射到70个字符上
def get_char(r, g, b, alpha = 256):
    if alpha == 0:
        return ' '
    length = len(ascii_char)
    gray = int(0.2126 * r + 0.7152 * g + 0.0722 * b)

    unit = (256.0 + 1)/length
    return ascii_char[int(gray/unit)]

if __name__ == '__main__':
    im = Image.open(IMG)
    im = im.resize((WIDTH, HEIGHT), Image.NEAREST)

    txt = ""

    for i in range(HEIGHT):
        for j in range(WIDTH):
            txt += get_char(*im.getpixel((j, i)))
        txt += '\n'

    print(txt)

    # 字符画输出到文件
    if OUTPUT:
        with open(OUTPUT, 'w') as f:
            f.write(txt)
    else:
        with open("output.txt", 'w') as f:
            f.write(txt)
看看自动生成的代码能否直接运行。
用于转换的图片选用下面这张:

(venv) PS C:\Users\hanwei\PycharmProjects\pythonProject> python .\main.py -h
usage: main.py [-h] [-o OUTPUT] [--width WIDTH] [--height HEIGHT] file

positional arguments:
  file

options:
  -h, --help            show this help message and exit
  -o OUTPUT, --output OUTPUT
  --width WIDTH
  --height HEIGHT
(venv) PS C:\Users\hanwei\PycharmProjects\pythonProject> python .\main.py .\golang.png
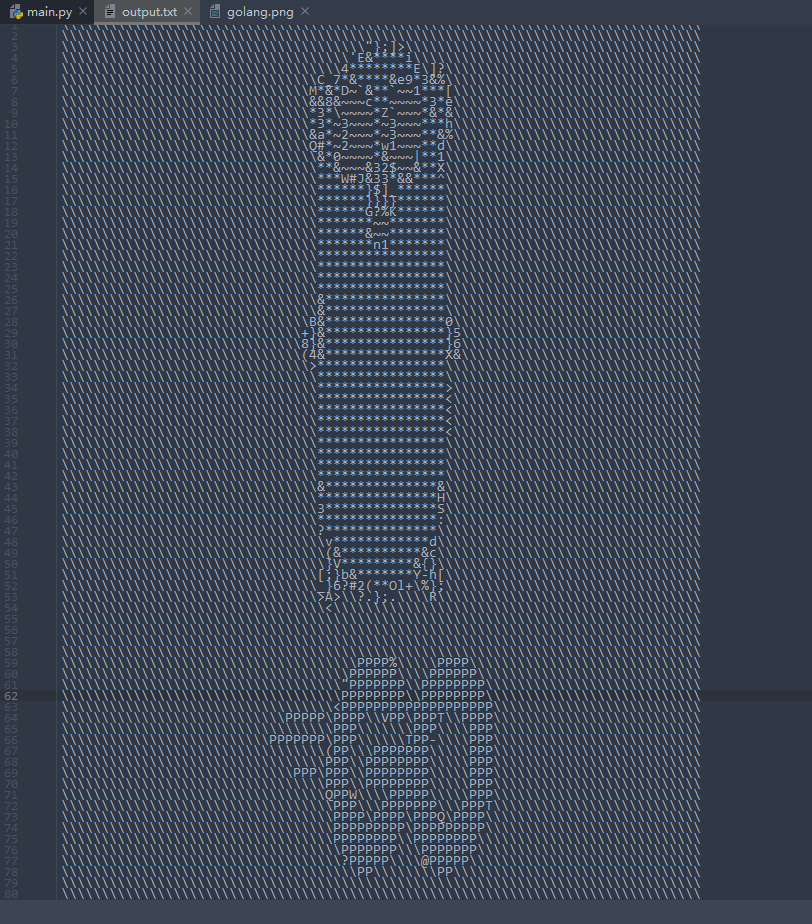
运行程序后,转换的效果如下:
下面来读读代码:
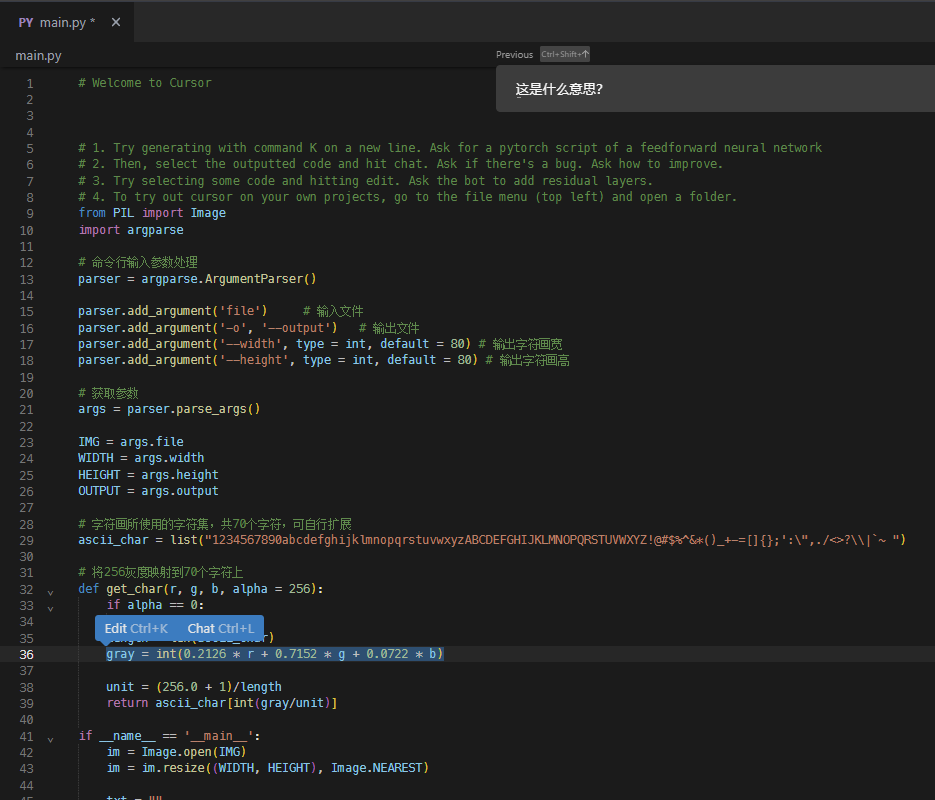
gray = int(0.2126 * r + 0.7152 * g + 0.0722 * b)
这段代码好奇怪,问问Cursor是啥意思。按下 ctrl+l,唤起聊天窗口,输入:这段代码是啥意思
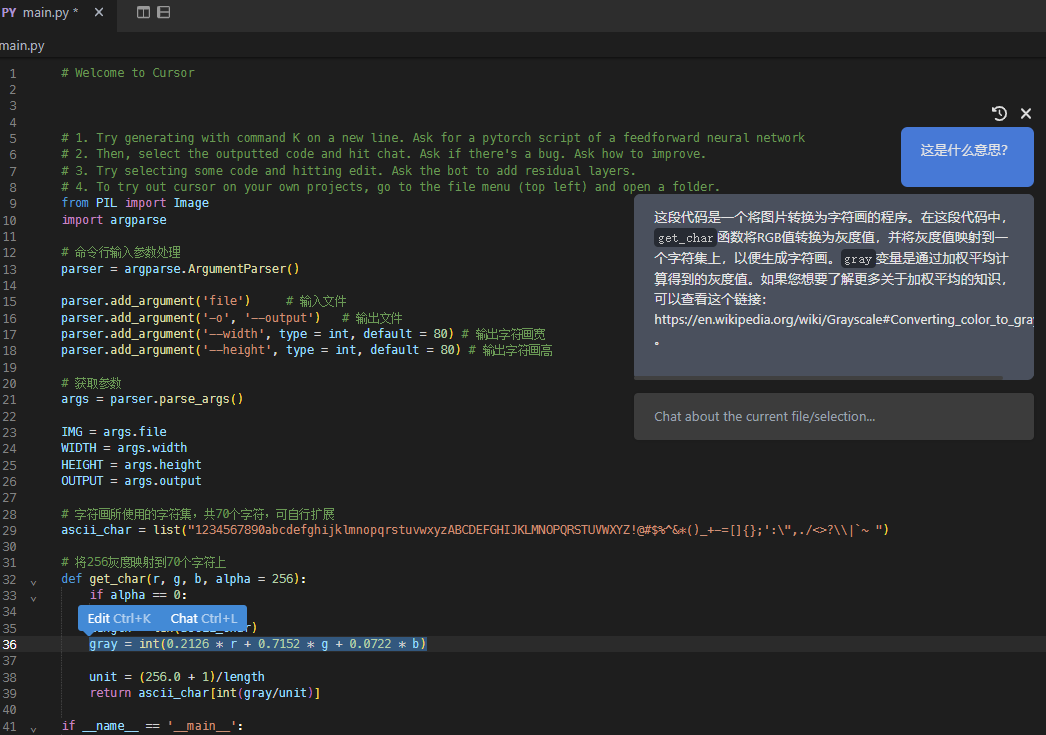
Cursor给出了解释,原来是通过r,g,b的值加权计算出灰度值,然后通过灰度值计算出字符。还给出了参考链接 https://en.wikipedia.org/wiki/Grayscale#Converting_color_to_grayscale
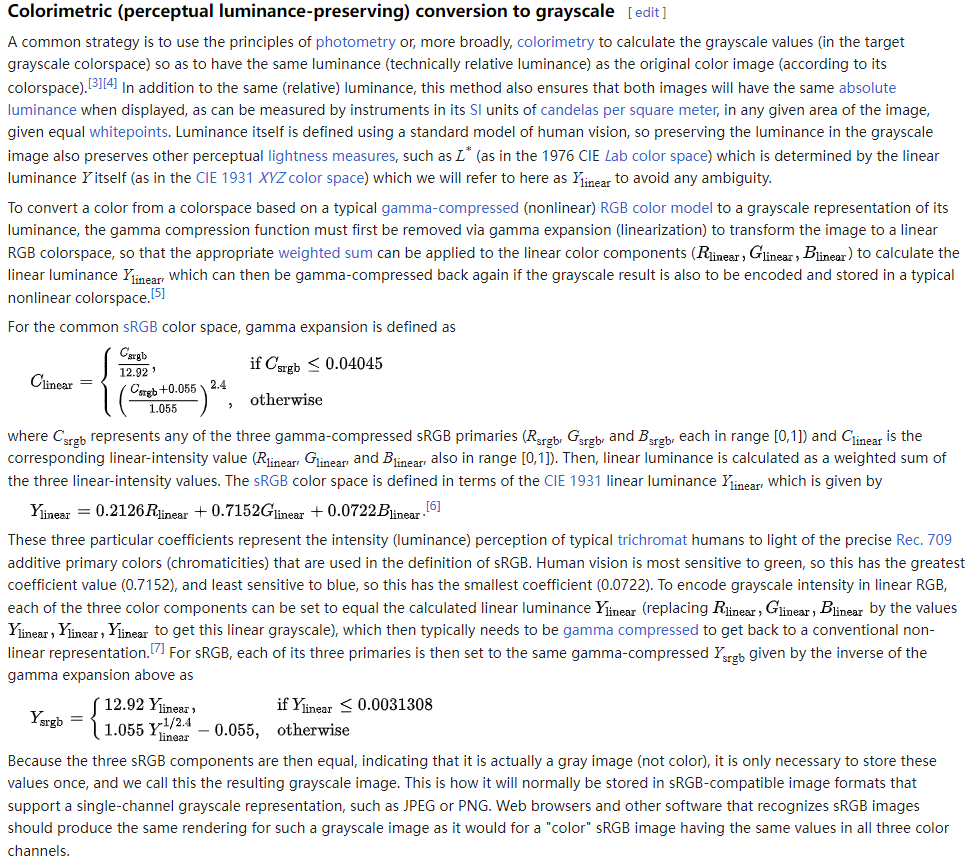
按下 ctrl+l,唤起聊天窗口,让AI解释下整段代码,输入:用中文解释下整段代码
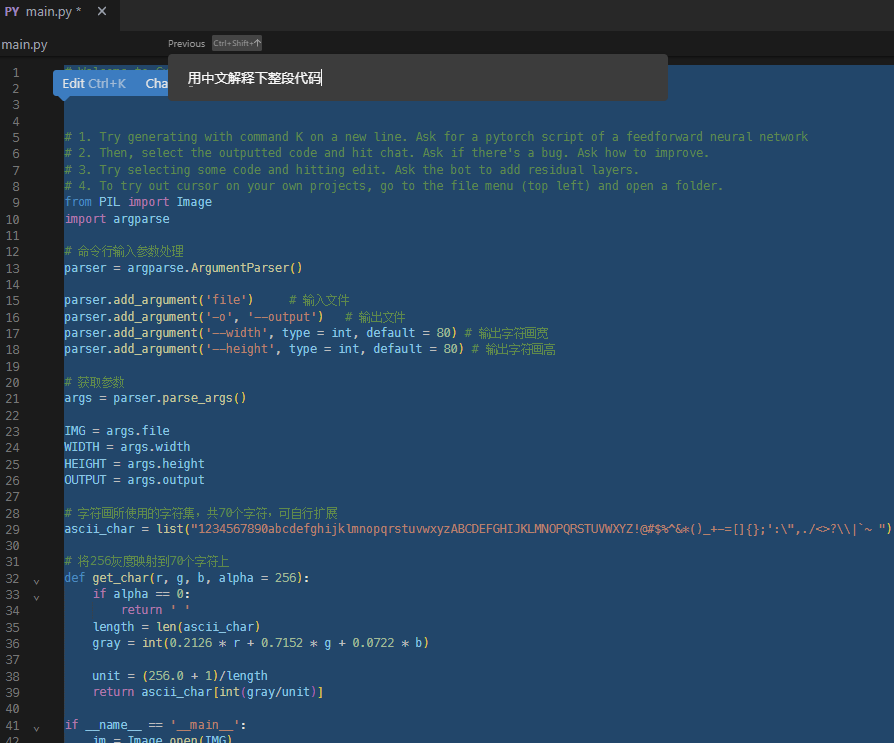
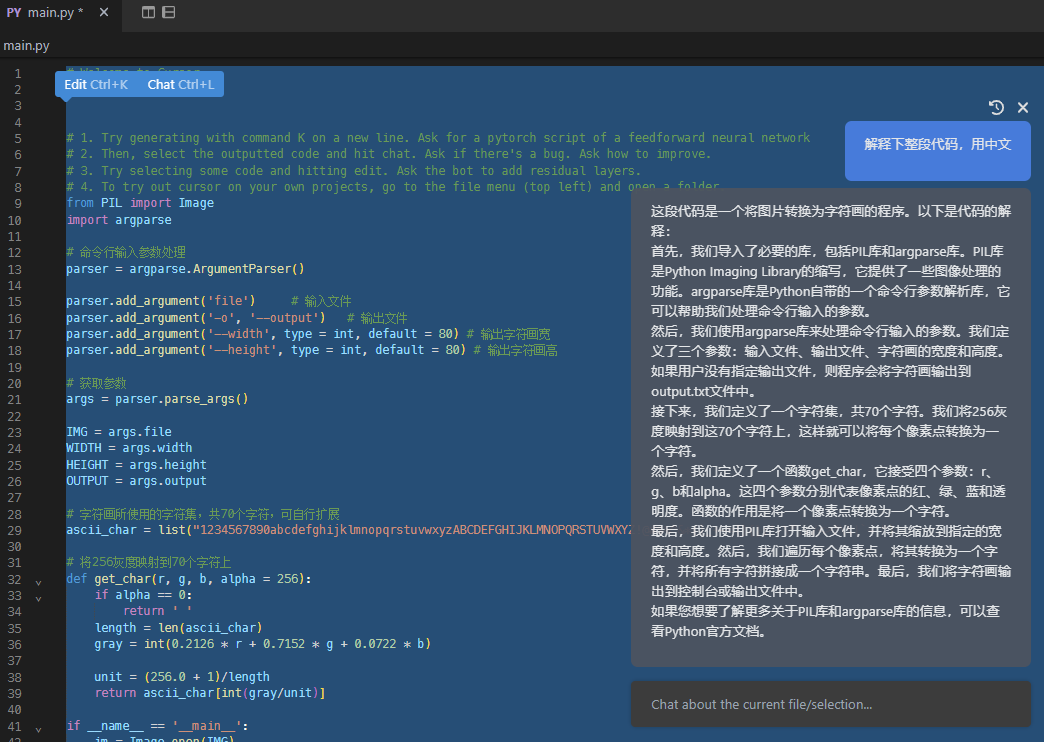
可见AI解释的非常准确和详尽。
上面代码的功能是将图片转换成黑白的带有灰度的ASCII字符画,下面来改造一下,让它能够生成彩色的字符画。
按下 ctrl+k 唤醒需求文本框,输入:请将这段代码由生成黑白的字符改成生成彩色的字符
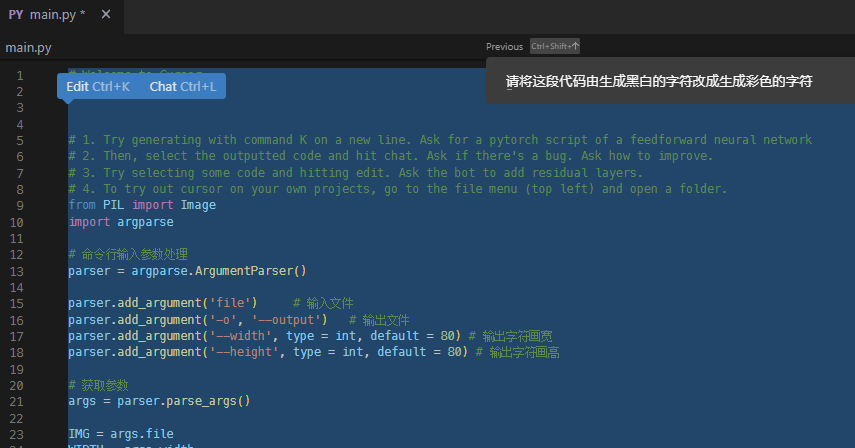
看到动画:AI会逐行扫描每一行代码,在需要改动的地方标注出来,然后在下面给出改动的代码。并保留原来的代码,方便对比。
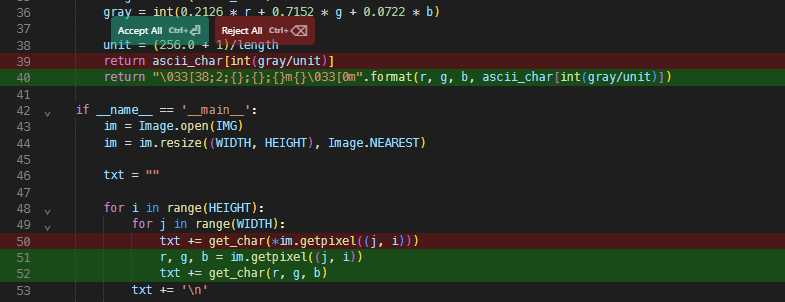
AI只改动了2行的代码(实际上只改动了一行,第二处AI估计大脑短路了,完全等价的改动),实现了由生成黑白的字符改成生成彩色的字符。下面测试一下:
(venv) PS C:\Users\hanwei\PycharmProjects\pythonProject> python .\main2.py .\golang.png
生成的结果如下,发现文本文件打开后,多了很多颜色的信息
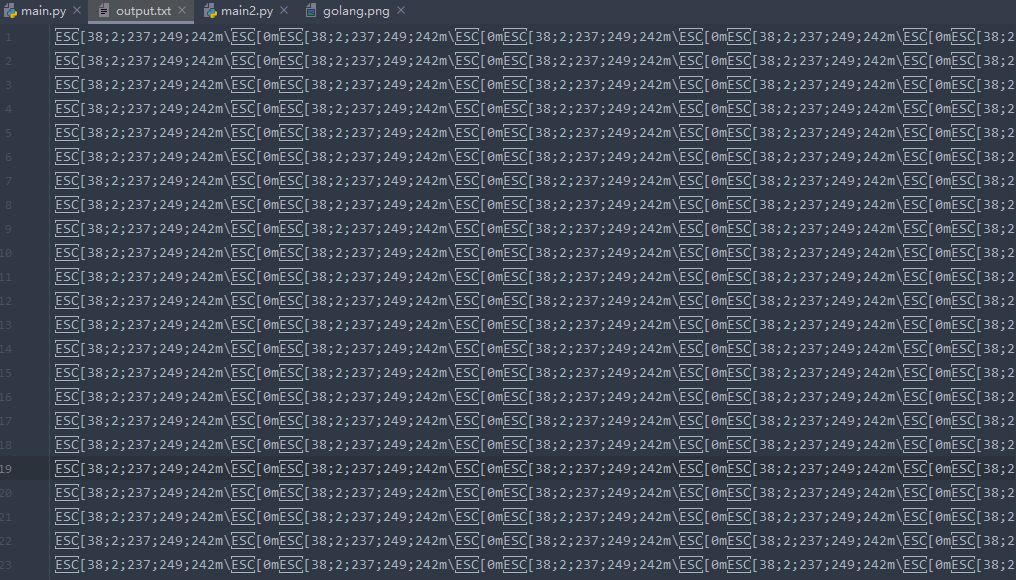
直接打开文本文件查看,是无法看出原来的图像了,需要在终端查看颜色效果:
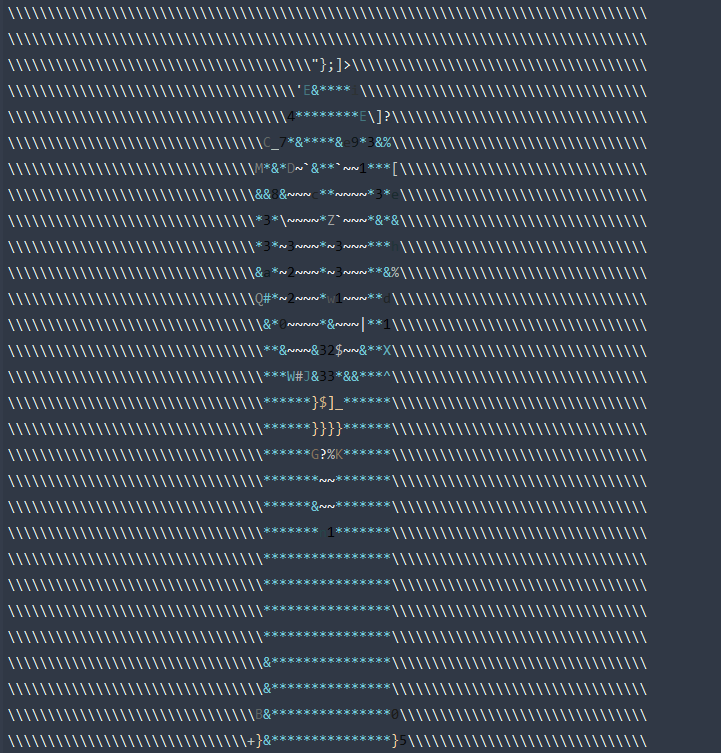
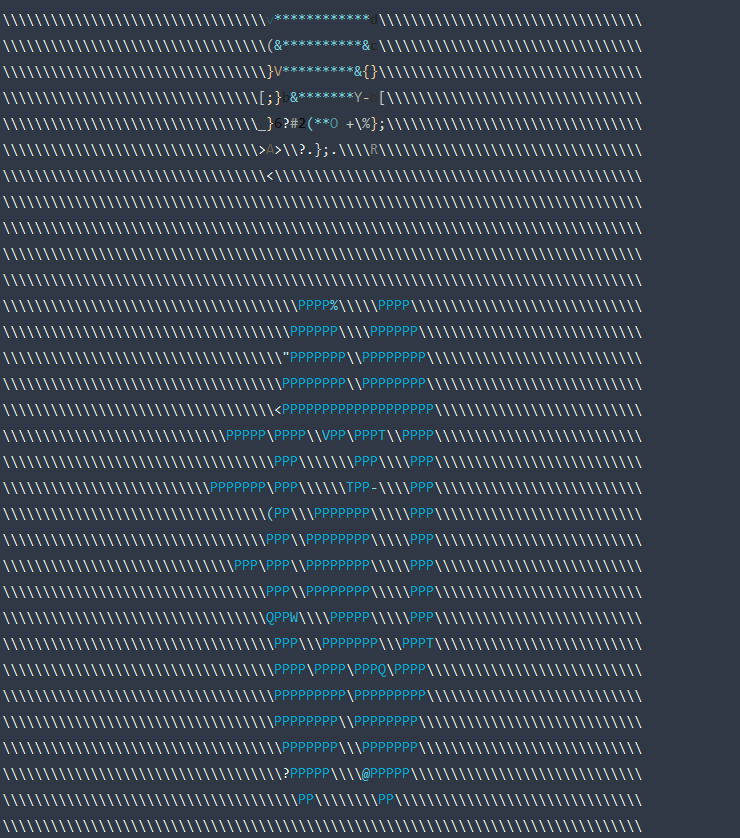
可见,原来图片的蓝色信息,且两种不同深浅的蓝色都显示了出来。Perfect!


