Helm Charts[1] 如今已是一种非常流行的软件打包方式,在其应用市场中你可以找到接近一万款适用于云原生环境的软件。然后在如今的混合云多集群环境中,业务越来越依赖部署到不同的集群、不同的环境、同时指定不同的配置。再这样的环境下,单纯依赖 Helm 工具可能无法做到灵活的部署和交付。
在本文中,我们将介绍如何通过 KubeVela[2] 解决多集群环境下 Helm Chart 的部署问题。如果你手里没有多集群也不要紧,我们将介绍一种仅依赖于 Docker 或者 Linux 系统的轻量级部署方式,可以让你轻松的体验多集群功能。当然,KubeVela 也完全具备单集群的 Helm Chart 交付[3]能力。
前提条件
- 安装 Docker v20.10.5+ (runc >= v1.0.0-rc93) 或者你的操作系统是 Linux。
- VelaD[4],一个轻量级的部署 KubeVela 和 Kubernetes 的工具。
准备集群
本节是做 KubeVela 以及多集群环境的准备,我们将基于 Docker 或者 Linux 环境从头开始。如果你已经具备了 KubeVela 的环境并且完成了集群管理[5] ,则可以跳过本节。
安装 KubeVela 控制平面
将新创建的集群导入到环境变量
到这里,恭喜你!我们已经完成了 KubeVela 控制平面的安装。你可以通过下面这个方式加入你的 Kubernetes 集群:
如果你没有现成的 Kubernetes 集群,VelaD 也可以很方便的为你创建一个:
用 velad 创建一个名为 foo 的集群,并加入到控制平面
作为一个充分可扩展的控制平面,KubeVela 的大多数能力都是作为插件提供的。接下来的几步我们介绍安装 Helm 多集群部署的必要插件。
启用 velaux 插件,获得 UI 控制台
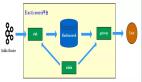
启用 fluxcd 插件获得 helm chart 交付能力
如果你在加入新集群之前已启用过 fluxcd 插件,则应该通过以下方式来为新加入的集群启用(部署)插件:
至此,我们完成了所有的准备工作,可以查看加入的集群了:
local 是 KubeVela 控制平面的集群,foo 则是我们刚刚添加的集群。
多集群部署
我们可以使用 topology 策略来指定 Helm Chart 交付的环境,指令如下:
clusters 字段的 topology 策略是一个切片(slice),此处可以指定多个集群的名称。你还可以使用标签选择器或指定命名空间,详情见参考文档[6] 。
部署后,你可以通过以下方式检查已部署的应用程序:
部署成功的预期输出应该如下:
你可以通过以下方式检查已部署的资源:
你也可以通过 VelaUX 检查已部署的资源。
使用 UI 控制台查看部署状态
通过使用 velaux UI 控制台,则可以很方便的查看多集群信息,并获得统一的体验。你可以参考文档[7]了解 VelaUX 的访问和使用细节。
通过 UI 界面,我们可以:
- 检查来自不同集群的实例状态和事件:
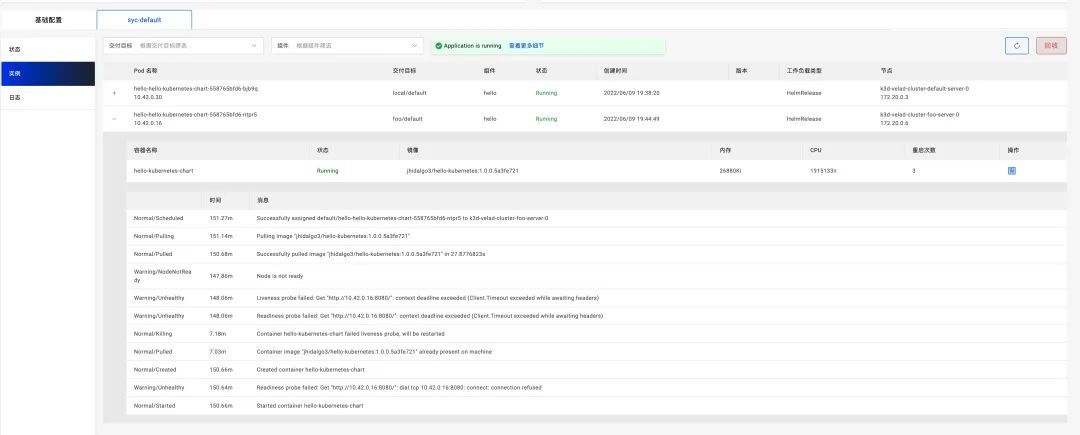
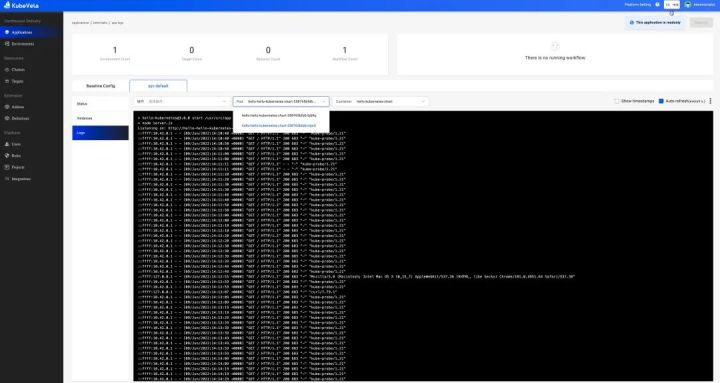
- 检查来自不同集群的实例日志:
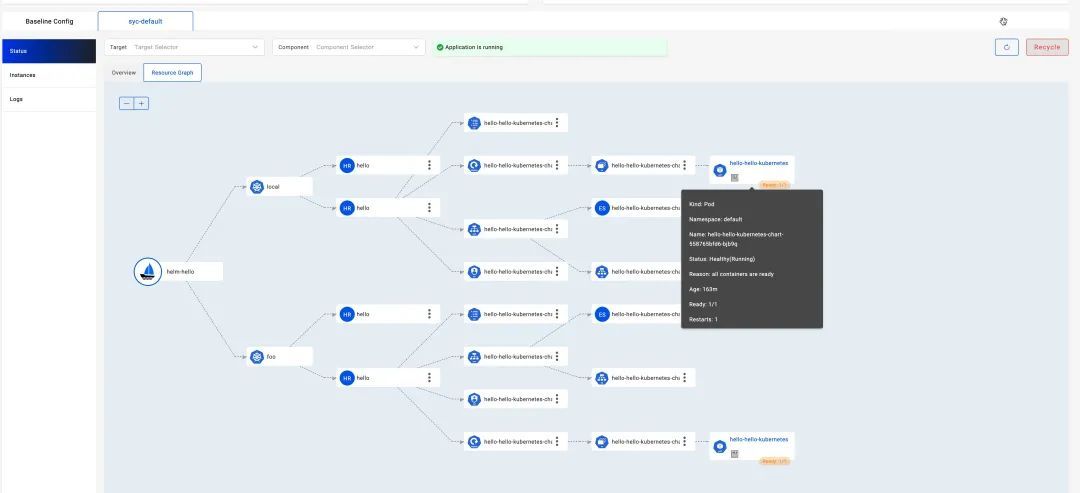
- 检查资源拓扑关系和状态:
使用 Override 配置进行部署
在某些情况下,我们会为不同集群的 Helm Chart 设置不同的 Value ,这样我们可以使用 Override 策略[8]。
下面是一个复杂的示例,我们将把一个 Helm Chart 部署到两个集群中,并为每个集群指定不同的 Value 。让我们部署它:
注意:如果你觉得策略和工作流程有点复杂,你可以将它们作为一个外部对象并仅引用该对象,用法和容器交付[9]是一样的。
部署过程分为三个步骤:
(1)部署到本地集群;
(2)等待人工审批;
(3)部署到 foo 集群。
你会发现它在第一步之后就被暂停了,就像下面这样:
你可以查看并使用 Value 为 “Welcome to Control Plane Cluster!” 的部署在控制平面的 Helm Chart 。
浏览器会自动提示如下页面:
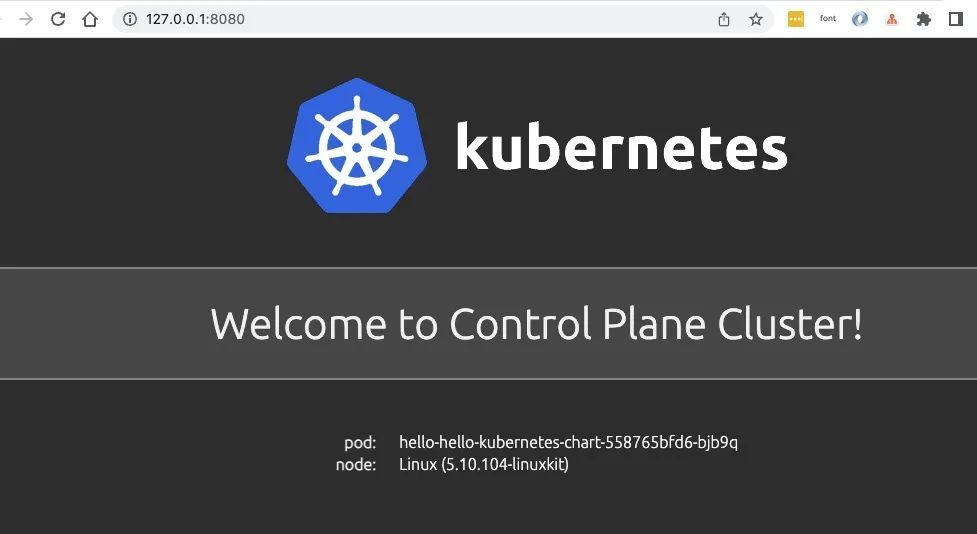
发现部署成功,让我们继续。
然后它会部署到 foo 集群,你可以查看这些资源的详细信息。
Status: stored 再次使用端口转发:
然后它会弹出一些选项:
选择带有 foo 集群的选项,然后你会看到结果已经被新消息覆盖。
为不同环境指定不同的 Value 文件
你可以为不同环境选择 Helm Chart 中现有的不同 Value 文件。比如:
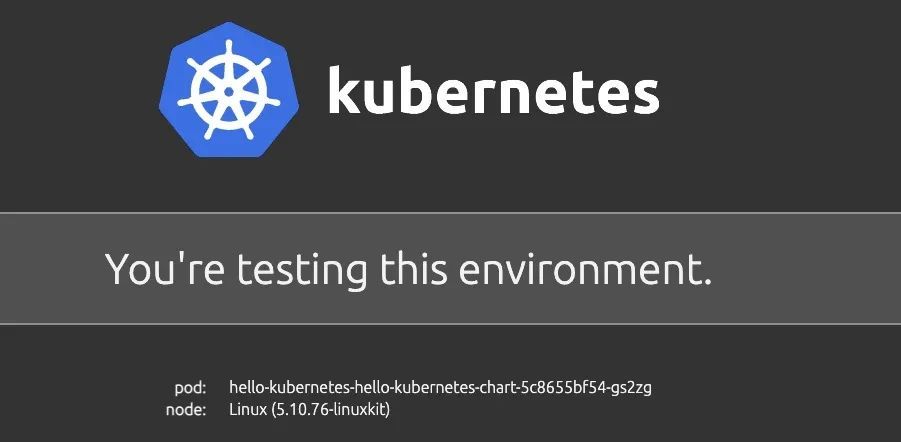
请确保你的本地集群有两个命名空间 “test” 和 “prod”,它们代表我们示例中的两个环境。
我们以 Chart hello-kubernetes-chart 为例。这个 Chart 有两个 Value 文件。你可以拉取此 Chart 并查看其中包含的所有文件:
我们可以看到此 Chart 中有 values.yaml values-production.yaml 这两个 Value 文件。
访问 Application 的 endpoint :
如果你选择 Cluster: local | Namespace: test | Kind: HelmRelease | Name: hello-kubernetes 你会看到:
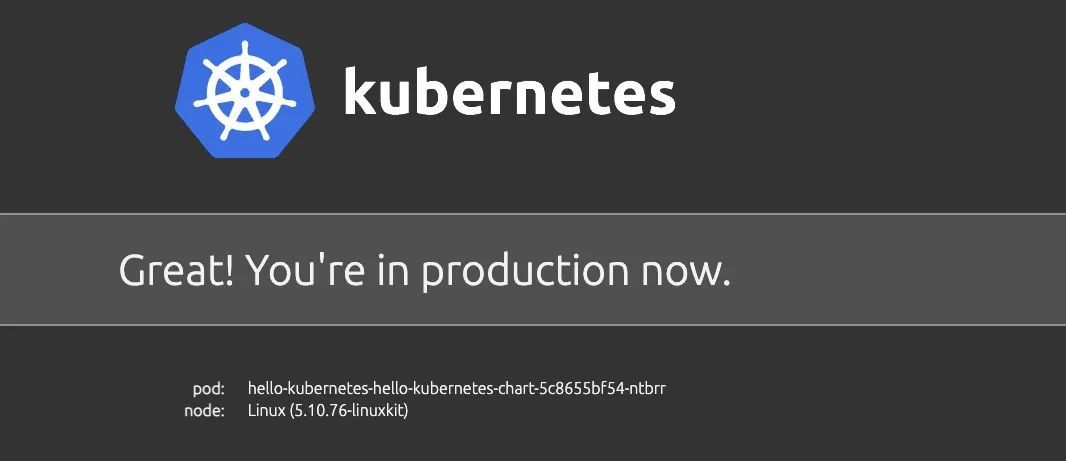
选择 Cluster: local | Namespace: prod | Kind: HelmRelease | Name: hello-kubernetes 则会看到:
清理
如果你使用 velad 进行此演示,则可以通过以下方式便捷地进行清理:
- 清理 foo 集群
velad uninstall -n foo
- 清理默认集群
velad uninstall
不仅如此
KubeVela 提供的能力远不止如此,通过安装其他插件,你还可以获得包括金丝雀发布[10] 在内的更多能力,为你的 Helm Chart 交付保驾护航。
快使用 KubeVela 交付 Helm Chart ,让现代化的应用交付和管理更简单、轻松、可靠!
相关链接
[1] Helm Charts:
https://artifacthub.io/packages/search?kind=0
[2] KubeVela:
https://kubevela.io/
[3] 单集群的 Helm Charts 交付
https://kubevela.net/zh/docs/tutorials/helm
[4] velad:
https://github.com/kubevela/velad
[5] 集群管理:
https://kubevela.net/zh/docs/platform-engineers/system-operation/managing-clusters
[6] 参考文档:
https://kubevela.net/zh/docs/end-user/policies/references#topology
[7] 文档
https://kubevela.io/docs/install#2-install-velaux
[8] Override 策略
https://kubevela.io/docs/end-user/policies/references#override
[9] 容器交付
https://kubevela.io/docs/case-studies/multi-cluster#use-policies-and-workflow-outside-the-application
[10] 金丝雀发布:
https://kubevela.io/docs/tutorials/helm-rollout