
本文同样是一篇安装文章,唯一区别就利用了国内较知名的开源的系统尝试安装Zabbix 最新的6.2版本,看是否可行,篇幅较长,需要有相对的耐心。
正文
本文环境
- openEuler 22.03 LTS
- PHP 8.0
- Apache 2
- Mysql 8.0
安装前建议
更新到最新系统:
安装所需软件
dnf -y install vim wget tar
数据库部分
6.0 以上版本需要安装mysql8.0以上版本的数据库(以mysql为例子)。
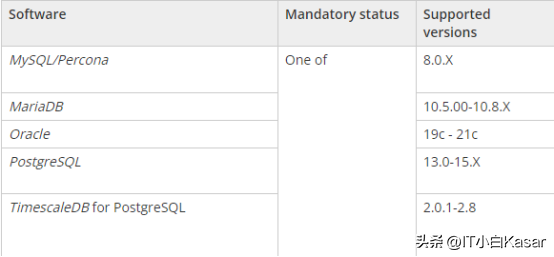
来自官网
欧拉系统自带 mysql8.0 的源,无需要安装额外的源。
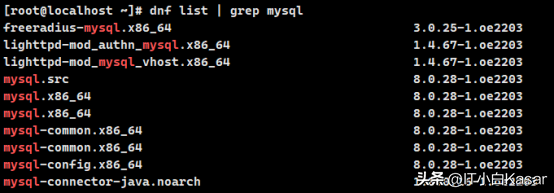
安装mysql
dnf -y install mysql-server
启动数据库
systemctl start mysqld && systemctl enable mysqld
初始化数据库
mysql_secure_installation
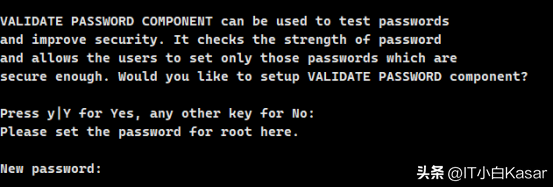
一路回车即可
下载源码包
cd /tmp
wget https://cdn.zabbix.com/zabbix/sources/stable/6.2/zabbix-6.2.4.tar.gz
解压源码包
tar -zxvf zabbix-6.2.4.tar.gz
Zabbix部分
创建zabbix用户及用户组
groupadd --system zabbix
useradd --system -g zabbix -d /usr/lib/zabbix -s /sbin/nologin -c "Zabbix Monitoring System" zabbix
创建zabbix安装目录
开始编译
- prefix 指定安装目录。
- enable-server 启用 Zabbix Server。
- enable-agent 启用 Zabbix agent。
- with-mysql 后端指定数据库为mysql。
- net-snmp 支持 snmp 协议。
其实还有很多参数,大家可以参考 ./configure --help 自行研究 ,官方文档里也有案例
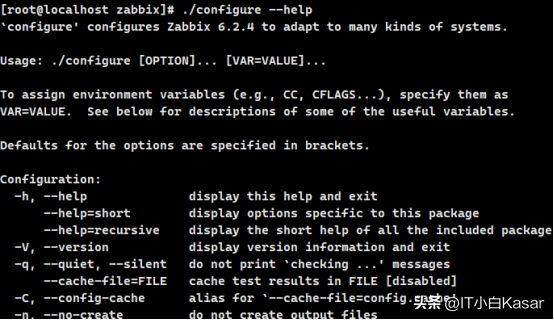
进入解压资源目录
ls /tmp
cd /tmp/zabbix-6.2.4
./configure --prefix=/app/zabbix --enable-server --enable-agent --with-mysql
执行上面的命令就进入排错环节了。
第一个报错是mysql的开发库没有。
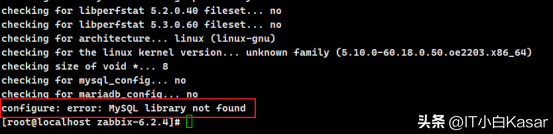
dnf -y install mysql-devel
安装完成后继续执行编译命令,出现了缺失libevent。

dnf -y install libevent-devel
出现了缺少libpcre库。
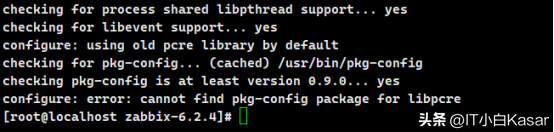
dnf -y install pcre-devel
出现这个界面证明已经编译完成了。
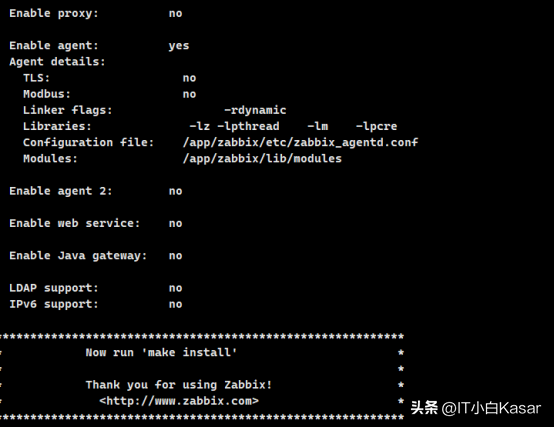
安装
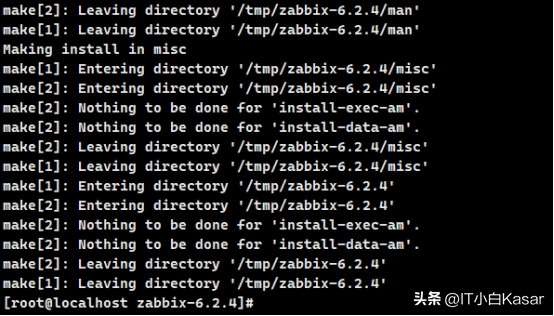
完成安装
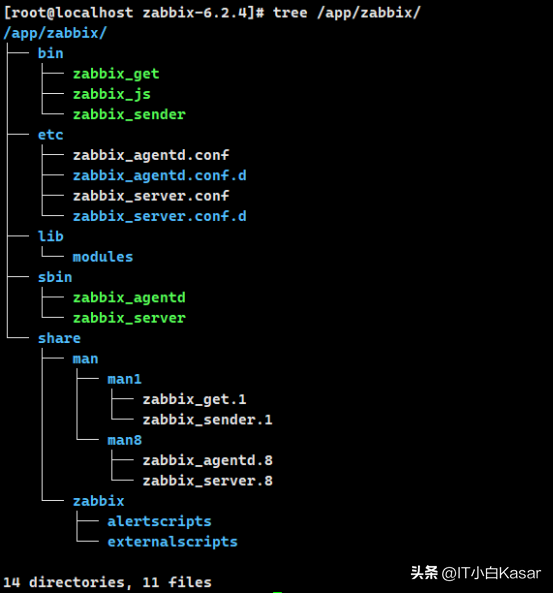
整体目录情况
PHP部分
openEuler 22.04 自带8.0版本,所以符合6.0以上版本的需求。
dnf -y install php php-fpm
Apache操作部分
由于安装PHP会自动安装apache服务,所以安装过程并未提及apache的安装过程,移动前端文件到apache服务的网页目录下。
mv /tmp/zabbix-6.2.4/ui/* /var/http/html
启动apache并访问。
systemctl start httpd && systemctl enable httpd
systemctl start php-fpm && systemctl enable php-fpm
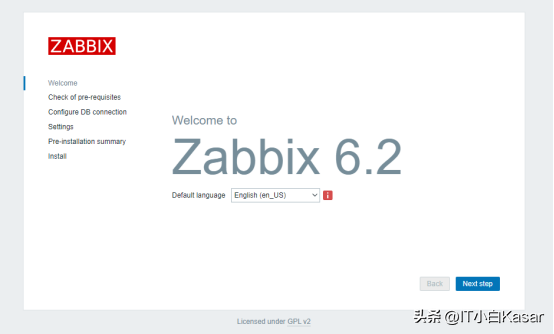
点击Next Step
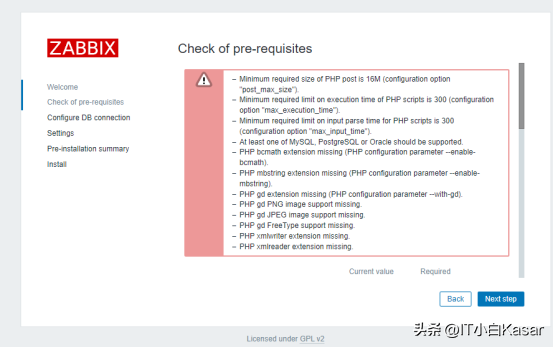
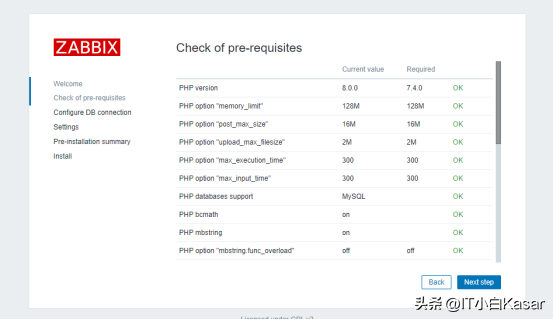
此时会出现 PHP 所需要一些依赖和参数的报错,所以首先安装一些PHP相关的依赖。
dnf -y install php-gd php-mysqlnd php-bcmath php-xml php-mbstring
安装完依赖此时不需要重启任何服务,接下来调整PHP的配置文件。
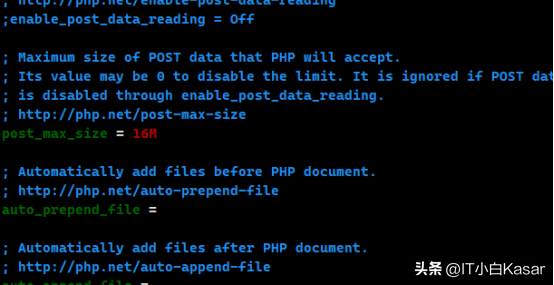
根据报错来调整三个值分别是 post_max_size,max_excution_time,max_input_time。
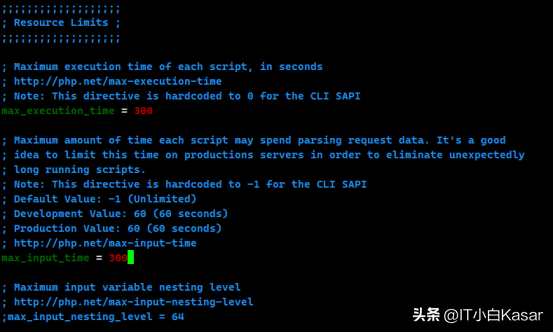
改完之后需要重启php-fpm服务。
systemctl restart php-fpm
再进行刷新,就能够成功了(需要注意的是,此时会有一个ldap的选项是warning,大家可以忽略,如果不涉及域账号登录,该功能无任何意义)。
数据库配置部分
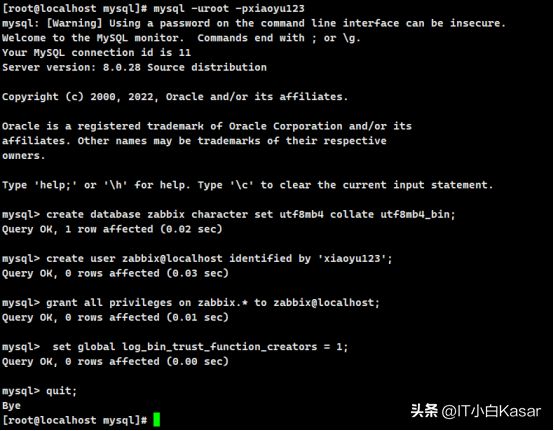
创建Zabbix所需要的数据库和用户
create database zabbix character set utf8mb4 collate utf8mb4_bin;
create user zabbix@localhost identified by 'xiaoyu123';
grant all privileges on zabbix.* to zabbix@localhost;
set global log_bin_trust_function_creators = 1;
quit;
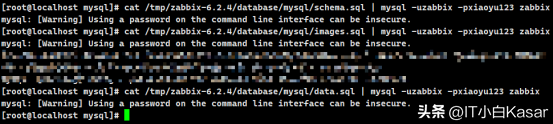
导入Zbbix 的数据文件
cat /tmp/zabbix-6.2.4/database/mysql/schema.sql | mysql -uzabbix -p zabbix
cat /tmp/zabbix-6.2.4/database/mysql/images.sql | mysql -uzabbix -p zabbix
cat /tmp/zabbix-6.2.4/database/mysql/data.sql | mysql -uzabbix -pxiaoyu123 zabbix
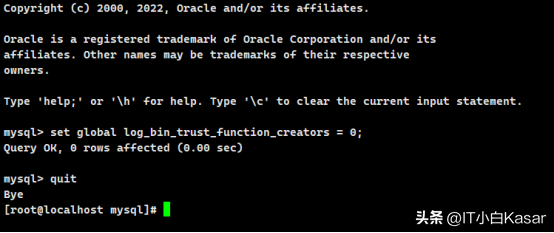
相关数据导入完成后关掉。
log_bin_trust_function_creators功能。
set global log_bin_trust_function_creators = 0;
quit;
完成这部分,就可以在前端进入数据库配配置界面。
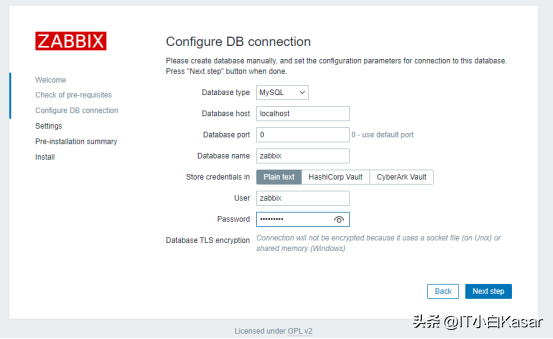
填写数据库密码,下一步
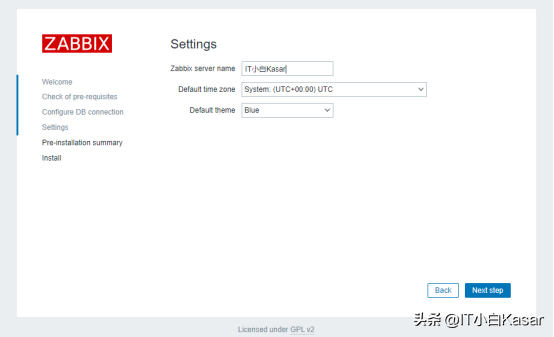
这一步就是设置主机的名称和时区
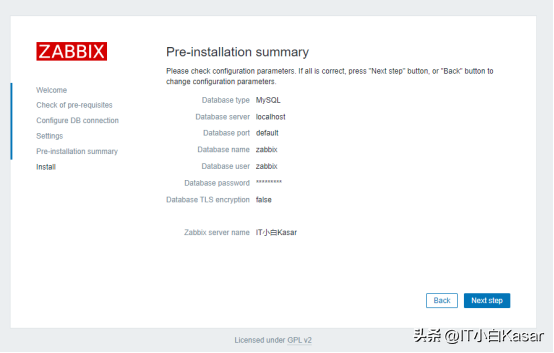
安装完成前预览
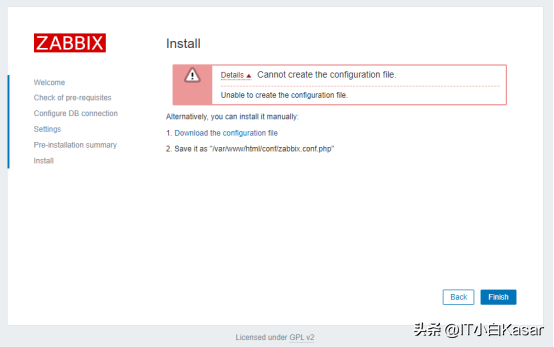
此时会出现无法创建,这是由于目标目录没有权限导致的,可以点击蓝色字体将配置得好的文件下载下来,然后传到前端提示的目录里,该文这里路径为:
放好后,刷新网页。
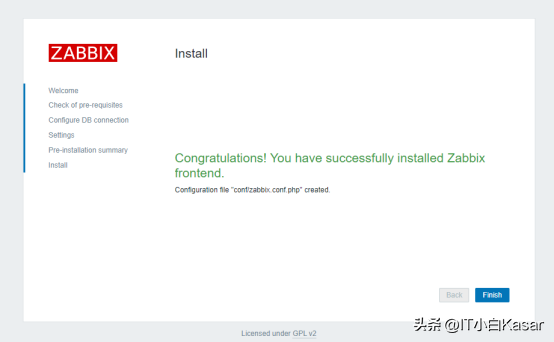
完成安装
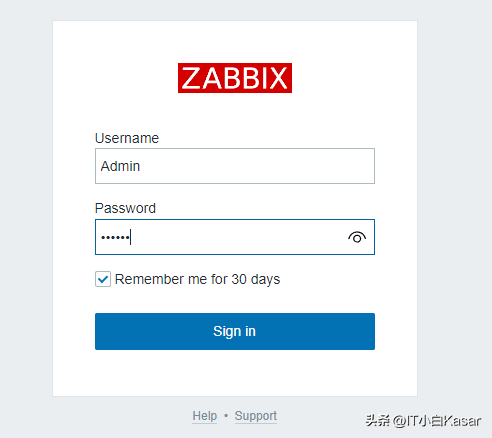
用户名密码为Admin/zabbix
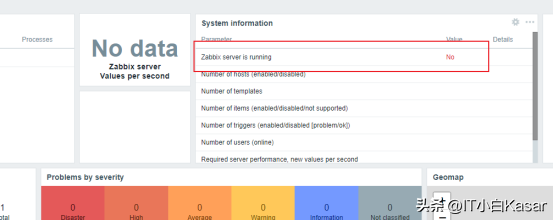
看到这里大家应该会觉得奇怪,为什么一直没有去配置zabbix server部分的东西,那么上面这张图(zabbix server处于异常状态)就完美的解释了,要对Server部分进行配置了。
Zabbix Server部分
首先来说说zabbix server 目录的一些情况
- 程序文件路径为/app/zabbix/sbin/
- 配置文件路径为/app/zabbix/etc/
制作 Zabbix server 守护文件
vim /usr/lib/systemd/system/zabbix-server.service
[Unit]
Description=Zabbix Server
After=syslog.target
After=network.target
After=postgresql.service
After=pgbouncer.service
After=postgresql-13.service

[Service]
Environment="CONFFILE=/app/zabbix/etc/zabbix_server.conf"
EnvironmentFile=-/etc/sysconfig/zabbix-server
Type=forking
Restart=on-failure
PIDFile=/tmp/zabbix_server.pid
KillMode=control-group
ExecStart=/app/zabbix/sbin/zabbix_server -c $CONFFILE
ExecStop=/bin/kill -SIGTERM $MAINPID
RestartSec=10s
TimeoutSec=0

[Install]
WantedBy=multi-user.target
文中有一个地方需要注意,就是pid文件所在的位置,下面会再次提到。

编辑配置文件
vim /app/zabbix/etc/zabbix_server.conf
需要调整三个地方,第一个是log存放的位置,第二个是数据库密码,第三个是PID存放的位置。
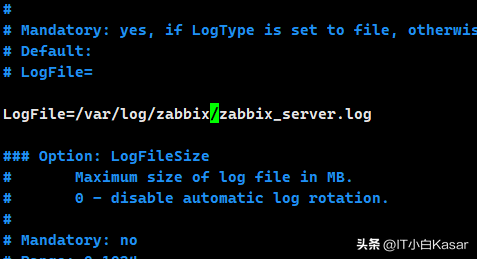
调整日志存放位置
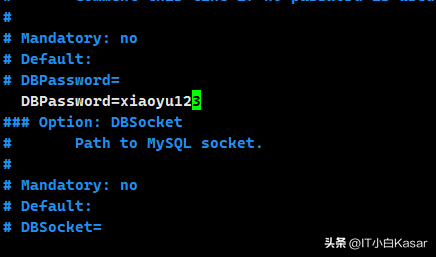
修改数据库密码
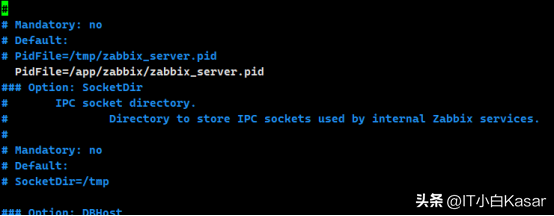
修改pid文件位置
由于是源码安装,所以存放日志文件的目录不存在,所以需要自行创建,并授予对于的权限。
mkdir /var/log/zabbix
chown zabbix:zabbix /var/log/zabbix
此时调整完成后就启动 Zabbix Server。
systemctl start zabbix-server && systemctl enable zabbix-server
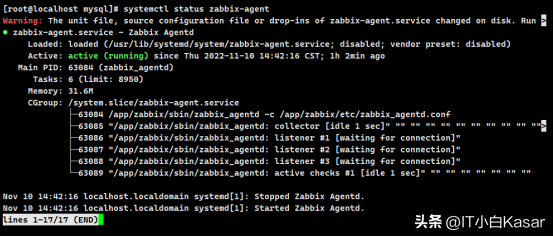
查看服务的状态。
systemctl status zabbix-server
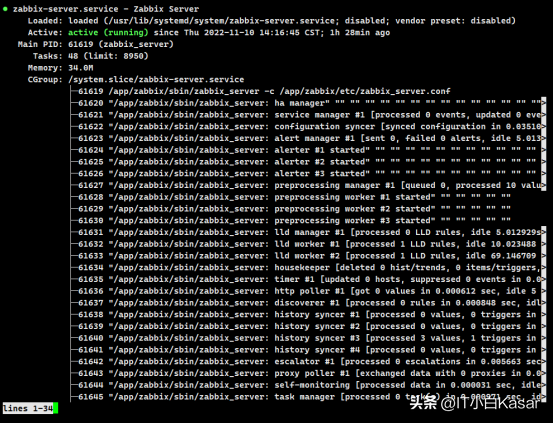
Active 处是running即为正常,同时查看相关日志。
tail -f /var/log/zabbix_server.log

Zabbix-agent
与 Server一样,先创建服务。
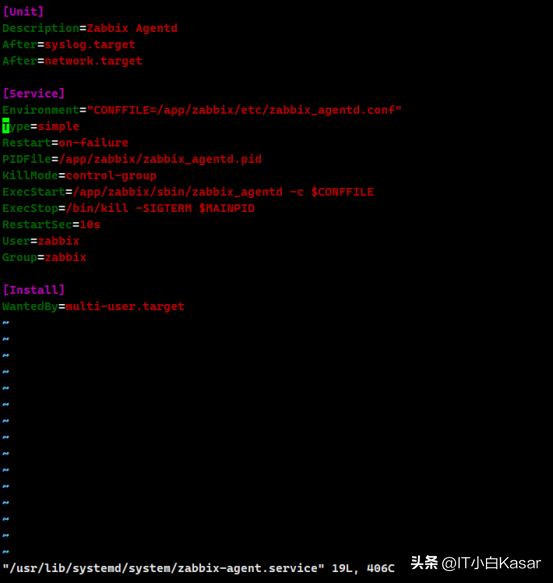
vim /usr/lib/systemd/system/zabbix-agent.service
[Unit]
Description=Zabbix Agent
After=syslog.target
After=network.target
[Service]
Environment="CONFFILE=/app/zabbix/etc/zabbix_agent.conf"
Type=simple
Restart=on-failure
PIDFile=/app/zabbix/zabbix_agentd.pid
KillMode=control-group
ExecStart=/app/zabbix/sbin/zabbix_agentd -c $CONFFILE
ExecStop=/bin/kill -SIGTERM $MAINPID
RestartSec=10s
User=zabbix
Group=zabbix
[Install]
WantedBy=multi-user.target
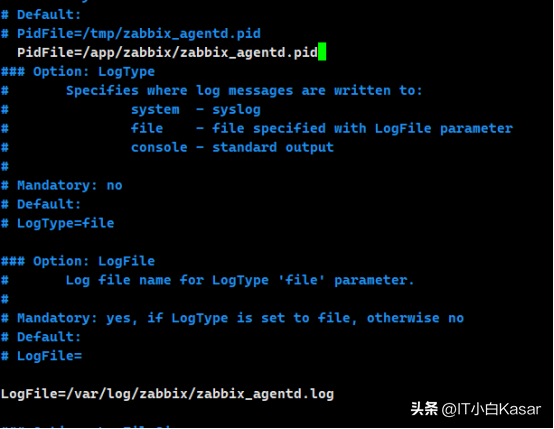
修改zabbix agent配置文件
同样调整两个地方,分别是pid文件的路径和日志的路径。
vim /app/zabbix/etc/zabbix_agentd.conf
启动zabbix agent
systemctl start zabbix-agent && systemctl enable zabbix-agent
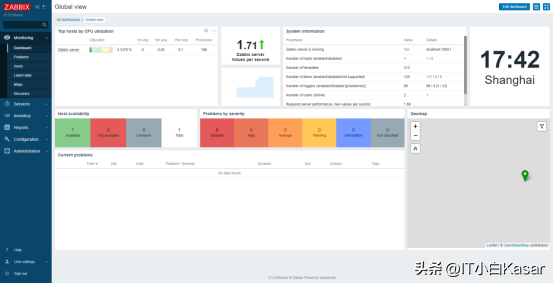
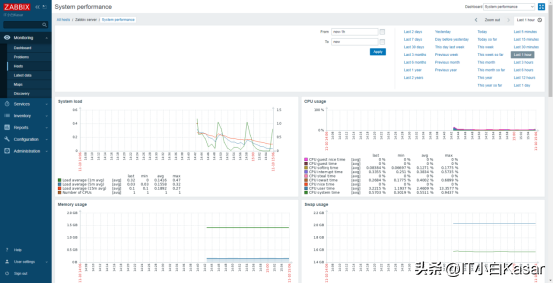
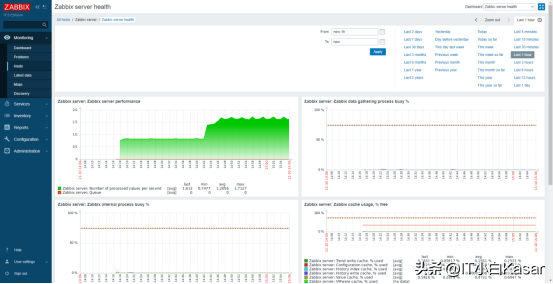
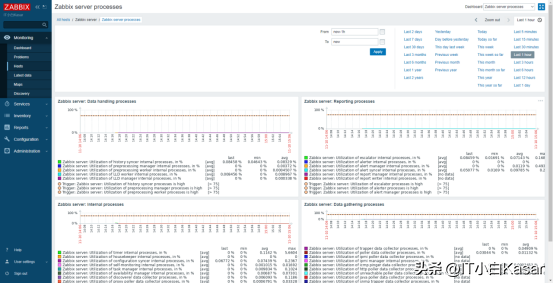
最终效果
写在最后
其实整体配置下来,感觉难度没有那么大,由于 openEuler并不是RHEL的下游版本,所以采用dnf方式不太行,会出现各种缺包,大家如果有兴趣可以多研究研究。