
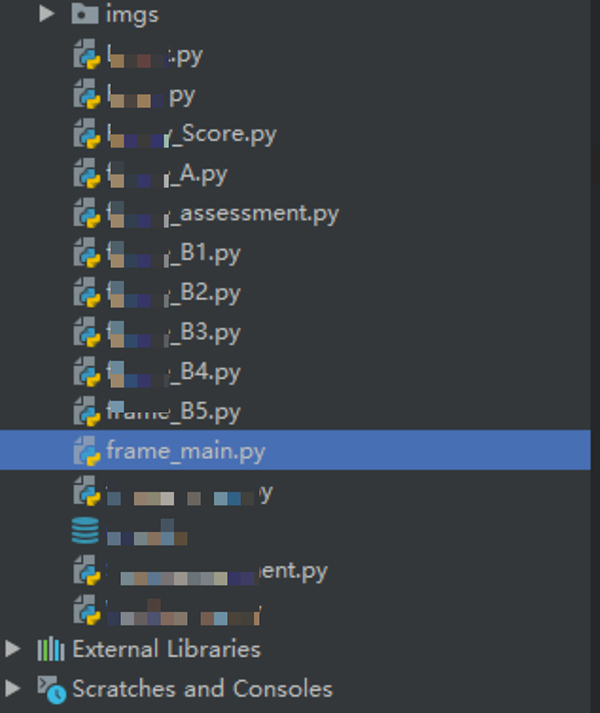
1、准备好打包文件
首先准备好将要打包的工程文件(/夹)。在这个文件下,我们将frame_main.py当做主程序。
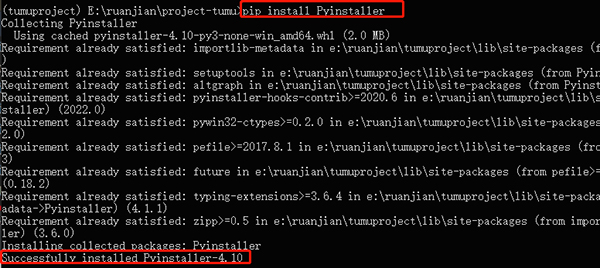
2、下载安装Pyinstaller
在 cmd 中进入我们当前的python环境中,并进入当前项目的文件夹下:
下载安装Pyinstaller
3、生成.spec文件
.spec文件为安装配置文件,作用是对可执行文件进行配置!因为我们把frame_main.py 当做主程序,所以输入如下命令:
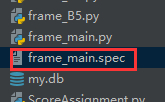
pyi-makespec frame_main.py

可以看到此时文件夹下生成了一个 frame_main.spec 文件,其内容如下:
# -*- mode: python ; coding: utf-8 -*-
block_cipher = None
a = Analysis(['frame_main.py'],
             pathex=[],
             binaries=[],
             datas=[],
             hiddenimports=[],
             hookspath=[],
             hooksconfig={},
             runtime_hooks=[],
             excludes=[],
             win_no_prefer_redirects=False,
             win_private_assemblies=False,
             cipher=block_cipher,
             noarchive=False)
pyz = PYZ(a.pure, a.zipped_data,
             cipher=block_cipher)
exe = EXE(pyz,
          a.scripts,
          [],
          exclude_binaries=True,
          name='frame_main',
          debug=False,
          bootloader_ignore_signals=False,
          strip=False,
          upx=True,
          console=True,
          disable_windowed_traceback=False,
          target_arch=None,
          codesign_identity=None,
          entitlements_file=None )
coll = COLLECT(exe,
               a.binaries,
               a.zipfiles,
               a.datas,
               strip=False,
               upx=True,
               upx_exclude=[],
               name='frame_main')
4、配置.spec文件
我们需要对其进行配置,包括文件和静态资源(图片等),
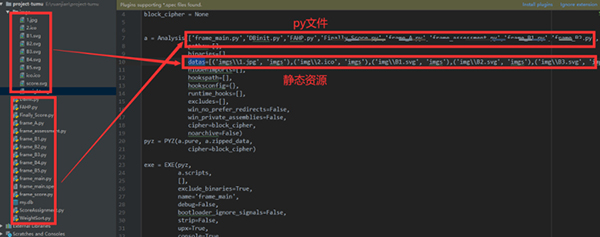
在Analysis 加入所有py文件,datas中加入所有静态资源。还有exe文件的图标,记住图标用绝对路径。
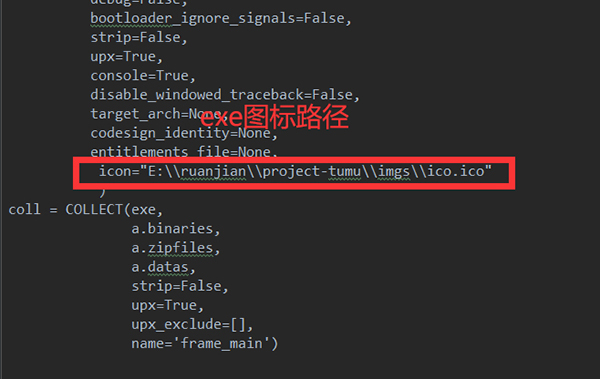
5、生成exe文件
输入命令:
pyinstaller -F -w frame_main.spec
(备注:-F是将一个文件打包而成的,-w是运行时不出现黑色窗口的)
打包完成之后会在当前目录文件夹下生成一个dist文件夹,打开之后会发现我们的 exe 文件。
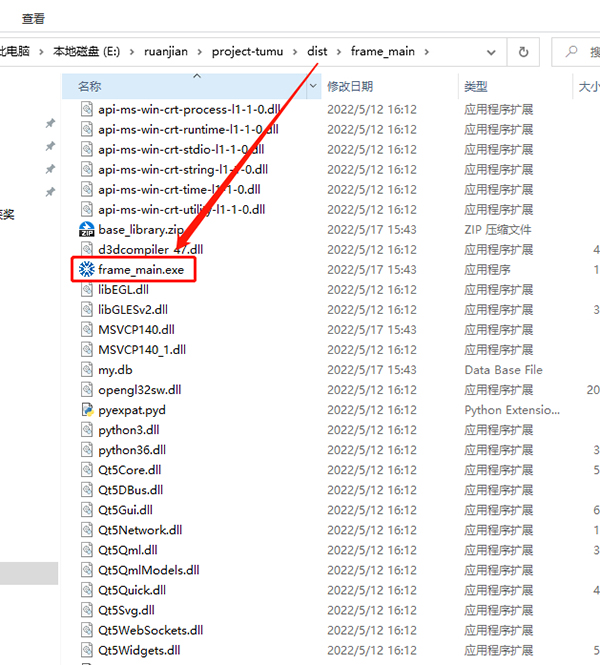
双击 exe 文件,竟然会发现怎么还是会出现黑色窗口呢,也就是控制台。
经过我师弟的点拨,终于发现了问题的所在,将spec文件中的 :
console = True
改为:
console = False
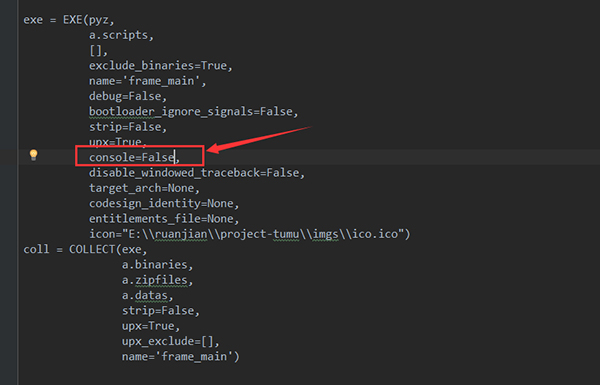
继续运行,再次打包。
pyinstaller -F -w frame_main.spec
双击 exe 文件
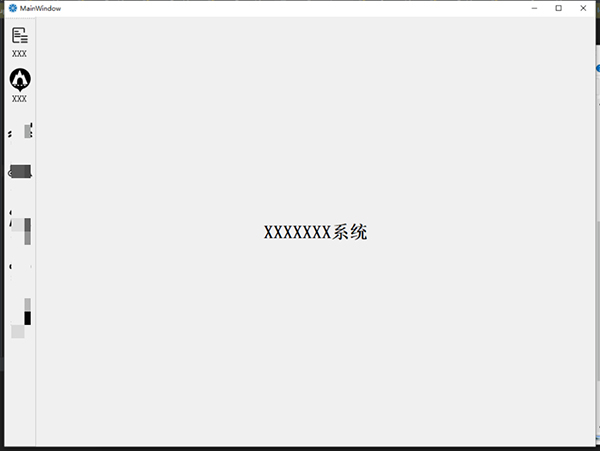
这样就不会出现黑框啦.....


