
正文
在上期的内容中,我们完成了开发定位服务Demo的基本准备。而在这期内容中,笔者会将剩下的开发工作做完。
为项目集成SDK
在正式开发应用前,我们需要在Gradle文件中设置AppGallery Connect的Gradle插件以及AppGallery Connect SDK基础包,以及将Location SDK集成到开发环境中,这些都是上期内容中未完成的步骤。
首先,我们需要下载agconnect-services.json文件。
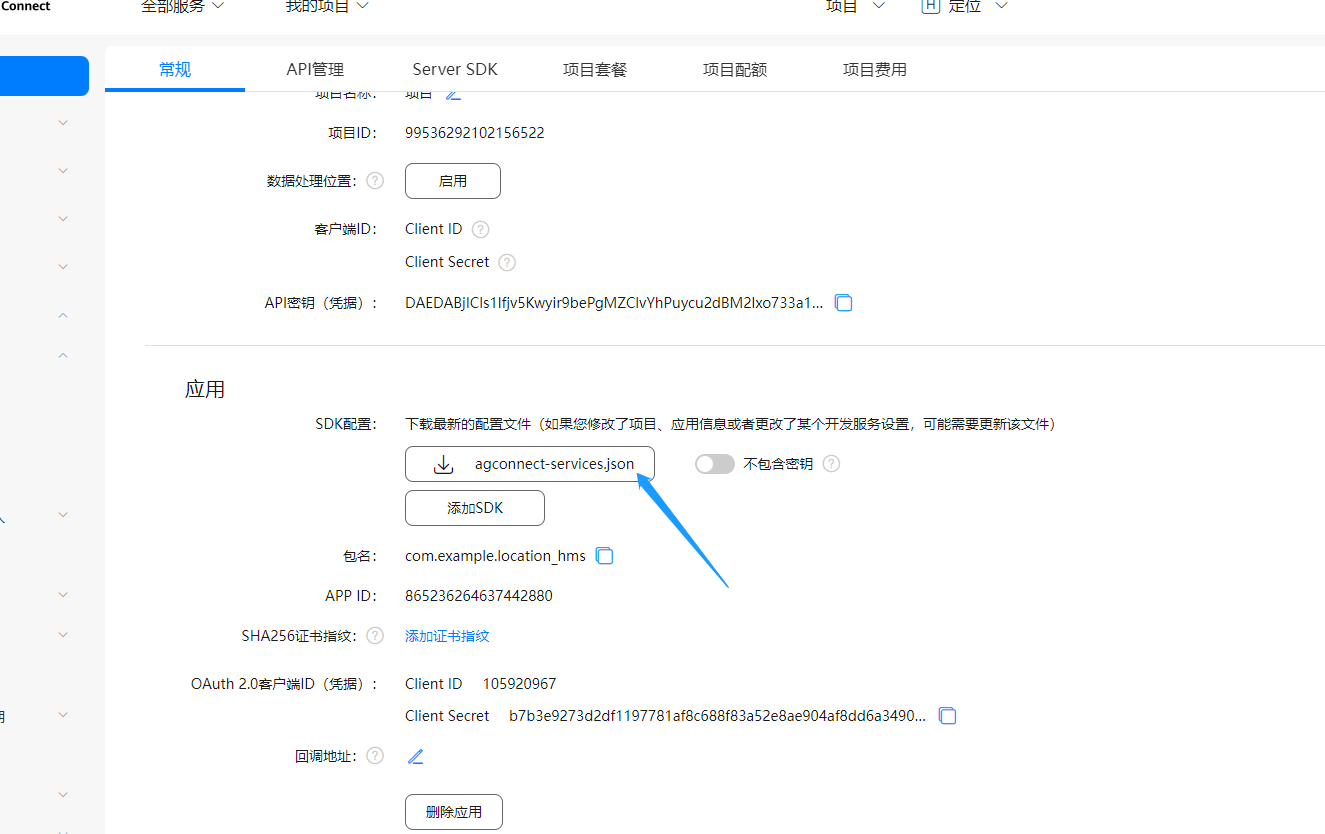
下载完成后,将此agconnect-services.json文件复制到剪切板中,然后打开DevEco Studio中的项目,再打开entry>src,将agconnect-services.json文件粘贴到src的目录中。
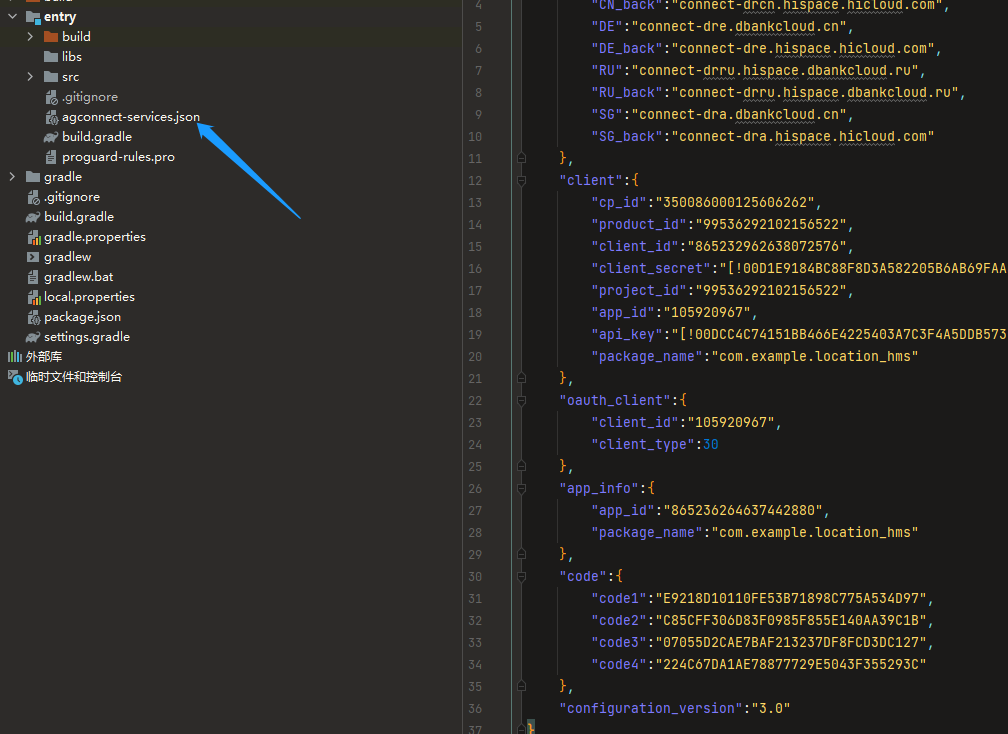
接着,打开项目级的build.gradle:
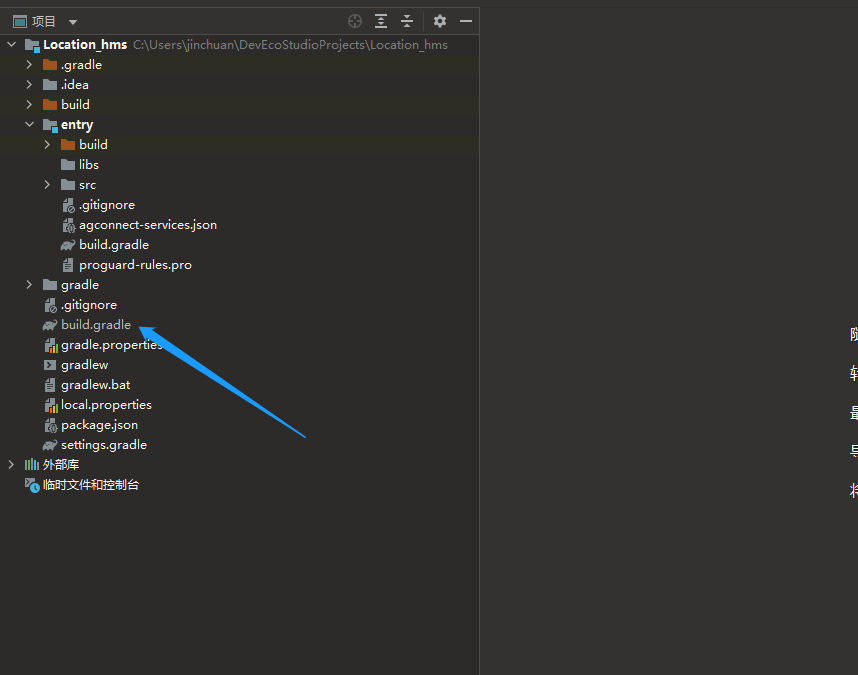
并在dependencies中添加相关代码:
dependencies {
classpath 'com.huawei.agconnect:agcp-harmony:1.0.0.300'
}
之后,打开模块级的build.gradle。
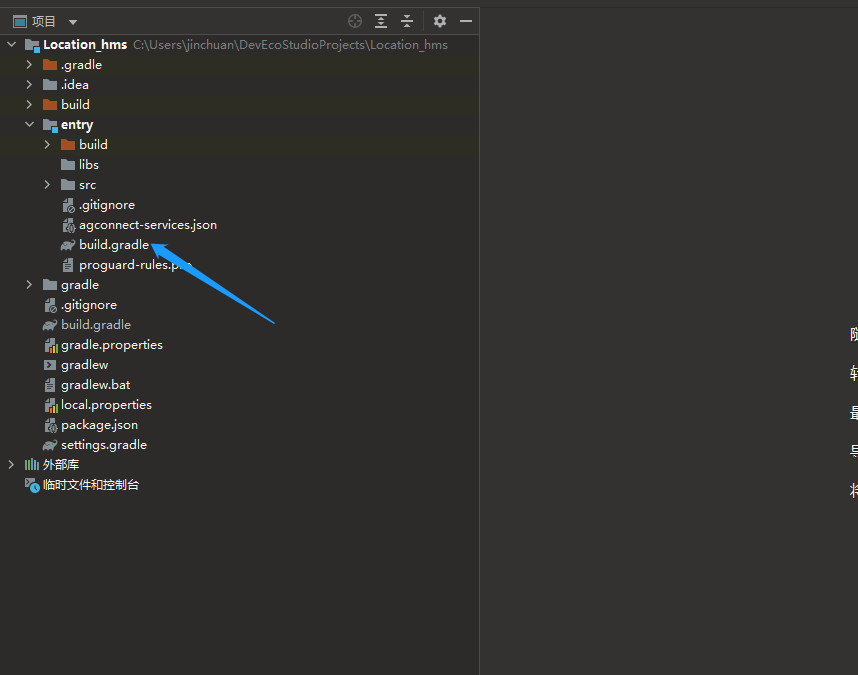
首先,在dependencies中添加相关代码:
dependencies {
implementation 'com.huawei.hms:location-harmony:6.3.0.300'
implementation 'com.huawei.agconnect:agconnect-core-harmony:1.3.0.300'
}
之后,在模块级build.gradle文件的顶部添加相关代码。
apply plugin: 'com.huawei.ohos.hap'
apply plugin: 'com.huawei.agconnect' //添加此行代码
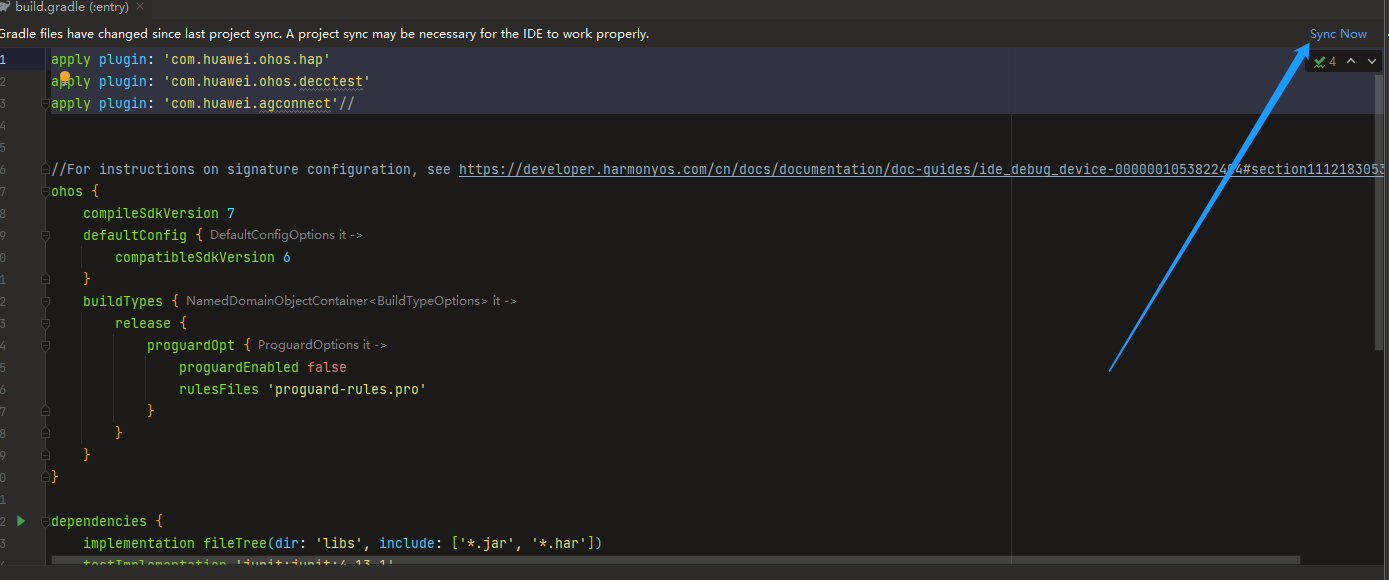
完成上述操作后,点击右上角的sync now,即可完成脚本文件的同步。
添加应用权限
打开entry>src>main>config.json,在module模块中添加获取网络状态的权限,定位权限以及后台定位权限:
"module": {
"reqPermissions": [
{
"name": "ohos.permission.GET_NETWORK_INFO",
"reason": "Allows programs to obtain network information status."
},
{
"name": "ohos.permission.LOCATION",
"reason": "Allows applications to obtain location information when running in the foreground."
},
{
"name": "ohos.permission.LOCATION_IN_BACKGROUND",
"reason": "Allows applications to obtain location information when running in the background."
}
],
}
完成上述操作后,点击右上角的sync now,即可完成脚本文件的同步。
配置混淆脚本
编译APP前,我们需要配置混淆配置文件,这样可以避免混淆SDK导致功能异常。
打开entry>src>proguard-rules.pro,加入排除HMS Core SDK的混淆配置。
-ignorewarnings
-repackageclasses
-keepattributes *Annotation*
-keepattributes Exceptions
-keepattributes InnerClasses
-keepattributes Signature
-keep public class com.huawei.hms.location.harmony.* { *;}
-keep public class com.huawei.hms.location.harmony.base.* { *;}
-keep class com.huawei.hmf.tasks.* {*;}
设置交互逻辑
完成前文的基础操作后,我们便可以开始写入定位服务Demo的交互逻辑了。
第一个要做的是一完成页面跳转,即从MainAbilitySlice跳转至GetLastLocationAbilitySlice。前者用于提供Demo的初始界面,类似于一个屏幕保护壁纸,而后者则提供带有定位业务的界面,它是这个Demo的核心页面。
打开entry>src>main>Java>com.example.location_hms>slice>MainAbilitySlice,在onStart回调中加入如下代码,实现不同Page Ability间页面导航的功能。
@Override
public void onStart(Intent intent) {
Button button1=(Button) findComponentById(ResourceTable.Id_bn1); //获取Button组件对象
button1.setClickedListener(new Component.ClickedListener() { //为此Button设置点击监听器
@Override
public void onClick(Component component) { //设置Click事件
Intent intent1=new Intent(); //创建Intent对象
Operation operation=new Intent.OperationBuilder() //创建Operation对象
.withDeviceId("")
.withBundleName("com.example.location_hms")
.withAbilityName("com.example.location_hms.GetLastLocationAbility") //设置需要跳转的目标Page Ability
.build();
intent1.setOperation(operation); //设置Intent对象的operation属性
startAbility(intent1); //添加启动Ability的指令
}
});
}
第二个需要实践的是—在代码中动态申请相关定位权限。
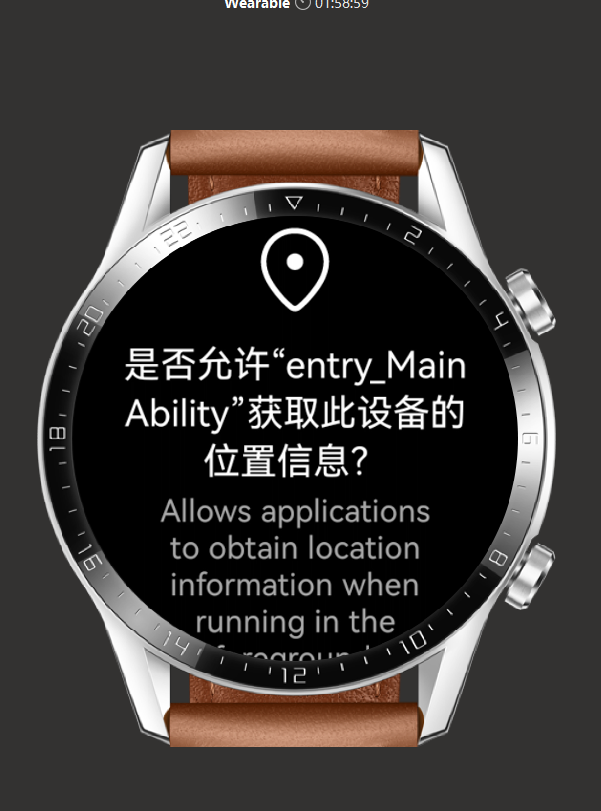
在前面的步骤中,我们已经将定位权限和后台定位权限(即“ohos.permission.LOCATION ”和“ohos.permission.LOCATION_IN_BACKGROUND”)添加到config.json中了,但这两个权限属于敏感权限,需要用户手动进行动态申请。
所以,我们新建一个AbilitySlice,并将其命名为RequestAbilitySlice。
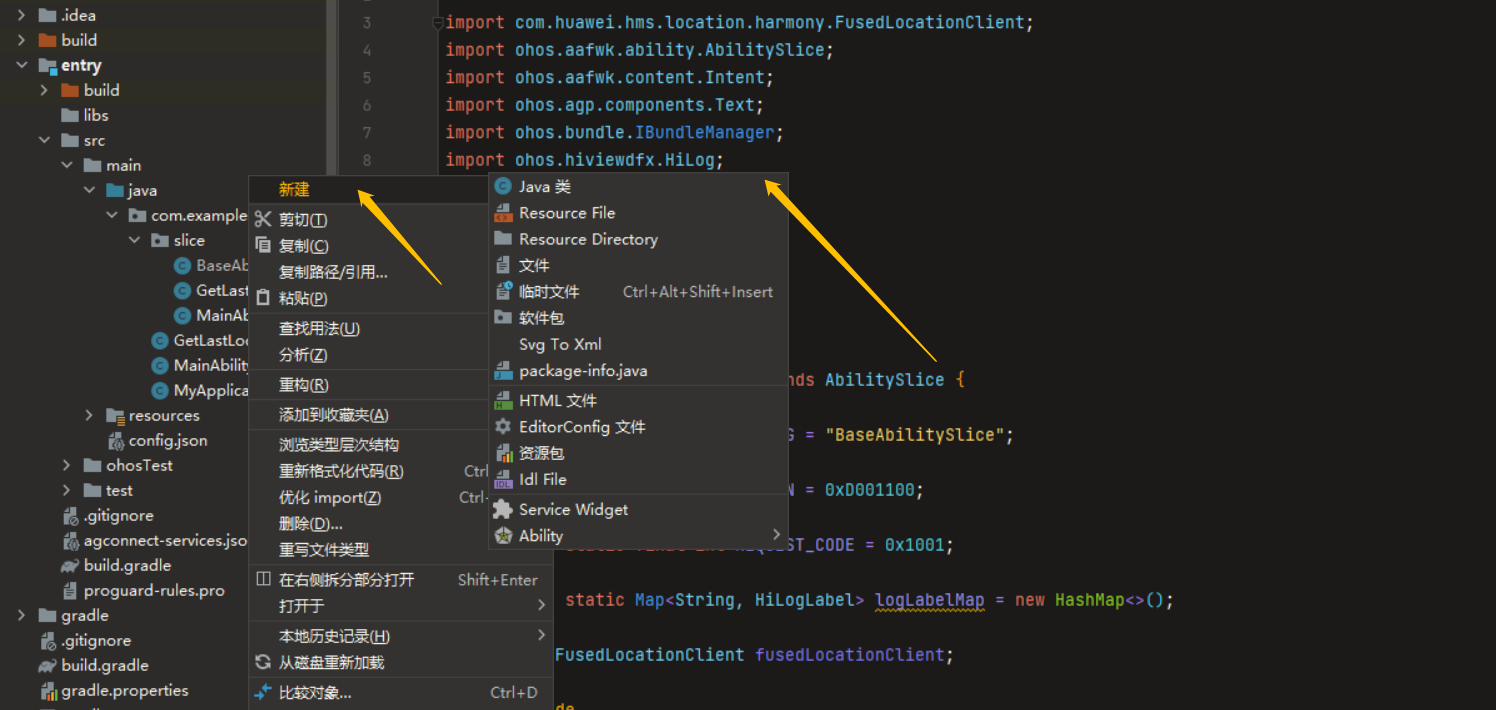
创建完成后,在RequestAbilitySlice中添加如下代码,以创建一个动态申请相关定位权限的线程。
public class RequestAbilitySlice extends AbilitySlice {
    private static final String TAG = "RequestAbilitySlice";
    private static final int DOMAIN = 0xD001100;
    private static final int REQUEST_CODE = 0x1001;
    private static Map<String, HiLogLabel> logLabelMap = new HashMap<>();
    public FusedLocationClient fusedLocationClient;
    @Override
    protected void onStart(Intent intent) {
        super.onStart(intent);
        fusedLocationClient = new FusedLocationClient(this);
    }
    @Override
    protected void onActive() {
        super.onActive();
    }
    public void checkSelfPermission() {
        if (verifySelfPermission("ohos.permission.LOCATION") != IBundleManager.PERMISSION_GRANTED) {
            printLog(HiLog.INFO, TAG, "Self: LOCATION permission not granted!");
            if (canRequestPermission("ohos.permission.LOCATION")) {
                printLog(HiLog.INFO, TAG, "Self: can request permission here");
                requestPermissionsFromUser(
                        new String[]{"ohos.permission.LOCATION"}, REQUEST_CODE);
            } else {
                printLog(HiLog.WARN, TAG, "Self: enter settings to set permission");
            }
        } else {
            printLog(HiLog.INFO, TAG, "Self: LOCATION permission granted!");
        }

        if (verifySelfPermission("ohos.permission.LOCATION_IN_BACKGROUND") != IBundleManager.PERMISSION_GRANTED) {
            printLog(HiLog.INFO, TAG, "Self: LOCATION_IN_BACKGROUND permission not granted!");
            if (canRequestPermission("ohos.permission.LOCATION_IN_BACKGROUND")) {
                printLog(HiLog.INFO, TAG, "Self: can request permission here");
                requestPermissionsFromUser(
                        new String[]{"ohos.permission.LOCATION_IN_BACKGROUND"}, REQUEST_CODE);
            } else {
                printLog(HiLog.WARN, TAG, "Self: enter settings to set permission");
            }
        } else {
            printLog(HiLog.INFO, TAG, "Self: LOCATION_IN_BACKGROUND permission granted!");
        }
    }
    public void printLog(int level, String tag, String message) {
        HiLogLabel hiLogLabel = getLogLabel(tag);
        switch (level) {
            case HiLog.INFO:
                HiLog.info(hiLogLabel, message);
                break;
            case HiLog.WARN:
                HiLog.warn(hiLogLabel, message);
                break;
            case HiLog.ERROR:
                HiLog.error(hiLogLabel, message);
                break;
            default:
                HiLog.debug(hiLogLabel, message);
                break;
        }
    }
    private HiLogLabel getLogLabel(String tag) {
        HiLogLabel label;
        String tagStr;

        if (tag == null || tag.isEmpty()) {
            tagStr = "TAG";
        } else {
            tagStr = tag;
        }
        if (logLabelMap.containsKey(tagStr)) {
            label = logLabelMap.getOrDefault(tagStr, new HiLogLabel(HiLog.LOG_APP, DOMAIN, "TAG"));
        } else {
            label = new HiLogLabel(HiLog.LOG_APP, DOMAIN, tagStr);
            logLabelMap.put(tagStr, label);
        }
        return label;
    }
    public void printScreenLog(Text showLocation, String msg) {
        StringBuilder outputBuilder = new StringBuilder();
        SimpleDateFormat formatter = new SimpleDateFormat("HH:mm:ss");
        Date curDate = new Date(System.currentTimeMillis());
        String dateStr = formatter.format(curDate);
        outputBuilder.append(dateStr);
        outputBuilder.append(" ");
        outputBuilder.append(msg);
        outputBuilder.append(System.lineSeparator());
        showLocation.setMultipleLine(true);
        showLocation.append(outputBuilder.toString());
    }
}
并且,我们希望打开应用时,系统就能推送关于申请权限的消息,故我们需要在MainAbility中进行相关设置。
打开entry>src>main>Java>com.example.location_hms>MainAbility,添加如下代码:
public class MainAbility extends Ability {
    private static final int REQUEST_CODE = 0x1000;
    private static final int DOMAIN = 0xD001100;
    private HiLogLabel hiLogLabel = new HiLogLabel(HiLog.LOG_APP, DOMAIN, "TAG");
    @Override
    public void onStart(Intent intent) {
        super.onStart(intent);
        super.setMainRoute(MainAbilitySlice.class.getName());
        String[] strings = {"ohos.permission.LOCATION", "ohos.permission.LOCATION_IN_BACKGROUND"};
        requestPermissionsFromUser(strings, REQUEST_CODE);
    }
    @Override
    public void onRequestPermissionsFromUserResult(int requestCode, String[] permissions, int[] grantResults) {
        super.onRequestPermissionsFromUserResult(requestCode, permissions, grantResults);
        HiLog.info(hiLogLabel, "MainAbility onRequestPermissionsFromUserResult :" + Arrays.toString(grantResults));
        if (requestCode == REQUEST_CODE) {
            HiLog.info(hiLogLabel, "MainAbility request permission success.");
        }
    }
}
第三个需要做的则是一在GetLocationAbilitySlice中写入的就是定位服务的功能逻辑了。
我们在之前创建了一个用于动态申请相关权限的RequestAbilitySlice,不过它只是作为一个基类Slice,相当于一个模板,在Demo中并不被当作具体页面向用户展示。而这个RequestAbilitySlice的用处则是被GetLastLocationAbilitySlice所继承,这样做不仅能将两种不同作用的代码分隔开来,以免混淆,而且想在这个Demo中扩展其他定位功能时,也可以让新建的AbilitySlice直接继承这个基类slice,避免重复写同一种代码。
打开GetLastLocationAbilitySlice,将它extend的对象改为RequestAbilitySlice,并加入相应代码:
public class GetLastLocationAbilitySlice extends RequestAbilitySlice implements Component.ClickedListener {   //继承RequestAbilitySlice
    private static final String TAG = "GetLastLocationSlice";
    private Text showLocation;
    @Override
    public void onStart(Intent intent) {
        super.onStart(intent);
        super.setUIContent(ResourceTable.Layout_ability_get_last_location);
        checkSelfPermission();
        findComponentById(ResourceTable.Id_btn_getLastLocationWithAddress).setClickedListener(this);
        showLocation = (Text) findComponentById(ResourceTable.Id_show_location);  //获取文本组件的对象
    }
    @Override
    public void onClick(Component component) {
        switch (component.getId()) {
            case ResourceTable.Id_btn_getLastLocationWithAddress:
                getLastLocationWithAddress();
                break;
            default:
                break;
        }
    }
    private void getLastLocationWithAddress() {
        fusedLocationClient.getLastLocationWithAddress(buildLocationRequest())    //获取fusedLocationClient对象
                .addOnSuccessListener(location -> {
                    if (null == location) {
                        printLog(HiLog.INFO, TAG, "[new]getLastLocationWithAddress onSuccess: hwLocation is null");
                        return;
                    }
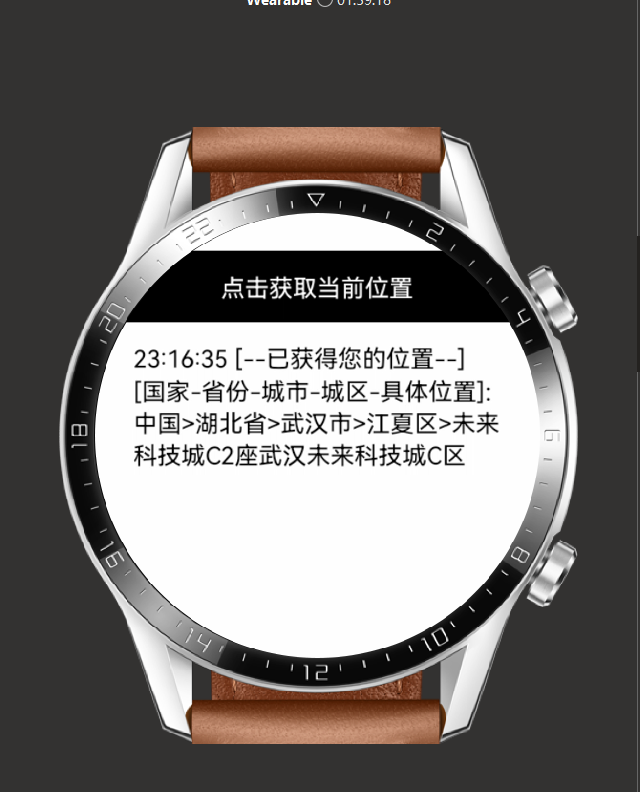
                    String result = "[--已获得您的位置--]" +" "
                            +"[国家-省份-城市-城区-具体位置]:"
                            + location.getCountryName() + ">"
                            + location.getState() + ">" + location.getCity() + ">"
                            + location.getCounty() + ">" + location.getFeatureName()+"";   //定义需要输出到文本组件的字符串(获取位置成功时)
                    printLog(HiLog.INFO, TAG, result);
                    printScreenLog(showLocation, result);
                })
                .addOnFailureListener(e -> {
                    printLog(HiLog.INFO, TAG, "无法获取您的位置 " + e.getMessage());
                    printScreenLog(showLocation, "无法获取您的位置 " + e.getMessage());  //定义需要输出到文本组件的字符串(获取位置失败时)
                });
    }
    private LocationRequest buildLocationRequest() {
        LocationRequest locationRequest = new LocationRequest();
        locationRequest.setNeedAddress(true);
        locationRequest.setLanguage("zh");
        locationRequest.setCountryCode("CN");
        return locationRequest;
    }
}
完成上述操作后,定位套件的制作就大功告成了。
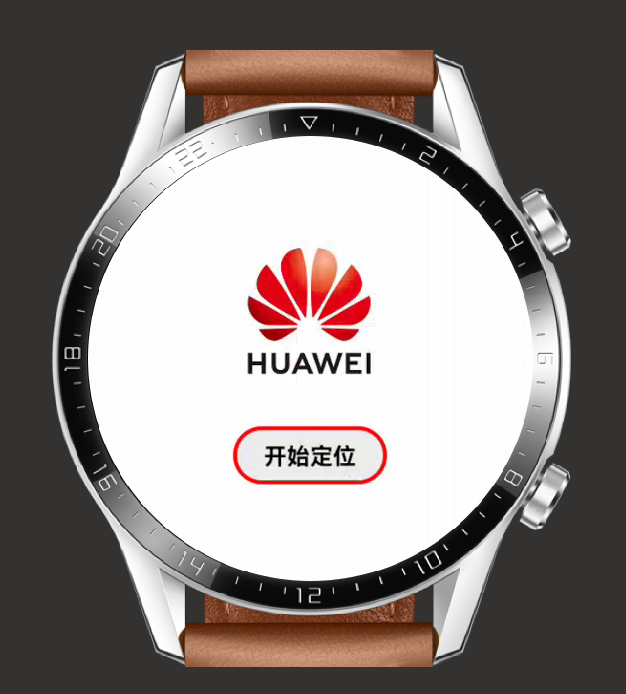
效果图如下:
结尾
本期的分享到这里就结束了。


