提示:为了大家CTRL + C方便,我文章中的所有代码全部为纯文本。如果你是前端童鞋,我还是建议你真正理解后,自己手动完成,而不是CTRL + C。
不废话,直入正题。我用的Windows系统,其它系统类似。首先,我们根据vite官网教程,在cmd窗口运行以下命令,创建一个vite + Vue3的基础项目。
>>> yarn create vite my-vue-app --template vue
项目创建完成后,运行以下命令安装依赖。
>>> cd my-vue-app
>>> yarn
依赖安装完成后,运行以下命令就可以启动我们的开发服务了。
>>> yarn dev
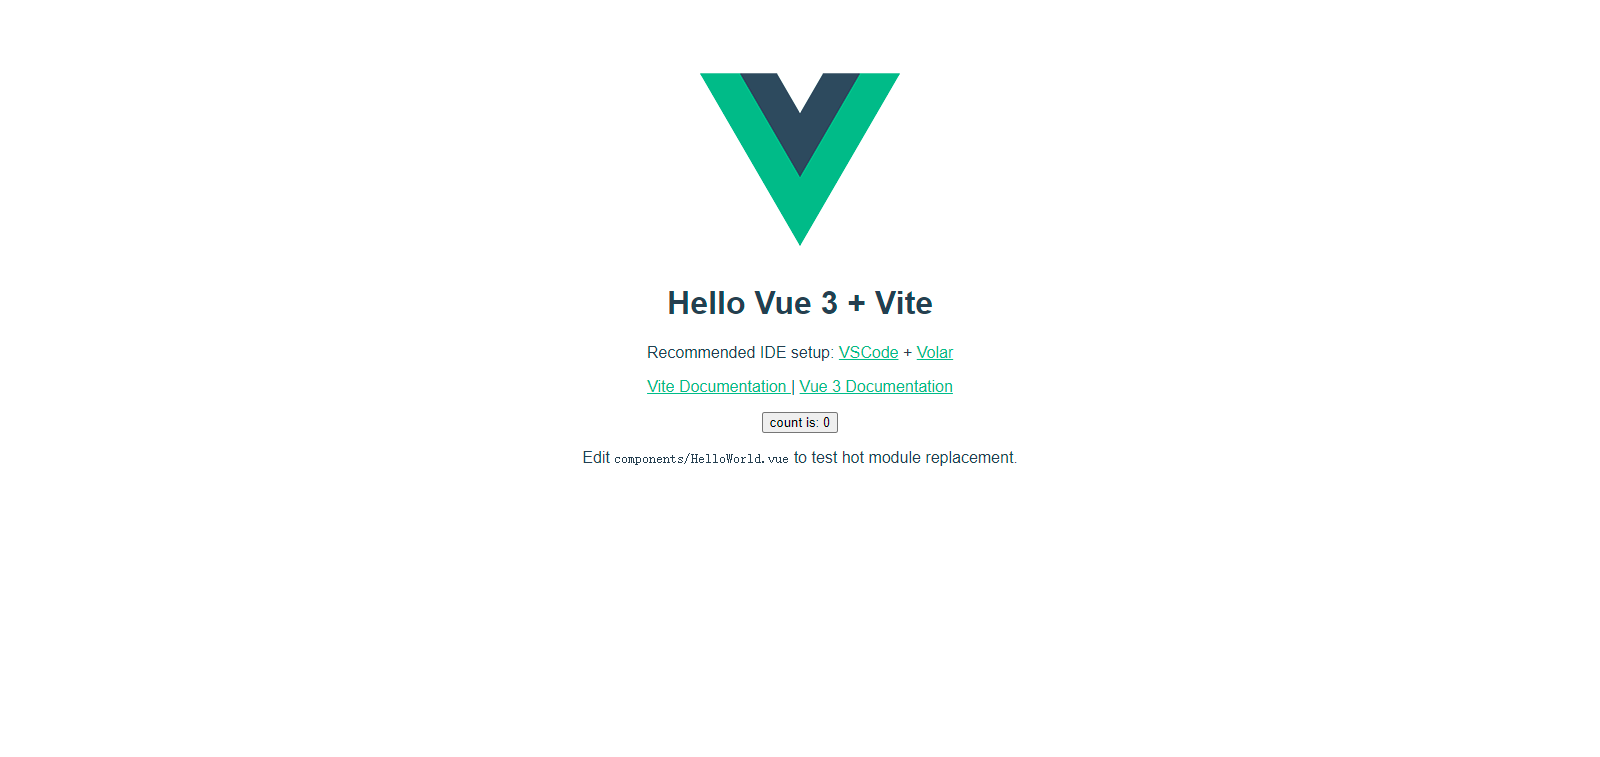
然后打开浏览器,访问http://localhost:3000,界面如下。

现在,我们运行以下命令,添加一些依赖。
>>> yarn add vue-router element-plus @element-plus/icons-vue
然后,运行以下命令,添加一些开发依赖。
>>> yarn add sass unplugin-element-plus -D
现在,我们集成vue-router。在src目录下创建views目录,在里面创建2个vue文件:Home.vue和Demo.vue,Home.vue文件代码如下,Demo.vue类似。
<template>
  <div>Home</div>
</template>
然后,在src目录创建router.js文件。代码如下:
import { createRouter, createWebHashHistory } from 'vue-router'
export default createRouter({
  history: createWebHashHistory(),
  routes: [
    {
      path: '/',
      component: () => import('./views/Home.vue')
    },
    {
      path: '/demo',
      component: () => import('./views/Demo.vue')
    }
  ]
})
然后,将src/main.js修改为如下代码:
import { createApp } from 'vue'
import App from './App.vue'
import router from './router'
const app = createApp(App)
app.use(router)
app.mount('#app')
现在,我们参照element-plus官方文档,实现按需引入和自定义主题功能。首先,在src/assets目录下创建theme目录,在theme目录添加文件default.scss,在该文件中添加如下代码:
$--colors: (
  'primary': (
    'base': #00cdb1,
  )
);
$--text-color: (
  'primary': #303133,
  'regular': #606266,
  'secondary': #909399,
  'placeholder': #c0c4cc,
);
$--border-color: (
  'base': #dcdfe6,
  'light': #e4e7ed,
  'lighter': #ebeef5,
  'extra-light': #f2f6fc,
);
$text-color-primary: map-get($map: $--text-color, $key: primary);
$text-color-regular: map-get($map: $--text-color, $key: regular);
$text-color-secondary: map-get($map: $--text-color, $key: secondary);
$text-color-placeholder: map-get($map: $--text-color, $key: placeholder);
$border-color-base: map-get($map: $--border-color, $key: base);
$border-color-light: map-get($map: $--border-color, $key: light);
$border-color-lighter: map-get($map: $--border-color, $key: lighter);
$border-color-extra-light: map-get($map: $--border-color, $key: extra-light);
$aside-color: #33425b;
@forward 'element-plus/theme-chalk/src/common/var.scss' with (
  $colors: $--colors,
  $text-color: $--text-color,
  $border-color: $--border-color,
);
然后,我们修改vite.config.js文件,替换为如下代码:
import path from 'path'
import { defineConfig } from 'vite'
import vue from '@vitejs/plugin-vue'
import ElementPlus from 'unplugin-element-plus/vite'
// https://vitejs.dev/config/
export default defineConfig({
  resolve: {
    alias: {
      '~/': `${path.resolve(__dirname, 'src')}/`
    }
  },
  css: {
    preprocessorOptions: {
      scss: { // 注入全局scss变量
        additionalData: `@use "~/assets/theme/default.scss" as *;`
      }
    }
  },
  plugins: [
    vue(),
    ElementPlus({ useSource: true })
  ]
})
现在,我们在src目录下创建plugins目录,在plugins目录下创建element-components.js和index.js文件。element-components.js文件代码如下,该文件用于按需导出全局组件,我们会在index.js文件中引入,并导出一个注册插件函数,在该函数中注册。
export {
  ElButton
} from 'element-plus'
index.js文件代码如下:
import * as ElementUi from './element-components'
export default app => {
  // 单独创建element-components文件的主要目的就是便于通过循环注册组件
  Object.values(ElementUi).forEach(c => app.use(c))
}
现在,我们修改src/main.js文件,在该文件中引入plugins/index.js文件,并注册插件。
import { createApp } from 'vue'
import App from './App.vue'
import router from './router'
import VuePlugins from './plugins' // 引入
const app = createApp(App)
app.use(VuePlugins) // 注册插件
app.use(router)
app.mount('#app')
现在,我们修改Demo.vue文件,测试一下我们上面引入的ElButton组件。Demo.vue文件代码改为如下:
<template>
  <div>
    <el-button type="primary" plain @click="onTest">测试</el-button>
  </div>
</template>
<script setup>
import { ElMessage } from 'element-plus'
const onTest = () => {
  ElMessage.success('测试一下Element-plus')
}
</script>
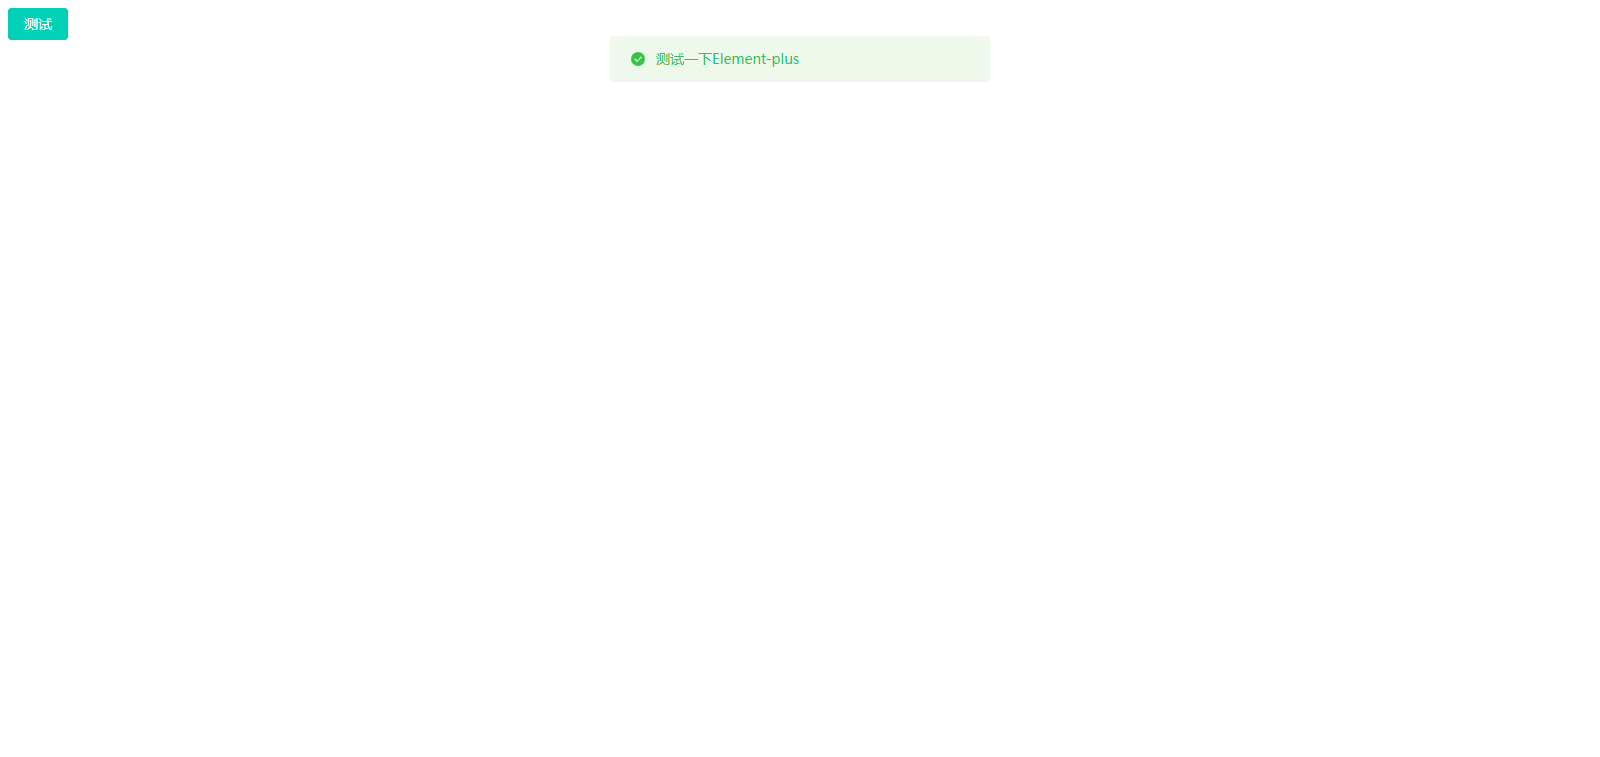
确保开发服务已启动,在浏览器访问http://localhost:3000/#/demo,我们会看到如下界面,点击测试按钮,会弹出一个成功的消息提示。

现在,我们将上篇文章中实现的TableView组件添加到该项目中。首先我们引入用到的element-plus组件。修改element-components.js文件为如下代码:
export {
  ElButton,
  ElForm,
  ElFormItem,
  ElInput,
  ElTable,
  ElTableColumn,
  ElLoading,
  ElPagination,
  ElConfigProvider // 用于配置语言,默认为英文,我们需要配置成中文
} from 'element-plus'
由于element-plus的默认语言是英文的,我们需要先配置中文语言包。将App.vue改为如下代码:
<template>
  <el-config-provider :locale="zhCn">
    <router-view />
  </el-config-provider>
</template>
<script setup>
import zhCn from 'element-plus/lib/locale/lang/zh-cn'
</script>
然后,将上篇文章中完成的TableView.vue组件放到components目录下,并在该目录创建index.js文件,该文件代码如下:
export { default as TableView } from './TableView.vue'
然后,修改src/plugins/index.js文件,引入我们的自定义组件,并注册为全局组件。
import * as ElementUi from './element-components'
import * as comps from '../components'

export default app => {
  Object.values(ElementUi).forEach(c => app.use(c))
  Object.keys(comps).forEach(k => app.component(`Ui${k}`, comps[k]))
}
现在,我们可以写一个例子测试下TableView.vue组件了。修改Demo.vue文件,替换为如下代码:
<template>
  <ui-table-view ref="table" v-bind="viewProps">
    <template #search="{ form }">
      <el-form-item label="名称">
        <el-input v-model="form.name" />
      </el-form-item>
    </template>
    <template #actions>
      <el-button type="primary" :icon="Plus">新建用户</el-button>
    </template>
  </ui-table-view>
</template>
<script setup>
import { onMounted, ref } from 'vue'
import { Plus } from '@element-plus/icons-vue'
const table = ref()
const viewProps = {
  columns: [
    { label: '名称', prop: 'name' },
    { label: '描述', prop: 'desc' },
    { label: '创建时间', prop: 'createdTime' }
  ],
  fetchAction: () => Promise.resolve({
    totalElements: 2,
    content: [
      { name: 'test01', desc: 'this is a test 01', createdTime: '2022-04-06 11:26:33' },
      { name: 'test02', desc: 'this is a test 02', createdTime: '2022-04-06 11:26:35' }
    ]
  })
}
onMounted(() =>  table.value.getData())
</script>
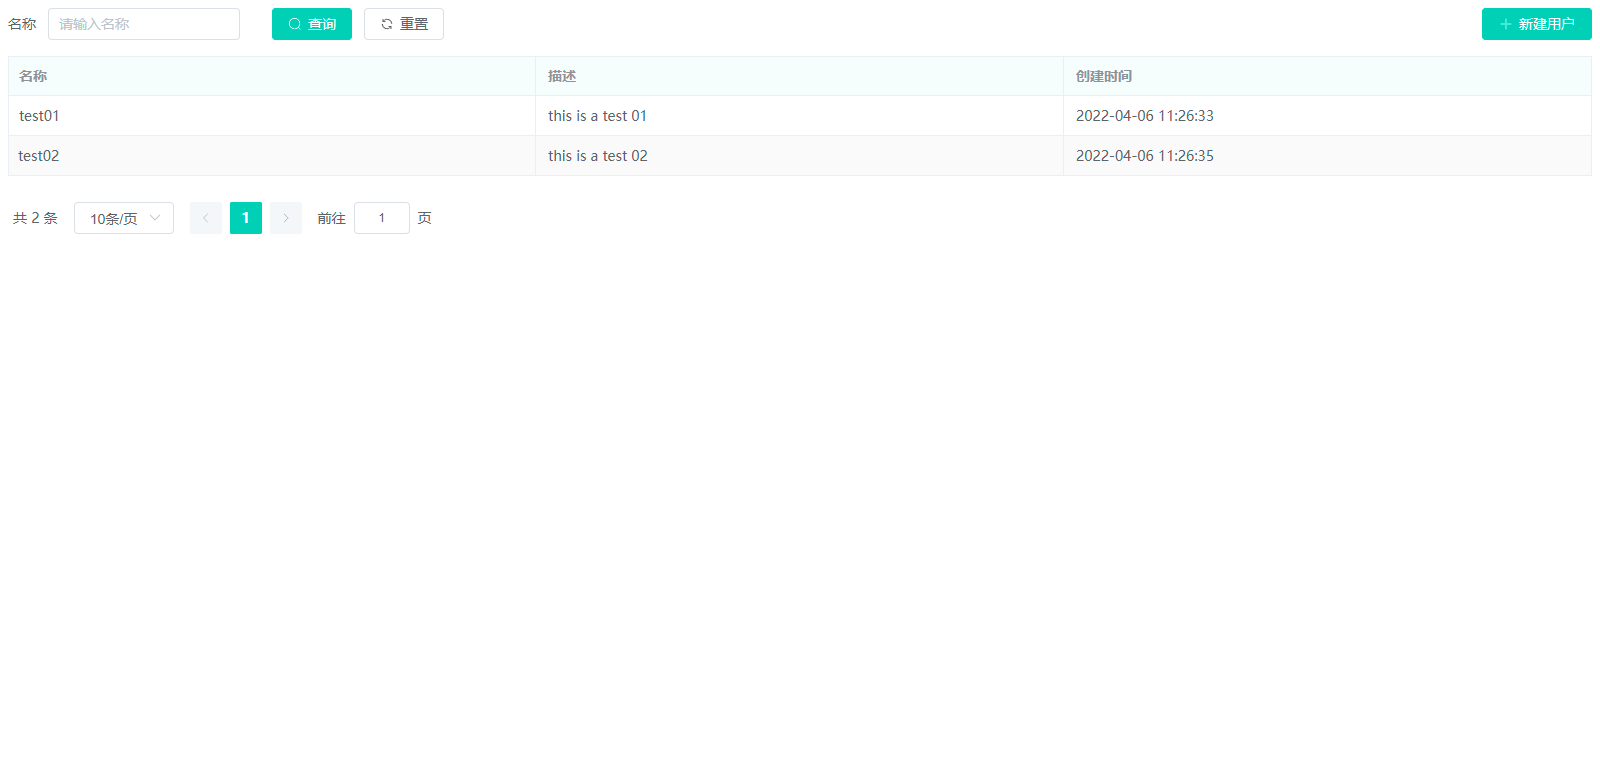
然后,访问http://localhost:3000/#/demo,我们可以看到如下界面。

以上就是本篇要讲的所有内容,童鞋们,都学会了吗?


