本文主要针对 Zabbix 5.0 LTS 如何升级到 6.0 LTS 做一个探讨。
正文
本文环境
注意本文环境,有可能与您的环境有所出入,所以问题有可能不同!
- CentOS 7.9.2009
- Mariadb 10.3
- Zabbix LTS 5.0.20
- 虚拟机环境为 VMware
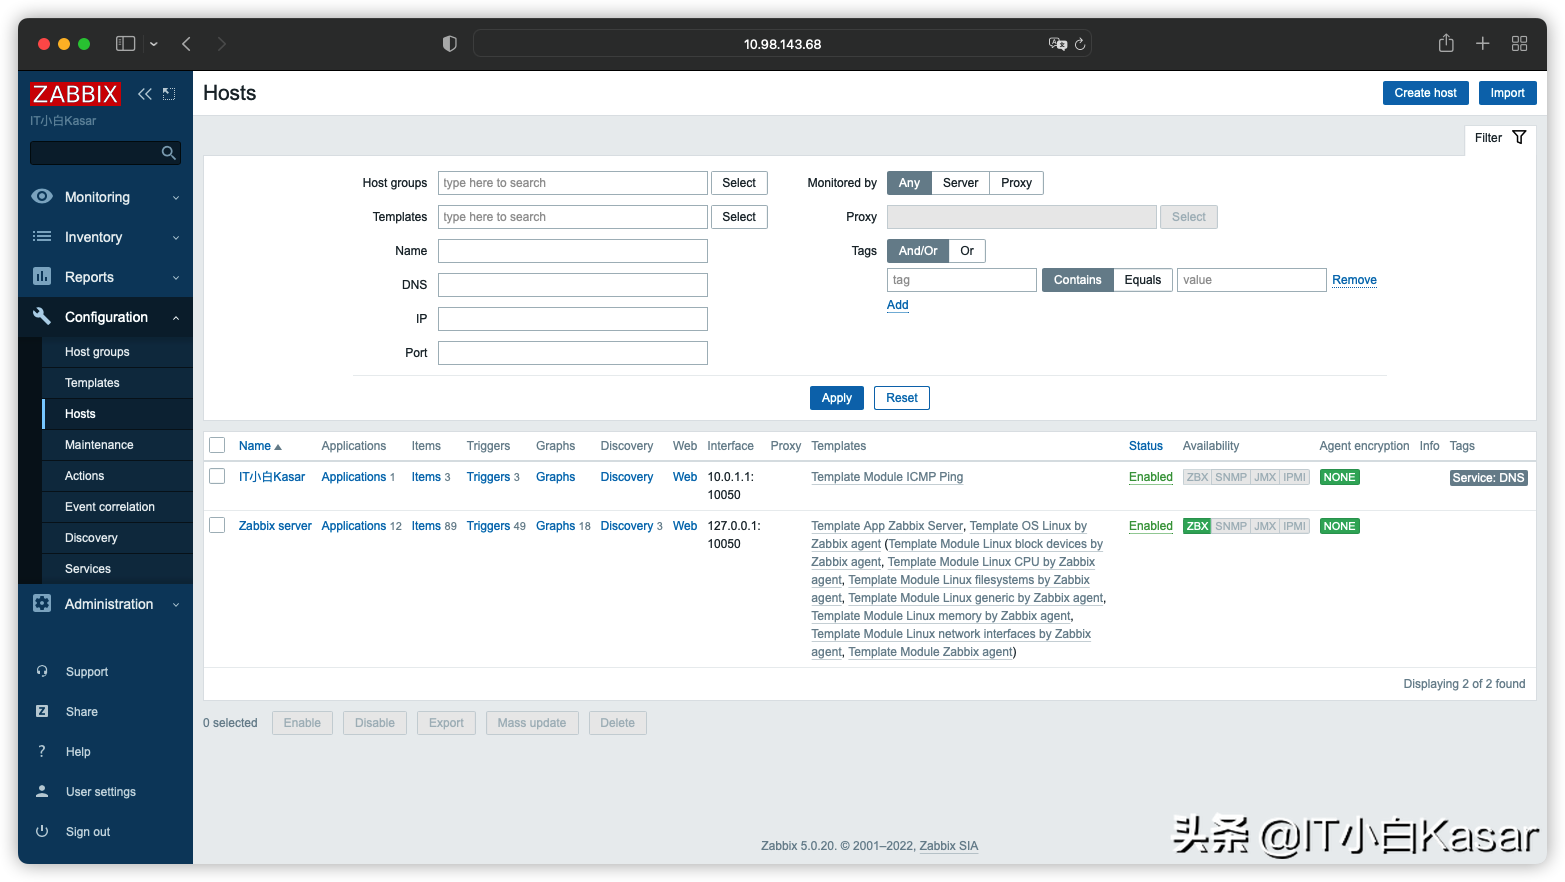
Zabbix 5.0.20
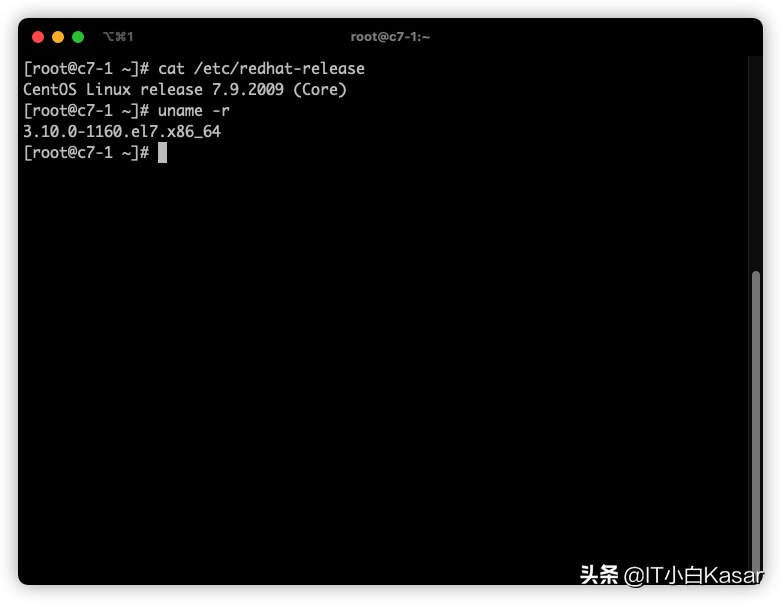
升级思路
系统升级 –> 数据库升级 –> Zabbix Server 升级
停止相关服务
systemctl stop zabbix-server zabbix-agent rh-nginx116-nginx rh-php72-php-fpm mariadb
准备工作
安装 epel 源、yum-utils 工具
yum -y install epel-release
yum -y install yum-utils rpmconf
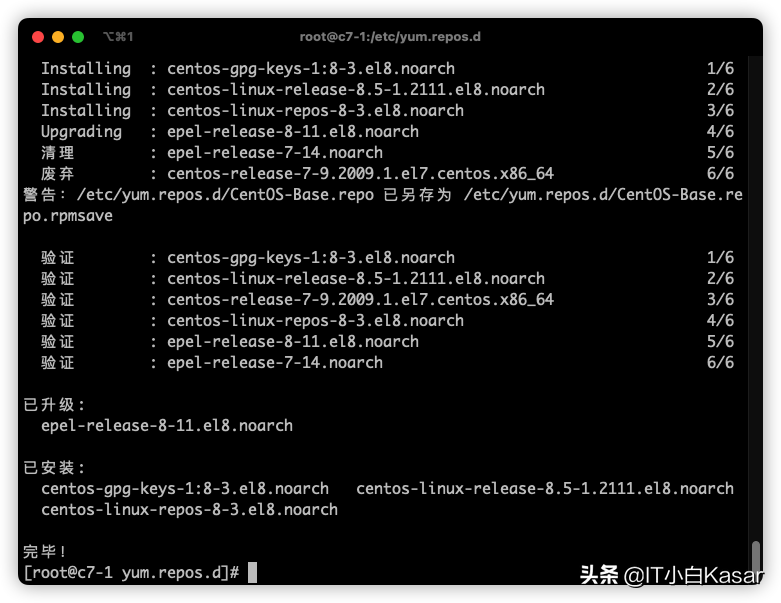
删除重复/未使用的安装包(可选)
rpmconf -a
package-cleanup --leaves
package-cleanup --orphans
安装 dnf(C8 默认安装工具,yum 的升级版)
yum -y install dnf
升级至 CentOS 8
dnf -y upgrade
如果是 CentOS 7.6 版本安装会遇到报错,原因是因为 Python 版本不匹配,需要升级 Pyhton 版本与安装 dnf 相关组件
yum update -y python*
yum install -y dnf-data dnf-plugins-core libdnf-devel libdnf python2-dnf-plugin-migrate dnf-automatic
安装 CentOS 8 的镜像源(本文采用阿里的源),由于 CentOS 8 已经停止技术支持了,所以需要采用 centos-valut 的 yum 源
mv /etc/yum.repos.d/CentOS-Base.repo /etc/yum.repos.d/CentOS-Base.repo.bak
curl -o /etc/yum.repos.d/CentOS-Base.repo https://mirrors.aliyun.com/repo/Centos-vault-8.5.2111.repo
由于 CentOS 8 已经停止支持了,以致源切换到了 centos-valut 下,本文采用将原有源备份成其他名字的方法
升级 epel 8 的源
dnf -y upgrade epel-release
移除旧内核及冲突的软件
rpm -e `rpm -q kernel`
rpm -e --nodeps sysvinit-tools
版本升级
dnf -y --releasever=8 --allowerasing --setopt=deltarpm=false distro-sync
首先遇到的问题是 CentOS 8 的源在更新的时候出现了失效
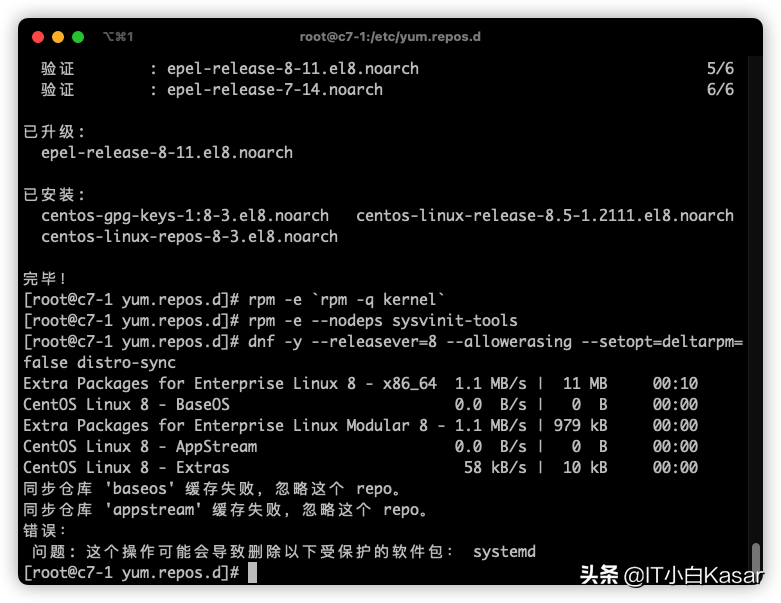
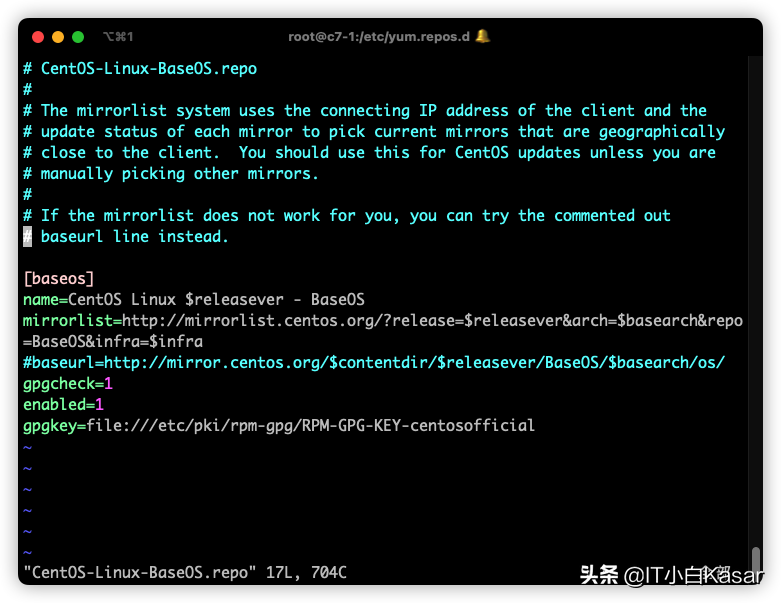
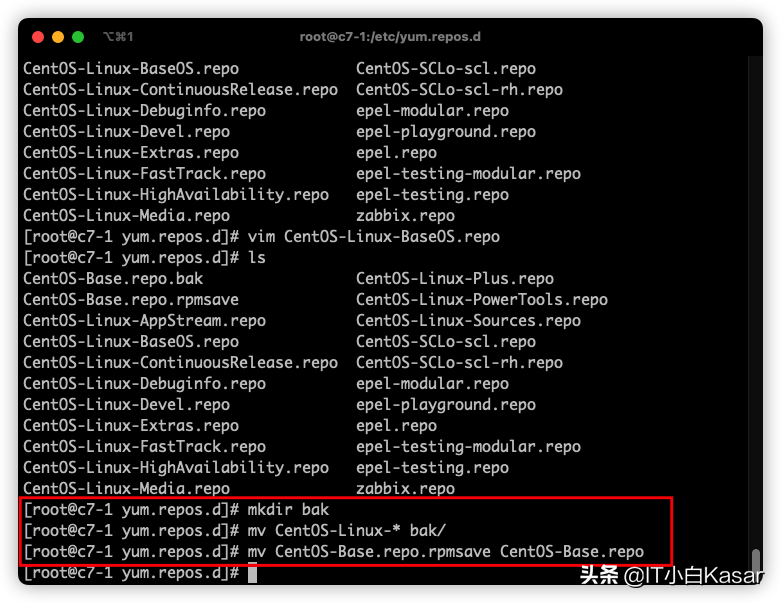
执行下面的命令,继续执行更新
cd /etc/yum.repos.d/
mkdir bak
mv CentOS-Linux-* bak/
mv CentOS-Base.repo.rpmsave CentOS-Base.repo
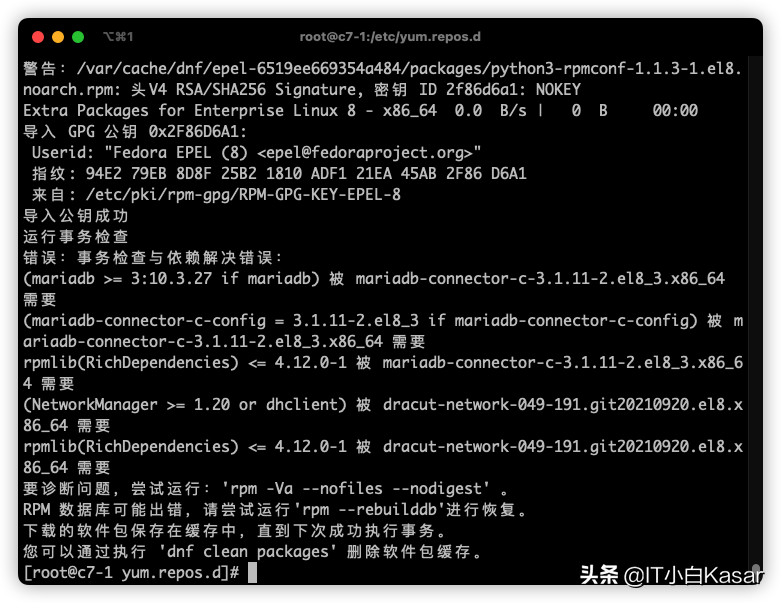
由于本身 Zabbix 采用 all-in-one 的方式安装的,所以会出现下图的问题,此时需要增加 CentOS 8 的 mariadb 源,而 Zabbix 6.0 LTS 推荐的数据库版本为 10.6,因此建议添加 10.6 的 yum 源
cat <<EOF > /etc/yum.repos.d/mariadb.repo
# MariaDB 10.6 CentOS repository list - created 2022-01-16 15:10 UTC
# https://mariadb.org/download/
[mariadb]
name = MariaDB
baseurl = https://mirrors.cloud.tencent.com/mariadb/yum/10.6/centos8-amd64
module_hotfixes=1
gpgkey=https://mirrors.cloud.tencent.com/mariadb/yum/RPM-GPG-KEY-MariaDB
gpgcheck=1
EOF
继续执行更新命令
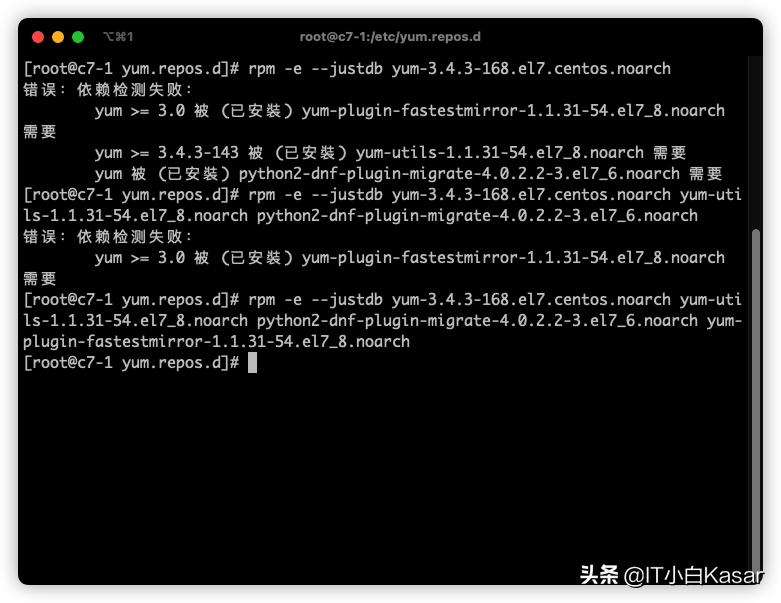
此时会出现报错,如下图所示,主要原因为在 7 版本和 8 版本软件名称发生了变化,例如 Centos7 里的 python3-rpmconf 到了 8 会变成 python36-rpmconf
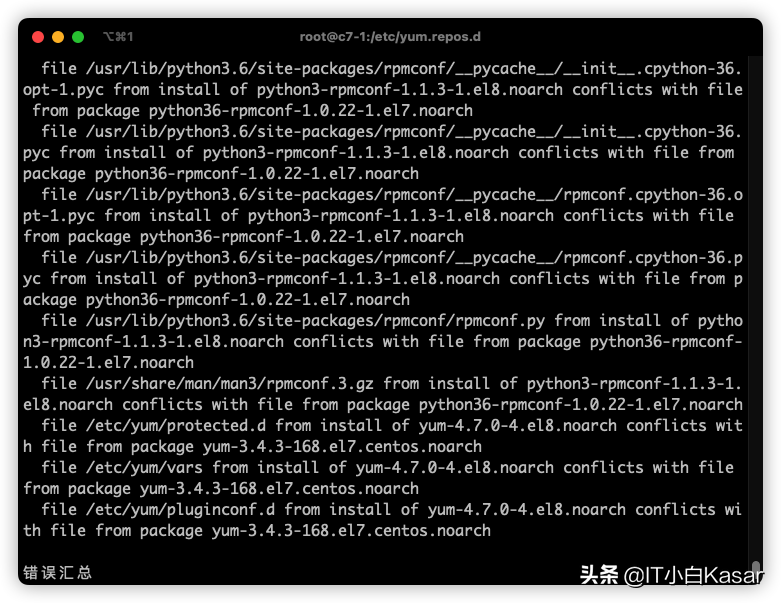
由于这些软件有一些依赖关系,卸载后会导致 RPM 无法正常使用,所以处理的时候不能够直接卸载,而是删除包信息,不卸载软件(注意根据报错调整,你的版本也许不是这个)
rpm -e --justdb python36-rpmconf-1.0.22-1.el7.noarch rpmconf-1.0.22-1.el7.noarch
rpm -e --justdb yum-3.4.3-168.el7.centos.noarch yum-utils-1.1.31-54.el7_8.noarch python2-dnf-plugin-migrate-4.0.2.2-3.el7_6.noarch yum-plugin-fastestmirror-1.1.31-54.el7_8.noarch
操作完上面的步骤后继续升级命令
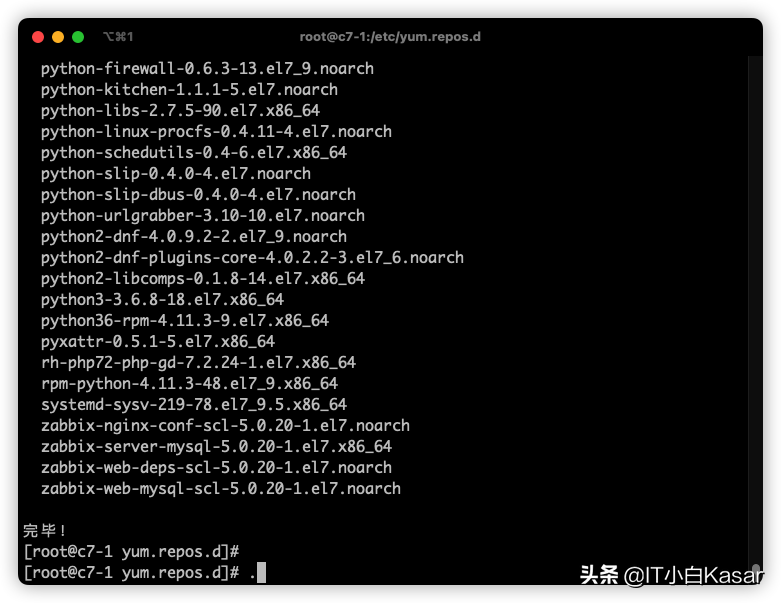
升级完成
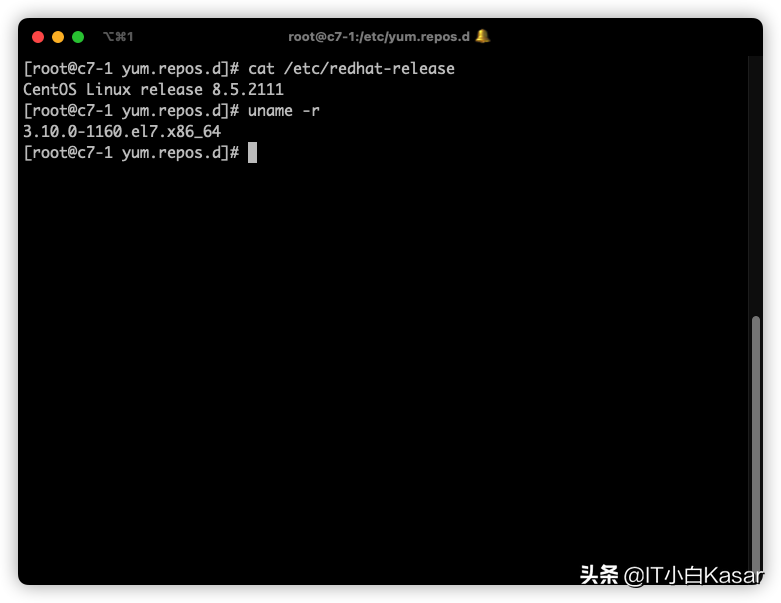
完成升级后查看版本
重启服务器
reboot
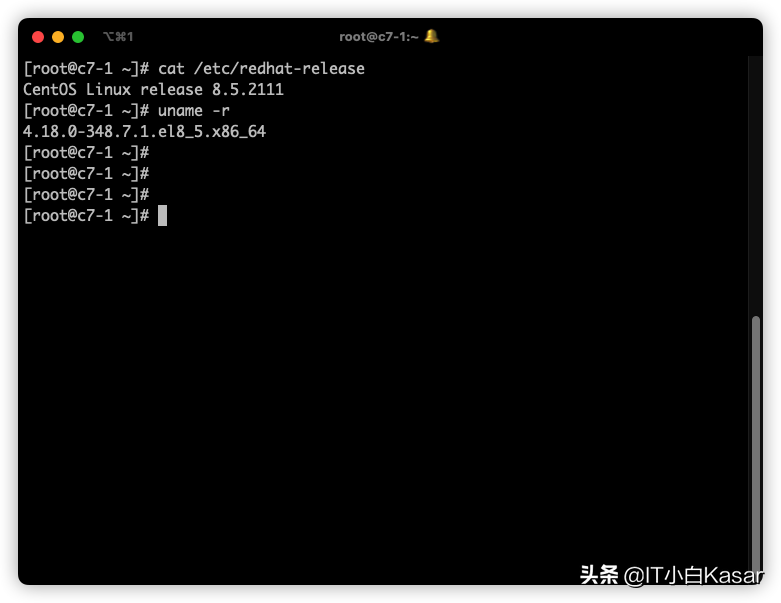
查看内核
安装 CentOS 8 Minimal 相关组件
dnf groupupdate "Core" "Minimal Install" -y
Zabbix 部分
升级 Zabbix 源,本文采用清华源
cat <<EOF > /etc/yum.repos.d/zabbix.repo
[zabbix]
name=Zabbix Official Repository - \$basearch
baseurl=https://mirrors.tuna.tsinghua.edu.cn/zabbix/zabbix/6.0/rhel/8/\$basearch/
enabled=1
gpgcheck=1
gpgkey=file:///etc/pki/rpm-gpg/RPM-GPG-KEY-ZABBIX-A14FE591
[zabbix-non-supported]
name=Zabbix Official Repository non-supported - \$basearch
baseurl=https://mirrors.tuna.tsinghua.edu.cn/zabbix/non-supported/rhel/8/\$basearch/
enabled=1
gpgkey=file:///etc/pki/rpm-gpg/RPM-GPG-KEY-ZABBIX
gpgcheck=1
EOF
导入 GPG Key
curl https://mirrors.tuna.tsinghua.edu.cn/zabbix/RPM-GPG-KEY-ZABBIX-A14FE591 \
-o /etc/pki/rpm-gpg/RPM-GPG-KEY-ZABBIX-A14FE591
curl https://mirrors.tuna.tsinghua.edu.cn/zabbix/RPM-GPG-KEY-ZABBIX \
-o /etc/pki/rpm-gpg/RPM-GPG-KEY-ZABBIX
curl https://mirrors.tuna.tsinghua.edu.cn/zabbix/RPM-GPG-KEY-ZABBIX-A14FE591 \
-o /etc/pki/rpm-gpg/RPM-GPG-KEY-ZABBIX-A14FE591
curl https://mirrors.tuna.tsinghua.edu.cn/zabbix/RPM-GPG-KEY-ZABBIX \
-o /etc/pki/rpm-gpg/RPM-GPG-KEY-ZABBIX
升级相关组件
dnf -y install zabbix-server-mysql zabbix-web-mysql zabbix-nginx-conf zabbix-sql-scripts zabbix-selinux-policy zabbix-agent
启动相关组件
systemctl start zabbix-server zabbix-agent nginx php-fpm
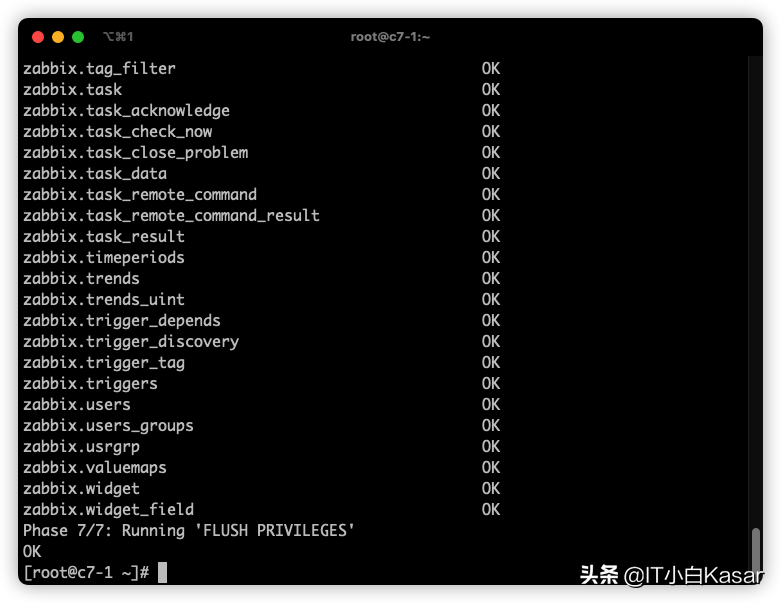
升级数据库
mysql_upgrade -uroot -pxiaoyu123
systemctl restart mariadb
报错解决
如果此时发现数据库无法连接上,请检查 firewalld 服务和 selinux 是否开启(可选)
systemctl stop firewalld
systemctl disable firewalld
setenforce 0
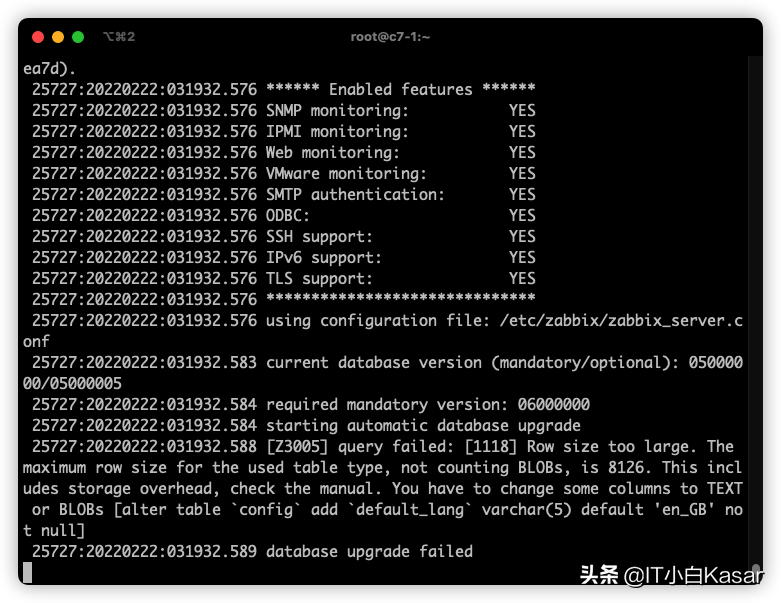
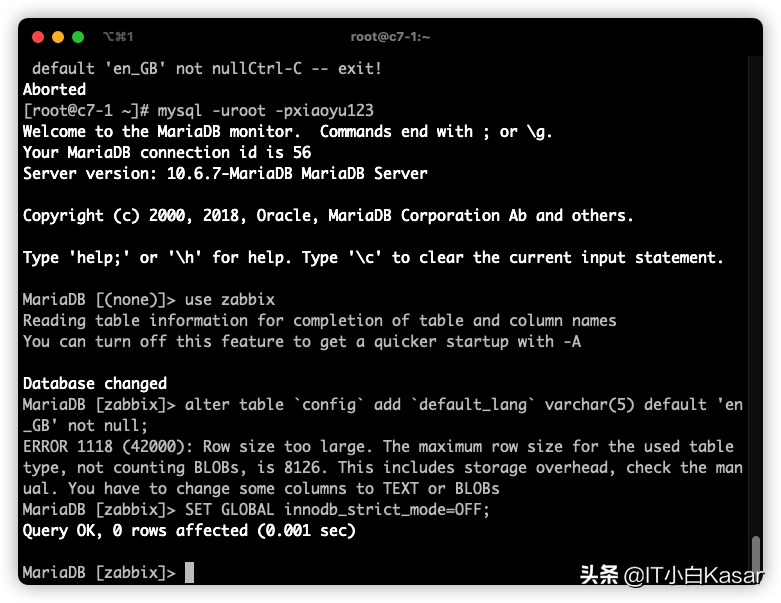
出现下面的问题,进入 zabbix 数据库输入以下命令即可解决
mysql -uroot -p
use zabbix
SET GLOBAL innodb_strict_mode=OFF;
exit
数据库升级失败
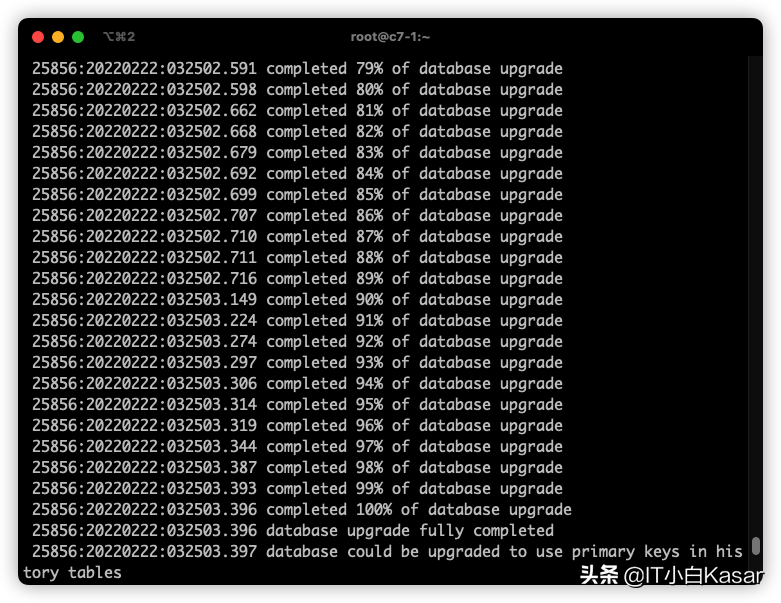
升级成功
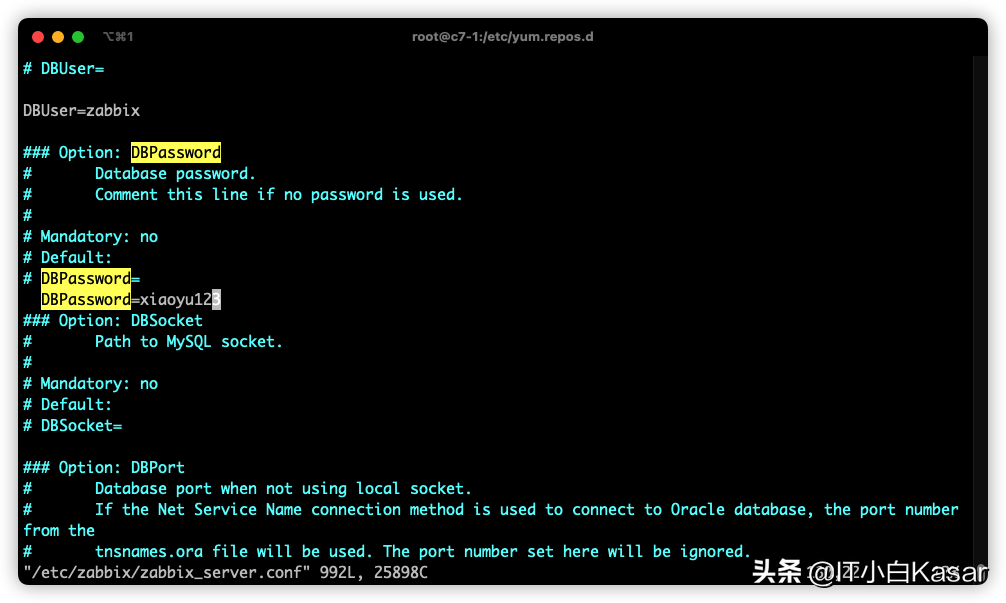
修改 Zabbix Server 配置
vim /etc/zabbix/zabbix_server.conf
DBPassword=xiaoyu123
修改 Nginx 配置
需要将 ngnix.conf 里 server 块 80 端口进行注释,如下图 1,其次将 conf.d 里的 zabbix.conf 的 80 端口取消注释,如下图 2
vim /etc/nginx/nginx.conf
vim /etc/nginx/conf.d/zabbix.conf
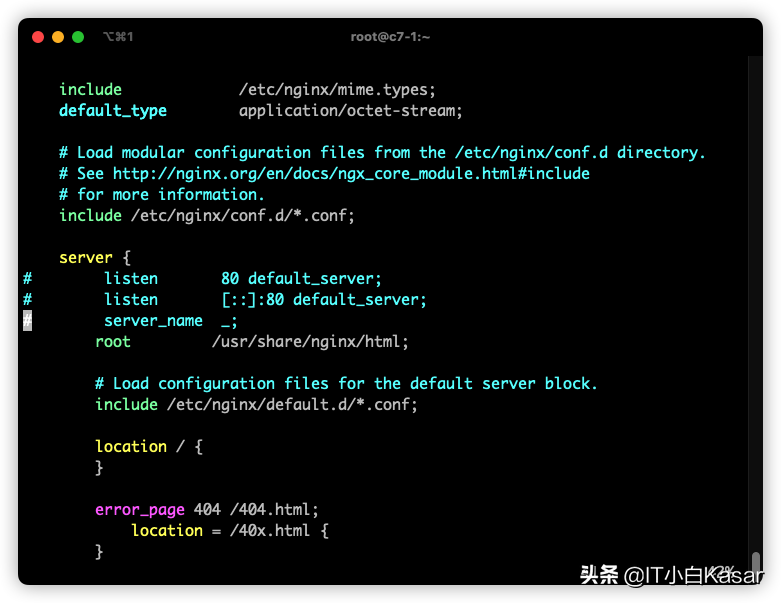
添加注释
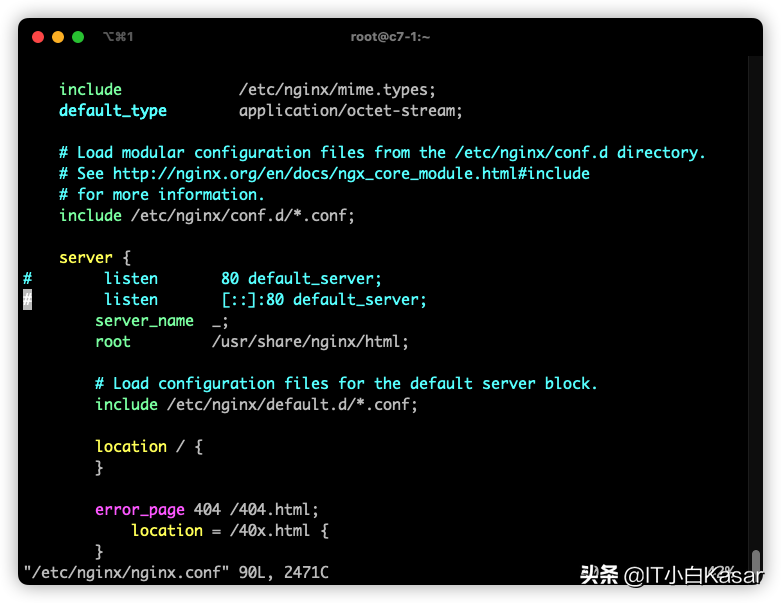
取消注释
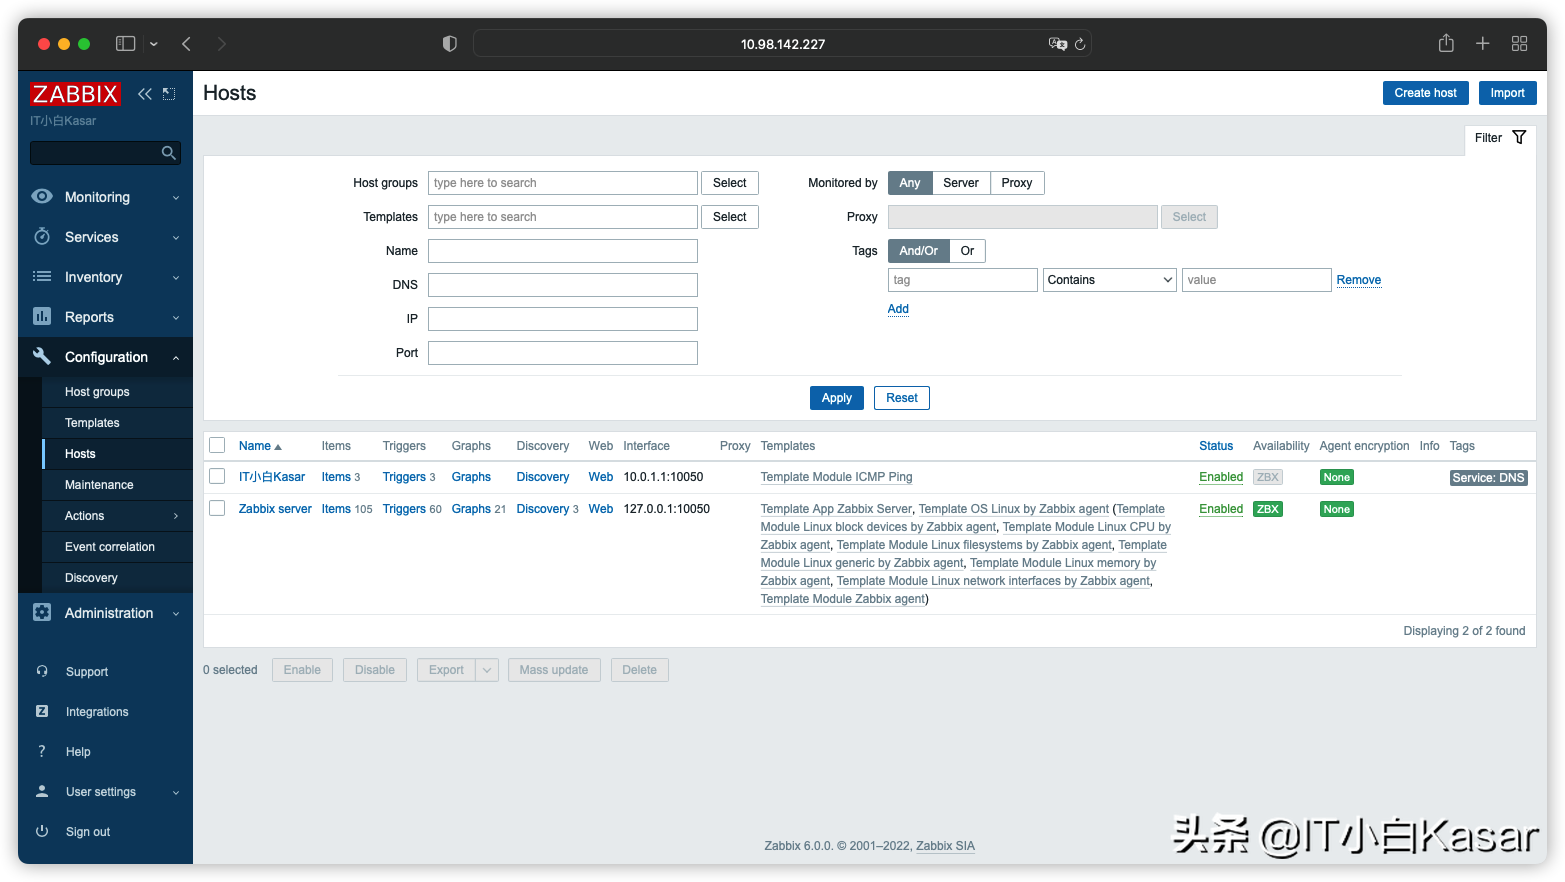
前端效果
结语
由于 CentOS 8 已经进入到了 EOL 状态了,建议使用其他发行版本,很多发行版本已经提供了转换工具,或者采用 ubuntu、debian 这样的发行版本安装新版的 Zabbix 。


