一、首先安装express
二、创建example.js文件
创建myExpress.js文件
实现app.get()方法
实现post等其他方法
实现app.all方法
中间件app.use的实现
什么是错误中间件?
学习总结
一、首先安装express
- npm install express
安装express是为了示范。
已经把代码放到github:https://github.com/Sunny-lucking/HowToBuildMyExpress 。可以顺手给个star吗?谢谢大佬们。
二、创建example.js文件
- // example.js
- const express = require('express')
- const app = express()
- const port = 3000
- app.get('/', (req, res) => {
- res.send('Hello World!')
- })
- app.listen(port, () => {
- console.log(`Example app listening at http://localhost:${port}`)
- })
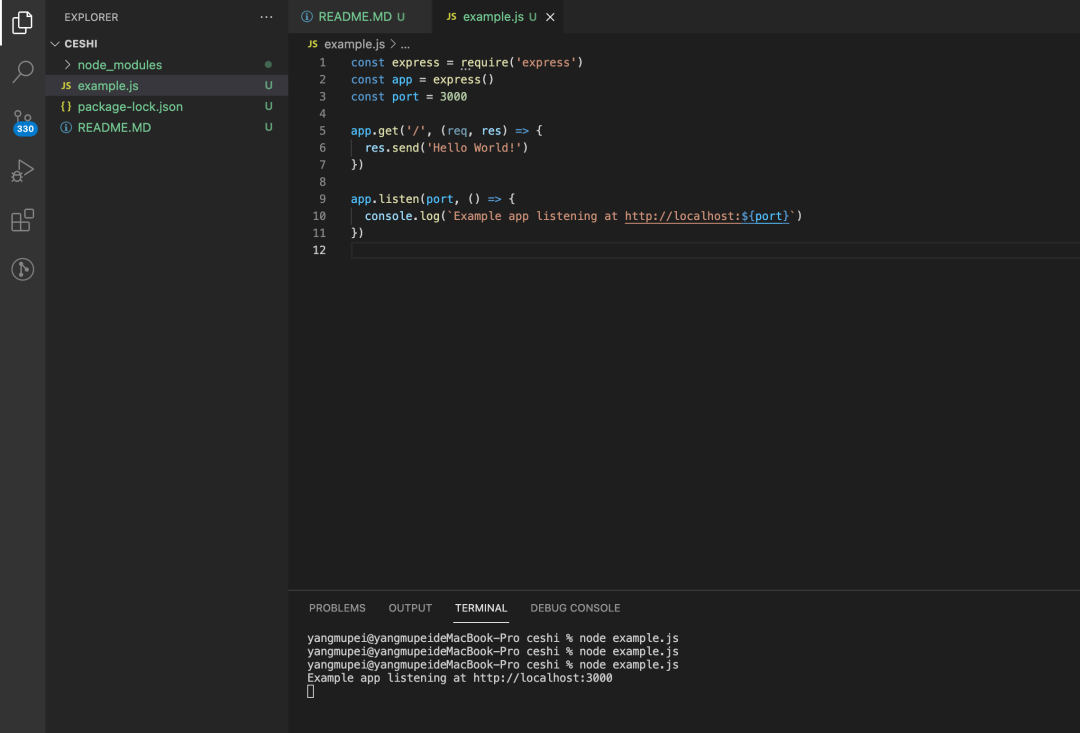
如代码所示,执行node example.js就运行起了一个服务器。
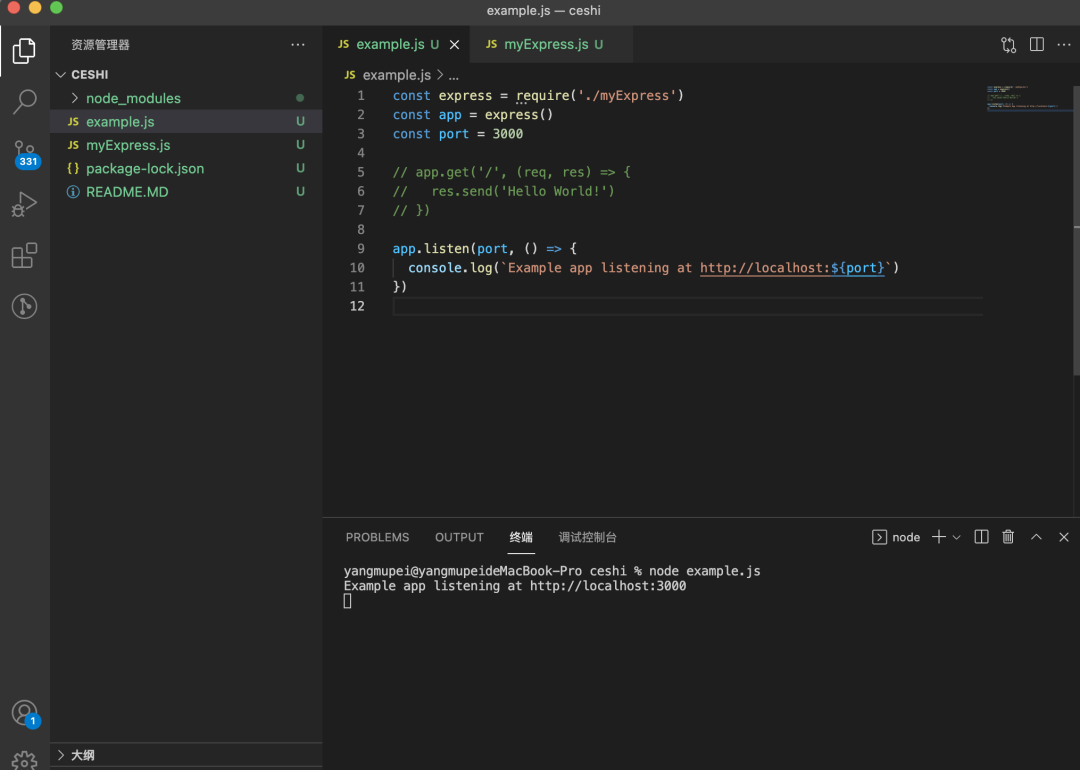
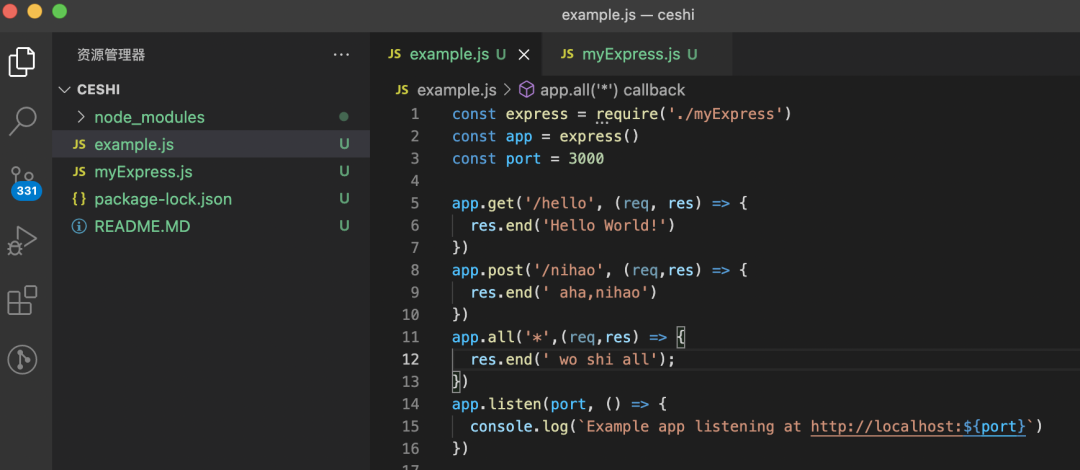
如下图所示,现在我们决定创建一个属于我们的express文件,引入的express改成引入我们手写的express。
好了,现在开始实现我们的express吧!
创建myExpress.js文件
- const express = require('express')
- const app = express()
由 这两句代码,我们可以知道,express得到的是一个方法,然后方法执行后得到了app。而app实际上也是一个函数,至于为什么会是函数,我们下面会揭秘。
我们可以初步实现express如下:
- // myExpress.js
- function createApplication() {
- let app = function (req,res) {
- }
- return app;
- }
- module.exports = createApplication;
在上面代码中,发现app有listen方法。
因此我们可以进一步给app添加listen方法:
- // myExpress.js
- function createApplication() {
- let app = function (req,res) {
- }
- app.listen = function () {
- }
- return app;
- }
- module.exports = createApplication;
app.listen实现的是创建一个服务器,并且将服务器绑定到某个端口运行起来。
因此可以这样完善listen方法。
- // myExpress.js
- let http = require('http');
- function createApplication() {
- let app = function (req,res) {
- res.end('hahha');
- }
- app.listen = function () {
- let server = http.createServer(app)
- server.listen(...arguments);
- }
- return app;
- }
- module.exports = createApplication;
这里可能会有同学有所疑问,为什么 http.createServer(app)这里要传入app。
其实我们不传入app,也就是说,让app不是一个方法,也是可以的。
我们可以改成这样。
- // myExpress.js
- let http = require('http');
- function createApplication() {
- let app = {};
- app.listen = function () {
- let server = http.createServer(function (req, res) {
- res.end('hahha')
- })
- server.listen(...arguments);
- }
- return app;
- }
- module.exports = createApplication;
如代码所示,我们将app改成一个对象,也是没有问题的。
实现app.get()方法
app.get方法接受两个参数,路径和回调函数。
- // myExpress.js
- let http = require('http');
- function createApplication() {
- let app = {};
- app.routes = []
- app.get = function (path, handler) {
- let layer = {
- method: 'get',
- path,
- handler
- }
- app.routes.push(layer)
- }
- app.listen = function () {
- let server = http.createServer(function (req, res) {
- res.end('hahha')
- })
- server.listen(...arguments);
- }
- return app;
- }
- module.exports = createApplication;
如上面代码所示,给app添加了route对象,然后get方法执行的时候,将接收到的两个参数:路径和方法,包装成一个对象push到routes里了。
可想而知,当我们在浏览器输入路径的时候,肯定会执行http.createServer里的回调函数。
所以,我们需要在这里 获得浏览器的请求路径。解析得到路径。
然后遍历循环routes,寻找对应的路由,执行回调方法。如下面代码所示。
- // myExpress.js
- let http = require('http');
- const url = require('url');
- function createApplication() {
- let app = {};
- app.routes = []
- app.get = function (path, handler) {
- let layer = {
- method: 'get',
- path,
- handler
- }
- app.routes.push(layer)
- }
- app.listen = function () {
- let server = http.createServer(function (req, res) {
- // 取出layer
- // 1. 获取请求的方法
- let m = req.method.toLocaleLowerCase();
- let { pathname } = url.parse(req.url, true);
- // 2.找到对应的路由,执行回调方法
- for (let i = 0 ; i< app.routes.length; i++){
- let {method,path,handler} = app.routes[i]
- if (method === m && path === pathname ) {
- handler(req,res);
- }
- }
- res.end('hahha')
- })
- server.listen(...arguments);
- }
- return app;
- }
- module.exports = createApplication;
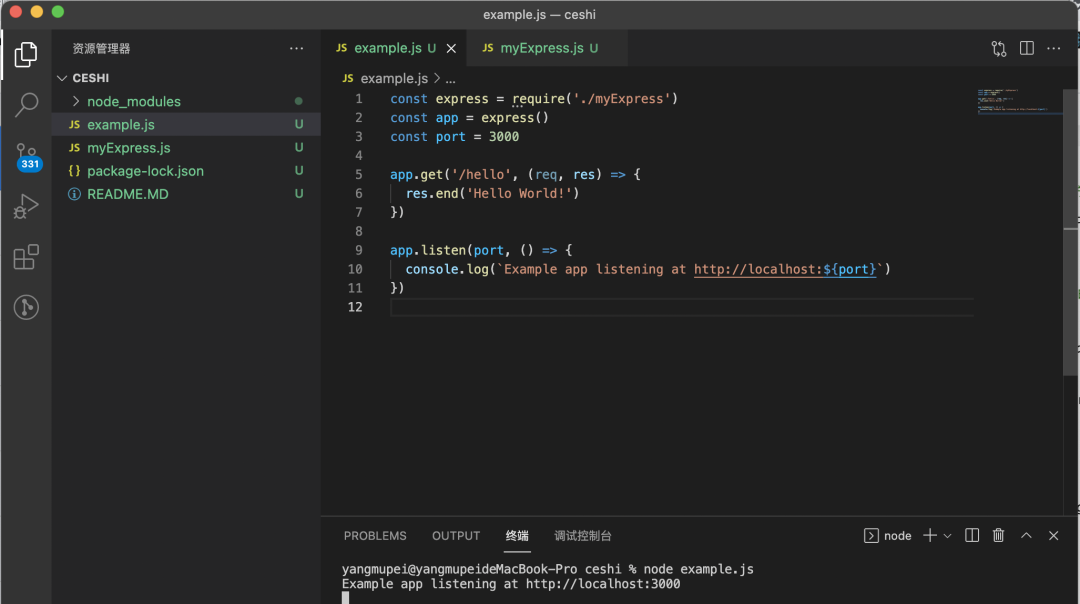
运行一下代码。
可见运行成功:
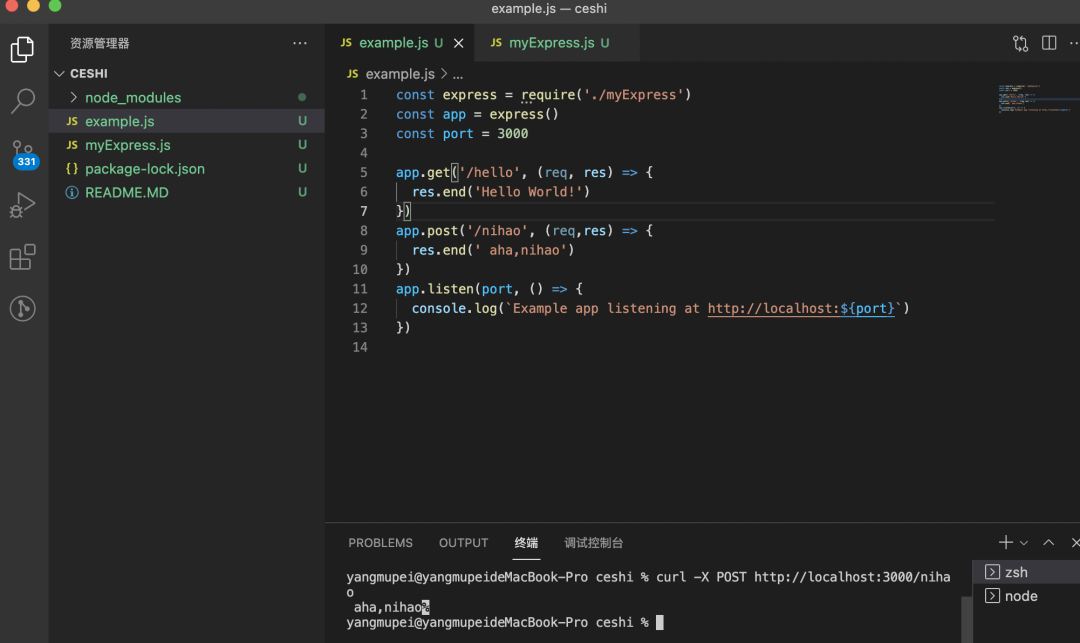
实现post等其他方法。
很简单,我们可以直接复制app.get方法,然后将method的值改成post就好了。
- // myExpress.js
- let http = require('http');
- const url = require('url');
- function createApplication() {
- 。。。
- app.get = function (path, handler) {
- let layer = {
- method: 'get',
- path,
- handler
- }
- app.routes.push(layer)
- }
- app.post = function (path, handler) {
- let layer = {
- method: 'post',
- path,
- handler
- }
- app.routes.push(layer)
- }
- 。。。
- return app;
- }
- module.exports = createApplication;
这样是可以实现,但是除了post和get,还有其他方法啊,难道每一个我们都要这样写嘛?,当然不是,有个很简单的方法。
// myExpress.js
- function createApplication() {
- ...
- http.METHODS.forEach(method => {
- method = method.toLocaleLowerCase()
- app[method] = function (path, handler) {
- let layer = {
- method,
- path,
- handler
- }
- app.routes.push(layer)
- }
- });
- ...
- }
- module.exports = createApplication;
如代码所示,http.METHODS是一个方法数组。如下面所示的数组:
- ["GET","POST","DELETE","PUT"]。
遍历方法数组,就可以实现所有方法了。
测试跑了一下,确实成功。
实现app.all方法
all表示的是匹配所有的方法,
app.all('/user')表示匹配所有路径是/user的路由
app.all('*')表示匹配任何路径 任何方法 的 路由
实现all方法也非常简单,如下代码所示:
- app.all = function (path, handler){
- let layer = {
- method: "all",
- path,
- handler
- }
- app.routes.push(layer)
- }
然后只需要续改下路由器匹配的逻辑,如下代码所示,只需要修改下判断。
- app.listen = function () {
- let server = http.createServer(function (req, res) {
- // 取出layer
- // 1. 获取请求的方法
- let m = req.method.toLocaleLowerCase();
- let { pathname } = url.parse(req.url, true);
- // 2.找到对应的路由,执行回调方法
- for (let i = 0 ; i< app.routes.length; i++){
- let {method,path,handler} = app.routes[i]
- if ((method === m || method === 'all') && (path === pathname || path === "*")) {
- handler(req,res);
- }
- }
- console.log(app.routes);
- res.end('hahha')
- })
- server.listen(...arguments);
- }
可见成功。
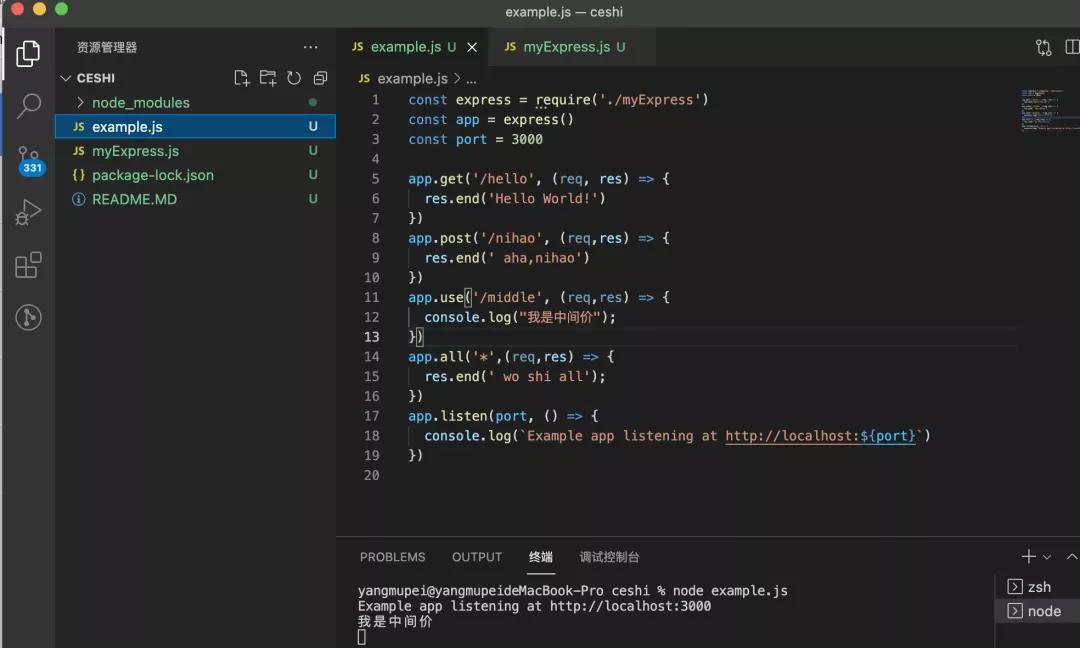
中间件app.use的实现
这个方法的实现,跟其他方法差不多,如代码所示。
- app.use = function (path, handler) {
- let layer = {
- method: "middle",
- path,
- handler
- }
- app.routes.push(layer)
- }
但问题来了,使用中间件的时候,我们会使用next方法,来让程序继续往下执行,那它是怎么执行的。
- app.use(function (req, res, next) {
- console.log('Time:', Date.now());
- next();
- });
所以我们必须实现next这个方法。
其实可以猜想,next应该就是一个疯狂调用自己的方法。也就是递归。
而且每递归一次,就把被push到routes里的handler拿出来执行。
实际上,不管是app.use还说app.all还是app.get。其实都是把layer放进routes里,然后再统一遍历routes来判断该不该执行layer里的handler方法。可以看下next方法的实现。
- function next() {
- // 已经迭代完整个数组,还是没有找到匹配的路径
- if (index === app.routes.length) return res.end('Cannot find ')
- let { method, path, handler } = app.routes[index++] // 每次调用next就去下一个layer
- if (method === 'middle') { // 处理中间件
- if (path === '/' || path === pathname || pathname.starWidth(path + '/')) {
- handler(req, res, next)
- } else { // 继续遍历
- next();
- }
- } else { // 处理路由
- if ((method === m || method === 'all') && (path === pathname || path === "*")) {
- handler(req, res);
- } else {
- next();
- }
- }
- }
可以看到是递归方法的遍历routes数组。
而且我们可以发现,如果是使用中间件的话,那么只要path是“/”或者前缀匹配,这个中间件就会执行。由于handler会用到参数req和res。所以这个next方法要在 listen里面定义。
如下代码所示:
- // myExpress.js
- let http = require('http');
- const url = require('url');
- function createApplication() {
- let app = {};
- app.routes = [];
- let index = 0;
- app.use = function (path, handler) {
- let layer = {
- method: "middle",
- path,
- handler
- }
- app.routes.push(layer)
- }
- app.all = function (path, handler) {
- let layer = {
- method: "all",
- path,
- handler
- }
- app.routes.push(layer)
- }
- http.METHODS.forEach(method => {
- method = method.toLocaleLowerCase()
- app[method] = function (path, handler) {
- let layer = {
- method,
- path,
- handler
- }
- app.routes.push(layer)
- }
- });
- app.listen = function () {
- let server = http.createServer(function (req, res) {
- // 取出layer
- // 1. 获取请求的方法
- let m = req.method.toLocaleLowerCase();
- let { pathname } = url.parse(req.url, true);
- // 2.找到对应的路由,执行回调方法
- function next() {
- // 已经迭代完整个数组,还是没有找到匹配的路径
- if (index === app.routes.length) return res.end('Cannot find ')
- let { method, path, handler } = app.routes[index++] // 每次调用next就去下一个layer
- if (method === 'middle') { // 处理中间件
- if (path === '/' || path === pathname || pathname.starWidth(path + '/')) {
- handler(req, res, next)
- } else { // 继续遍历
- next();
- }
- } else { // 处理路由
- if ((method === m || method === 'all') && (path === pathname || path === "*")) {
- handler(req, res);
- } else {
- next();
- }
- }
- }
- next()
- res.end('hahha')
- })
- server.listen(...arguments);
- }
- return app;
- }
- module.exports = createApplication;
当我们请求路径就会发现中间件确实执行成功。
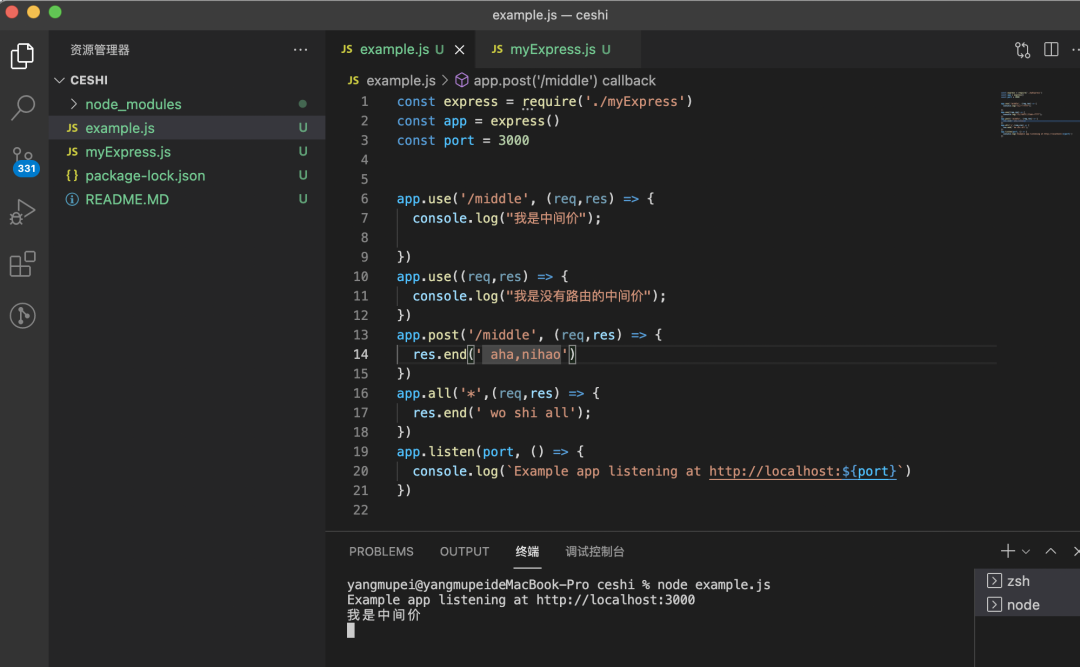
不过,这里的中间价实现还不够完美。
因为,我们使用中间件的时候,是可以不用传递路由的。例如:
- app.use((req,res) => {
- console.log("我是没有路由的中间价");
- })
这也是可以使用的,那该怎么实现呢,其实非常简单,判断一下有没有传递路径就好了,没有的话,就给个默认路径“/”,实现代码如下:
- app.use = function (path, handler) {
- if(typeof path !== "string") { // 第一个参数不是字符串,说明不是路径,而是方法
- handler = path;
- path = "/"
- }
- let layer = {
- method: "middle",
- path,
- handler
- }
- app.routes.push(layer)
- }
看,是不是很巧妙,很容易。
我们试着访问路径“/middle”
咦?第一个中间件没有执行,为什么呢?
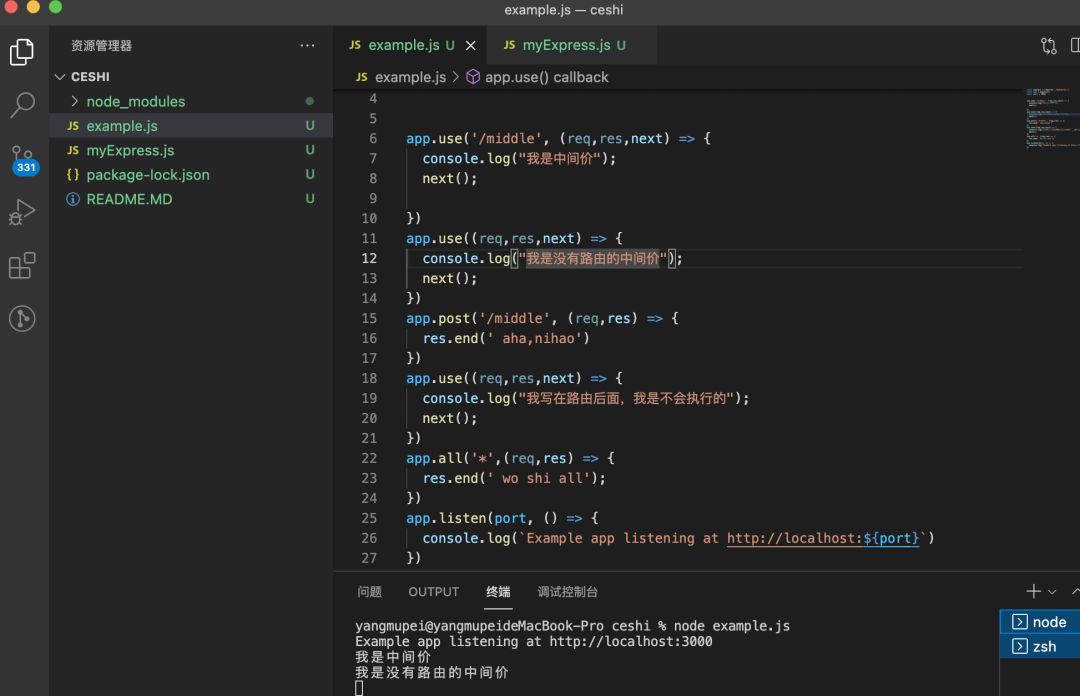
对了,使用中间件的时候,最后要执行next(),才能交给下一个中间件或者路由执行。
当我们请求“/middle”路径的时候,可以看到确实请求成功,中间件也成功执行。说明我们的逻辑没有问题。
实际上,中间件已经完成了,但是别忘了,还有个错误中间件?
什么是错误中间件?
错误处理中间件函数的定义方式与其他中间件函数基本相同,差别在于错误处理函数有四个自变量而不是三个,专门具有特征符 (err, req, res, next):
- app.use(function(err, req, res, next) {
- console.error(err.stack);
- res.status(500).send('Something broke!');
- });
当我们的在执行next()方法的时候,如果抛出了错误,是会直接寻找错误中间件执行的,而不会去执行其他的中间件或者路由。
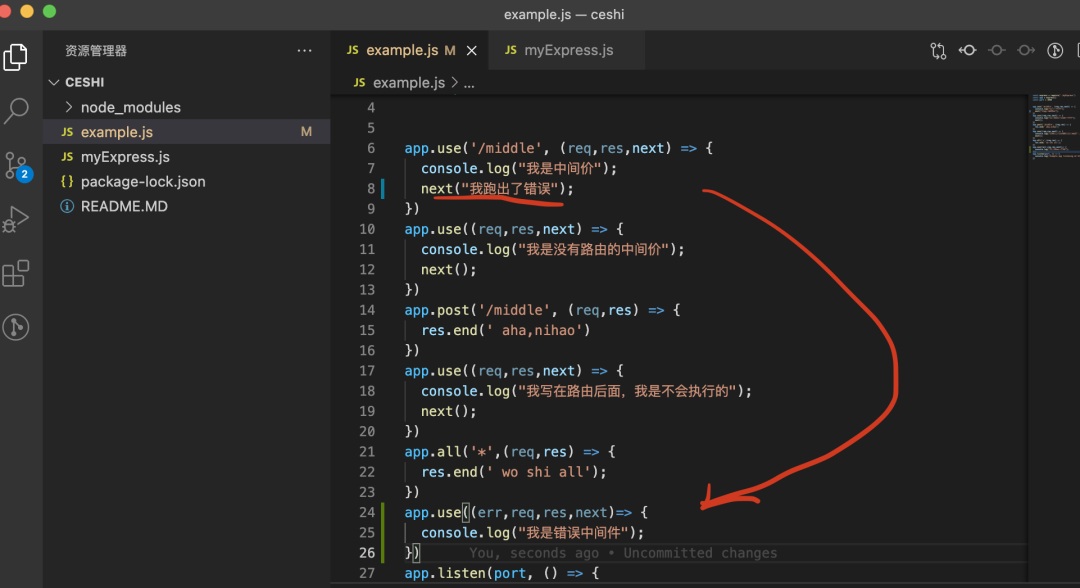
举个例子:
如图所示,当第一个中间件往next传递参数的时候,表示执行出现了错误。然后就会跳过其他陆游和中间件和路由,直接执行错误中间件。当然,执行完错误中间件,就会继续执行后面的中间件。
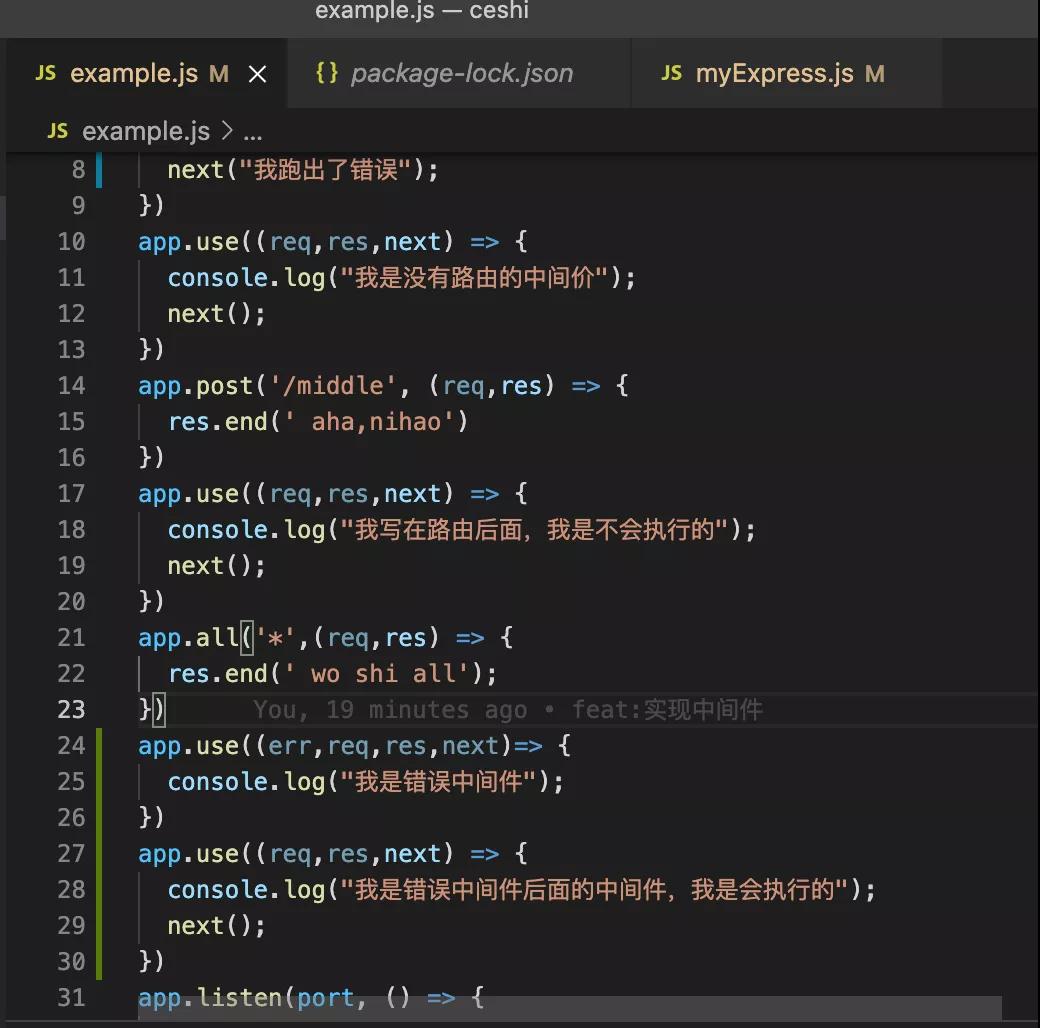
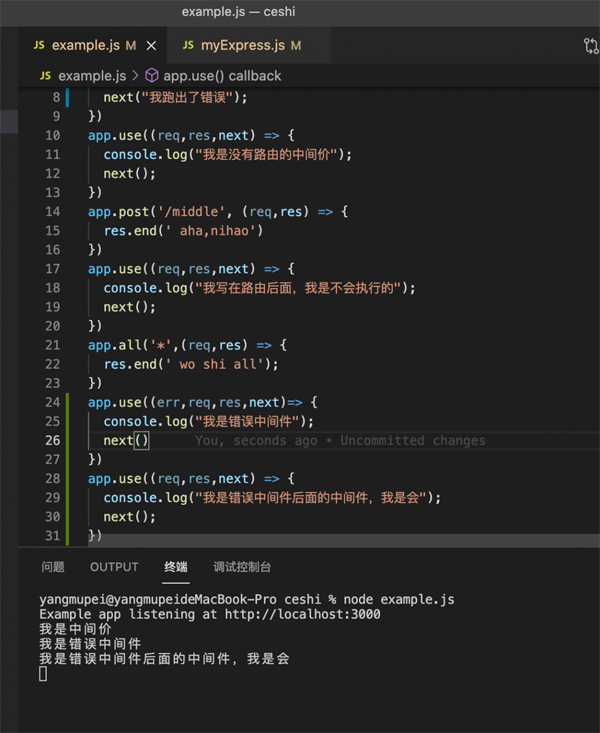
例如:
如图所示,错误中间件的后面那个是会执行的。
那原理该怎么实现呢?
很简单,直接看代码解释,只需在next里多加一层判断即可:
- function next(err) {
- // 已经迭代完整个数组,还是没有找到匹配的路径
- if (index === app.routes.length) return res.end('Cannot find ')
- let { method, path, handler } = app.routes[index++] // 每次调用next就去下一个layer
- if( err ){ // 如果有错误,应该寻找中间件执行。
- if(handler.length === 4) { //找到错误中间件
- handler(err,req,res,next)
- }else { // 继续徐州
- next(err)
- }
- }else {
- if (method === 'middle') { // 处理中间件
- if (path === '/' || path === pathname || pathname.starWidth(path + '/')) {
- handler(req, res, next)
- } else { // 继续遍历
- next();
- }
- } else { // 处理路由
- if ((method === m || method === 'all') && (path === pathname || path === "*")) {
- handler(req, res);
- } else {
- next();
- }
- }
- }
- }
看代码可见在next里判断err有没有值,就可以判断需不需要查找错误中间件来执行了。
如图所示,请求/middle路径,成功执行。
到此,express框架的实现就大功告成了。
学习总结
通过这次express手写原理的实现,更加深入地了解了express的使用,发现:
- 中间件和路由都是push进一个routes数组里的。
- 当执行中间件的时候,会传递next,使得下一个中间件或者路由得以执行。
- 当执行到路由的时候就不会传递next,也使得routes的遍历提前结束。
- 当执行完错误中间件后,后面的中间件或者路由还是会执行的。


