前言
基于安卓平台的悬浮按钮弹出菜单组件BoomMenu(https://github.com/Nightonke/BoomMenu), 实现了鸿蒙的功能化迁移和重构。代码已经开源到(https://gitee.com/openneusoft/boom-menu),欢迎各位开发者下载使用并提出宝贵意见!
背景
BoomMenu是一个爆炸式显示类component,可定制显示个数,位置等,可独自显示,也可以添加到component容器中(List等)使用。BoomMenu组件视觉效果突出、样式多样化。
组件效果展示
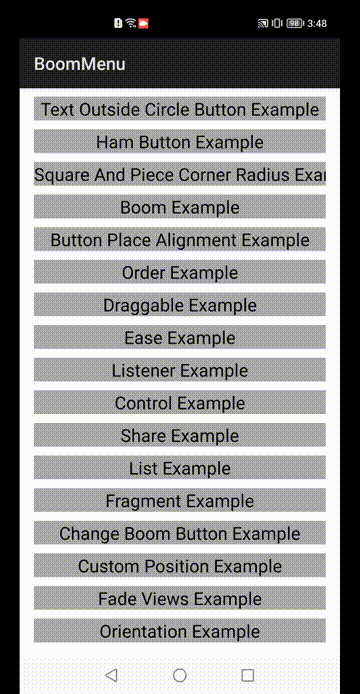
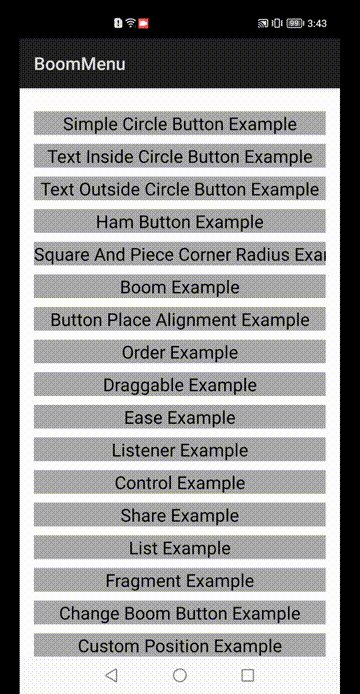
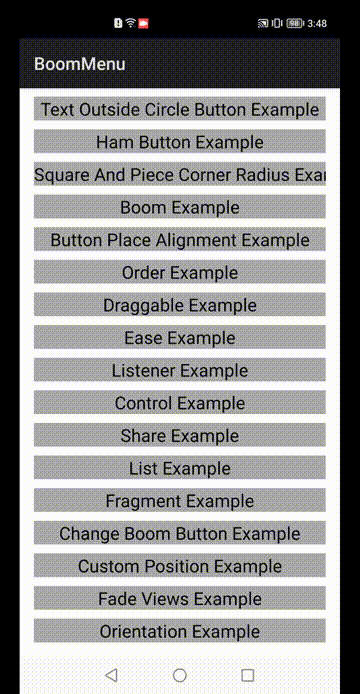
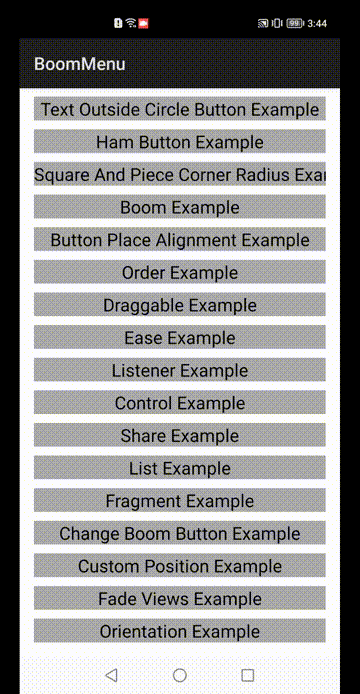
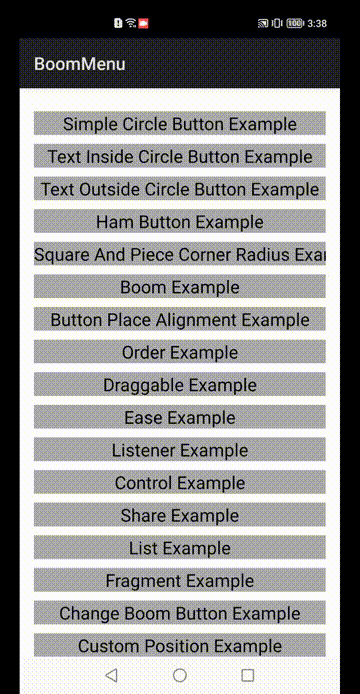
BoomMenu组件包含一个主菜单页面,点击主菜单不同按钮,就会进入到不同的子菜单页面。其中子菜单中有各种不同样式和不同的弹出以及收回方式效果,如图所示,效果非常炫酷~
图 Fade Views效果展示
图 Button Place Alignment效果展示
图 Custom Position效果展示
图 Draggable效果展示
图 Simple Circle Button效果展示
Sample解析
在创建第一个Demo前需要先配置一些文件,
Step 1. 添加 gradle 在 build file文件中
- allprojects {
- repositories {
- ...
- mavenCentral()
- }
- }
Step 2. 添加 dependency
- dependencies {
- implementation 'io.openharmony.tpc.thirdlib:boommenu:1.0.0'
- }
接下来才开始进行代码部分的编写,创建布局。
Step 3.添加BoomMenuButton到xml中:
- <com.nightonke.boommenu.BoomMenuButton
- ohos:id="$+id:boom"
- ohos:width="match_content"
- ohos:height="match_content"
- ohos:align_parent_bottom="true"
- ohos:align_parent_right="true"
- ohos:align_parent_end="true"
- ohos:margin="20dp"
- app:boom_inActionBar="false"
- app:boom_button_color="$color:colorPrimary"
- app:boom_button_pressed_color="$color:colorPrimary"
- />
Step 4.在onStart()方法中findComponentById,初始化BoomMenuButton:
- public void onStart(Intent intent) {
- super.onStart(intent);
- ComponentContainer cc = initView();
- super.setUIContent(cc);
- LayoutScatter mInflater = LayoutScatter.getInstance(this);
- Component actionBar = mInflater.parse(ResourceTable.Layout_custom_actionbar, null,true);
- BoomMenuButton leftBmb = (BoomMenuButton) actionBar.findComponentById(ResourceTable.Id_action_bar_left_bmb);
- BoomMenuButton rightBmb = (BoomMenuButton) actionBar.findComponentById(ResourceTable.Id_action_bar_right_bmb);
- leftBmb.setButtonEnum(ButtonEnum.TextOutsideCircle);
- leftBmb.setPiecePlaceEnum(PiecePlaceEnum.DOT_9_1);
- leftBmb.setButtonPlaceEnum(ButtonPlaceEnum.SC_9_1);
- for (int i = 0; i < leftBmb.getPiecePlaceEnum().pieceNumber(); i++)
- leftBmb.addBuilder(BuilderManager.getTextOutsideCircleButtonBuilderWithDifferentPieceColor());
- leftBmb.buildButton();
- rightBmb.setButtonEnum(ButtonEnum.Ham);
- rightBmb.setPiecePlaceEnum(PiecePlaceEnum.HAM_4);
- rightBmb.setButtonPlaceEnum(ButtonPlaceEnum.HAM_4);
- for (int i = 0; i < rightBmb.getPiecePlaceEnum().pieceNumber(); i++)
- rightBmb.addBuilder(BuilderManager.getHamButtonBuilderWithDifferentPieceColor());
- rightBmb.buildButton();
- }
- blic ComponentContainer initView(){
- DirectionalLayout myLayout = new DirectionalLayout(this);
- myLayout.setWidth(MATCH_PARENT);
- myLayout.setHeight(MATCH_PARENT);
- myLayout.setOrientation(Component.VERTICAL);
- ShapeElement element = new ShapeElement();
- element.setRgbColor(new RgbColor(255, 255, 255));
- myLayout.setBackground(element);
- myLayout.addComponent(getActionBar());
- return myLayout;
- }
- private ToolBar getActionBar() {
- if (toolBar == null) {
- toolBar = new ToolBar(getContext());
- toolBar.setLayoutConfig(new DirectionalLayout.LayoutConfig(MATCH_PARENT, Utils.vpToPx(getContext(), 56)));
- ShapeElement element = new ShapeElement();
- element.setRgbColor(new RgbColor(63,81,180));
- toolBar.setBackground(element);
- toolBar.setLeftImageElement(new VectorElement(getContext(), ResourceTable.Graphic_ic_gallery_view));
- toolBar.setTitleTextColor(Color.WHITE, Color.WHITE);
- toolBar.setTitle(getString(ResourceTable.String_actionBar));
- toolBar.setMenuVisibility(Component.HIDE);
- toolBar.setOtherImageElement(new VectorElement(getContext(), ResourceTable.Graphic_ic_ellipsis_vertical_white));
- toolBar.setClickedListener(new Component.ClickedListener() {
- @Override
- public void onClick(Component component) {
- bmb = (BoomMenuButton) findComponentById(ResourceTable.Id_bmb);
- assert bmb != null;
- bmb.setButtonEnum(ButtonEnum.Ham);
- for (int i = 0; i < bmb.getPiecePlaceEnum().pieceNumber(); i++)
- bmb.addBuilder(BuilderManager.getHamButtonBuilderWithDifferentPieceColor());
- bmb.buildButton();
- }
- });
- }
- return toolBar;
- }
最后
最后,我们总结一下整体悬浮按钮弹出菜单组件BoomMenu的实现过程。首先添加 gradle 在 build file文件中,添加BoomMenuButton到xml中,创建页面布局,最后初始化BoomMenuButton。


