基础配置
三台环境为centos7.9,以下配置需要在每台机器上执行
配置hosts解析
- cat >> /etc/hosts <<EOF
- 192.168.2.23 node1
- 192.168.2.24 node2
- 192.168.2.25 node3
- EOF
关闭防火墙和selinux
- systemctl stop firewalld && systemctl disable firewalld
- setenforce 0 && sed -i 's/SELINUX=enforcing/SELINUX=disabled/g' /etc/selinux/config
分别在三个节点设置主机名
- hostnamectl set-hostname node1
- hostnamectl set-hostname node2
- hostnamectl set-hostname node3
配置主机时间同步
- systemctl restart chronyd.service && systemctl enable chronyd.service
配置免密登录
- ssh-keygen
- ssh-copy-id -i .ssh/id_rsa.pub node1
- ssh-copy-id -i .ssh/id_rsa.pub node2
- ssh-copy-id -i .ssh/id_rsa.pub node3
安装pip和ansible、git
- yum install python-pip ansible git -y
部署ceph集群
克隆存储库
这里我选择安装的是ceph nautilus版本
- git clone https://github.com/ceph/ceph-ansible.git
- cd ceph-ansible
- git checkout stable-4.0
安装ansible依赖包
- pip install --upgrade pip
- pip install -r requirements.txt
修改hosts文件,添加安装的节点
- cat >> /etc/ansible/hosts <<EOF
- [mons]
- node1
- node2
- node3
- [osds]
- node1
- node2
- node3
- [mgrs]
- node1
- [mdss]
- node1
- node2
- node3
- [clients]
- node1
- node2
- node3
- [rgws]
- node1
- node2
- node3
- [grafana-server]
- node1
- EOF
备份group_vars下的yml文件
- cd ceph-ansible/group_vars
- for file in *;do cp $file ${file%.*};done
修改group_vars/all.yml配置
- ---
- dummy:
- mon_group_name: mons
- osd_group_name: osds
- rgw_group_name: rgws
- mds_group_name: mdss
- client_group_name: clients
- mgr_group_name: mgrs
- grafana_server_group_name: grafana-server
- configure_firewall: False
- ceph_origin: repository
- ceph_origin: repository
- ceph_repository: community
- ceph_mirror: http://mirrors.aliyun.com/ceph
- ceph_stable_key: http://mirrors.aliyun.com/ceph/keys/release.asc
- ceph_stable_release: nautilus
- ceph_stable_repo: "{{ ceph_mirror }}/rpm-{{ ceph_stable_release }}"
- public_network: "192.168.2.0/24"
- cluster_network: "192.168.2.0/24"
- monitor_interface: ens33
- osd_auto_discovery: true
- osd_objectstore: filestore
- radosgw_interface: ens33
- dashboard_admin_password: asd123456
- grafana_admin_password: admin
- pg_autoscale_mode: True
修改group_vars/osds.yml配置
- devices:
- - /dev/sdb
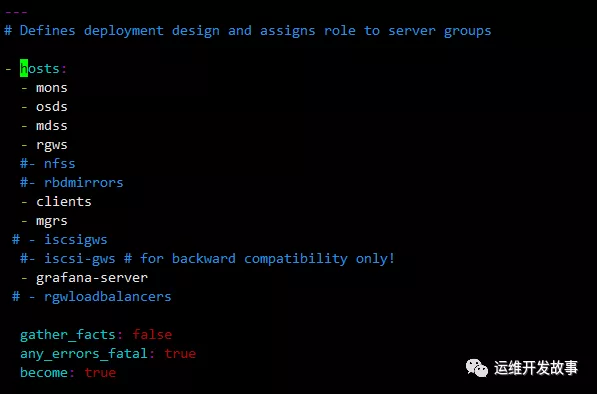
修改site.yml配置

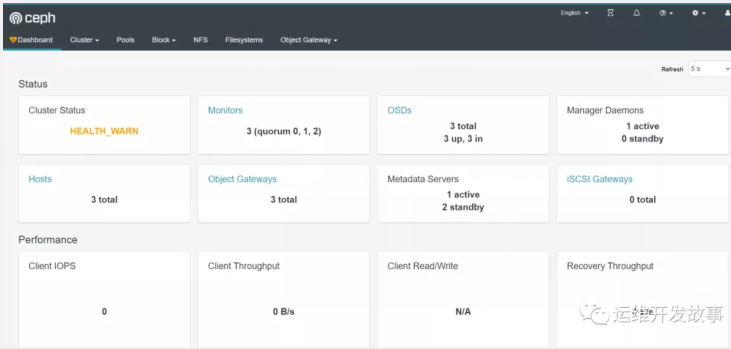
开始进行安装
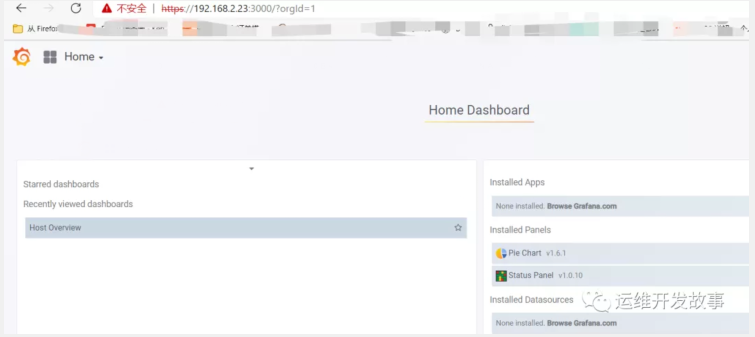
剩下的交给时间吧,十分钟左右就装好了
- ansible-playbook -i /etc/ansible/hosts site.yml
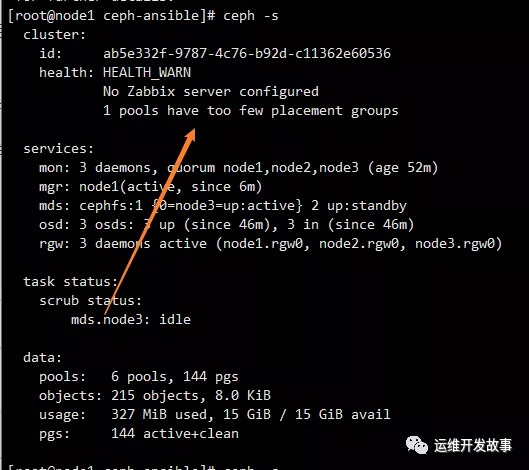
查看安装状态,发现有一个警告,这是因为在之前的all.yml配置没有开启允许自动调整pool中的pg数pg_autoscale_mode: False,手动设置下即可
- ceph osd pool set <pool-name> pg_autoscale_mode on


