前言:
Axios是一个来自于vue官方推荐的一个用于与后端(Java、go、Python、PHP)进行数据交互的JavaScript库,你可以通过axios库快速高效的与后端进行数据交互,是现文件上传等复杂功能。


JavaScript库:Axios
安装Axios:
将命令提示符切换到项目目录输入"npm install vue-axios --save"进行安装,在安装完毕后在main.js粘贴如下内容:
- import axios from 'axios'
- Vue.prototype.$axios = axios
便完成安装。
调用axios:
在安装完毕之后可以直接参考axios官方文档例子进行调用,在官网的基础上将axios替换成this.$axios即可完成调用。
例子:
简单请求:
- this.$axios.get('/user?ID=12345') .then(function (response) { console.log(response); }) .catch(function (error) { console.log(error); });
编程式请求:
- this.$axios({ method: 'post', url: '/user/12345', data: { firstName: 'Fred', lastName: 'Flintstone' }});
所有的请求均完美支持axios官方Api,在原有api的基础上只需要将axios替换为this.$axios,其他部分按照官方例子即可。
怎样实现跨域:
什么是跨域:当一个请求url的协议、域名、端口三者之间任意一个与当前页面url不同即为跨域。
在前端开发是解决跨域是需要前端与后端进行共同解决的,特别实在调试开发阶段前端配置跨域是非常重要且有必要的。
在配置跨域是需要vue.config.js+axios进行联合开发,从而实现前端的跨域能力,在后端没有配置跨域的情况下与后端实现数据交互,加快开发进度。
- 1、 vue.config.js(如没有请在根目录新建),具体代码如下(可直接拷贝):
- 2、 // Vue.config.js 配置选项
- 3、
- 4、 module.exports = {
- 5、 publicPath: "./",
- 6、 // 构建时的输出目录
- 7、 outputDir: "dist",
- 8、 // 放置静态资源的目录
- 9、 assetsDir: "static",
- 10、 transpileDependencies: [ /* string or regex */ ],
- 11、 // 是否为生产环境构建生成 source map?
- 12、 productionSourceMap: false,
- 13、 devServer: {
- 14、 open: true,
- 15、 host: 'localhost',
- 16、 port: 8080,
- 17、 https: false,
- 18、 //以上的ip和端口是我们本机的;下面为需要跨域的
- 19、 proxy: { //配置跨域
- 20、 '/ks': {
- 21、 target: 'http://search.kuwo.cn', //这里后台的地址模拟的;应该填写你们真实的后台接口
- 22、 ws: true,
- 23、 changOrigin: true, //允许跨域
- 24、 pathRewrite: {
- 25、 '^/ks': '' //请求的时候使用这个api就可以
- 26、 }
- 27、 },
- 28、 '/kp': {
- 29、 target: 'http://antiserver.kuwo.cn', //这里后台的地址模拟的;应该填写你们真实的后台接口
- 30、 ws: true,
- 31、 changOrigin: true, //允许跨域
- 32、 pathRewrite: {
- 33、 '^/kp': '' //请求的时候使用这个api就可以
- 34、 }
- 35、 }
- 36、 }
- 37、
- 38、 },
- 39、 }
2、怎样进行跨域调用:
在原有的axios开发的api基础上在链接前增加pathRewrite的名称如:
编程式请求:
- this.$axios({ method: 'post', url: '/ks/user/12345', data: { firstName: 'Fred', lastName: 'Flintstone' }});
便可实现跨域的功能。
配置多个领域:
在我们实际的开发中往往需要调用开发的api链接可能不一样(例如:图片链接api是a.com、天气链接是b.com),那么我们调试的时候需要配置两个跨域。
示例代码:
- 40、 module.exports = {
- 41、 publicPath: "./",
- 42、 // 构建时的输出目录
- 43、 outputDir: "dist",
- 44、 // 放置静态资源的目录
- 45、 assetsDir: "static",
- 46、 transpileDependencies: [ /* string or regex */ ],
- 47、 // 是否为生产环境构建生成 source map?
- 48、 productionSourceMap: false,
- 49、 devServer: {
- 50、 open: true,
- 51、 host: 'localhost',
- 52、 port: 8080,
- 53、 https: false,
- 54、 //以上的ip和端口是我们本机的;下面为需要跨域的
- 55、 proxy: { //配置跨域
- 56、 '/image: {
- 57、 target: 'http://a.com', //这里后台的地址模拟的;应该填写你们真实的后台接口
- 58、 ws: true,
- 59、 changOrigin: true, //允许跨域
- 60、 pathRewrite: {
- 61、 '^/image': '' //请求的时候使用这个api就可以
- 62、 }
- 63、 },
- 64、 '/wt': {
- 65、 target: 'http://antiserver.kuwo.cn', //这里后台的地址模拟的;应该填写你们真实的后台接口
- 66、 ws: true,
- 67、 changOrigin: true, //允许跨域
- 68、 pathRewrite: {
- 69、 '^/wt': '' //请求的时候使用这个api就可以
- 70、 }
- 71、 }
- 72、 }
- 73、
- 74、 },
- 75、 }
此时如果我们需要进行跨域请求。
请求图片:
- this.$axios({ method: 'post', url: '/image/user/12345', data: { firstName: 'Fred', lastName: 'Flintstone' }});
请求天气:
- this.$axios({ method: 'post', url: '/wt/user/12345', data: { firstName: 'Fred', lastName: 'Flintstone' }});
注意:
1、 跨域配置指的是在本地运行npm环境中跨域,在打包后还是需要服务器的支持和后端支持,直接打包上下并不会跨域。
2、 在配置多个跨域时请注意首位名字必须一致。
例子:
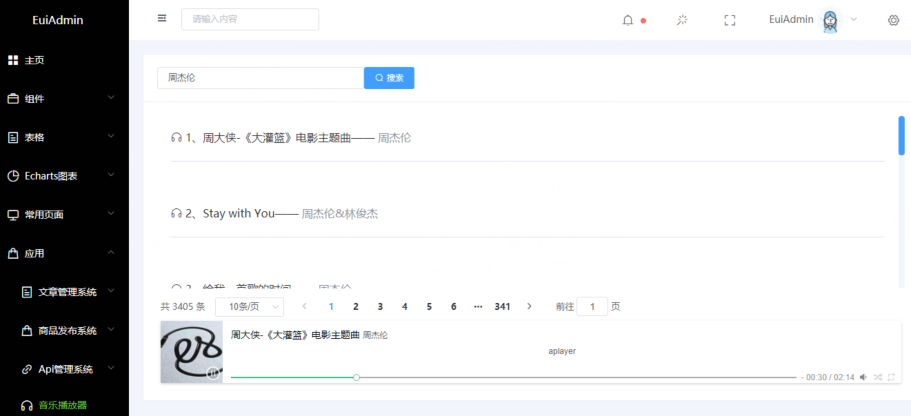
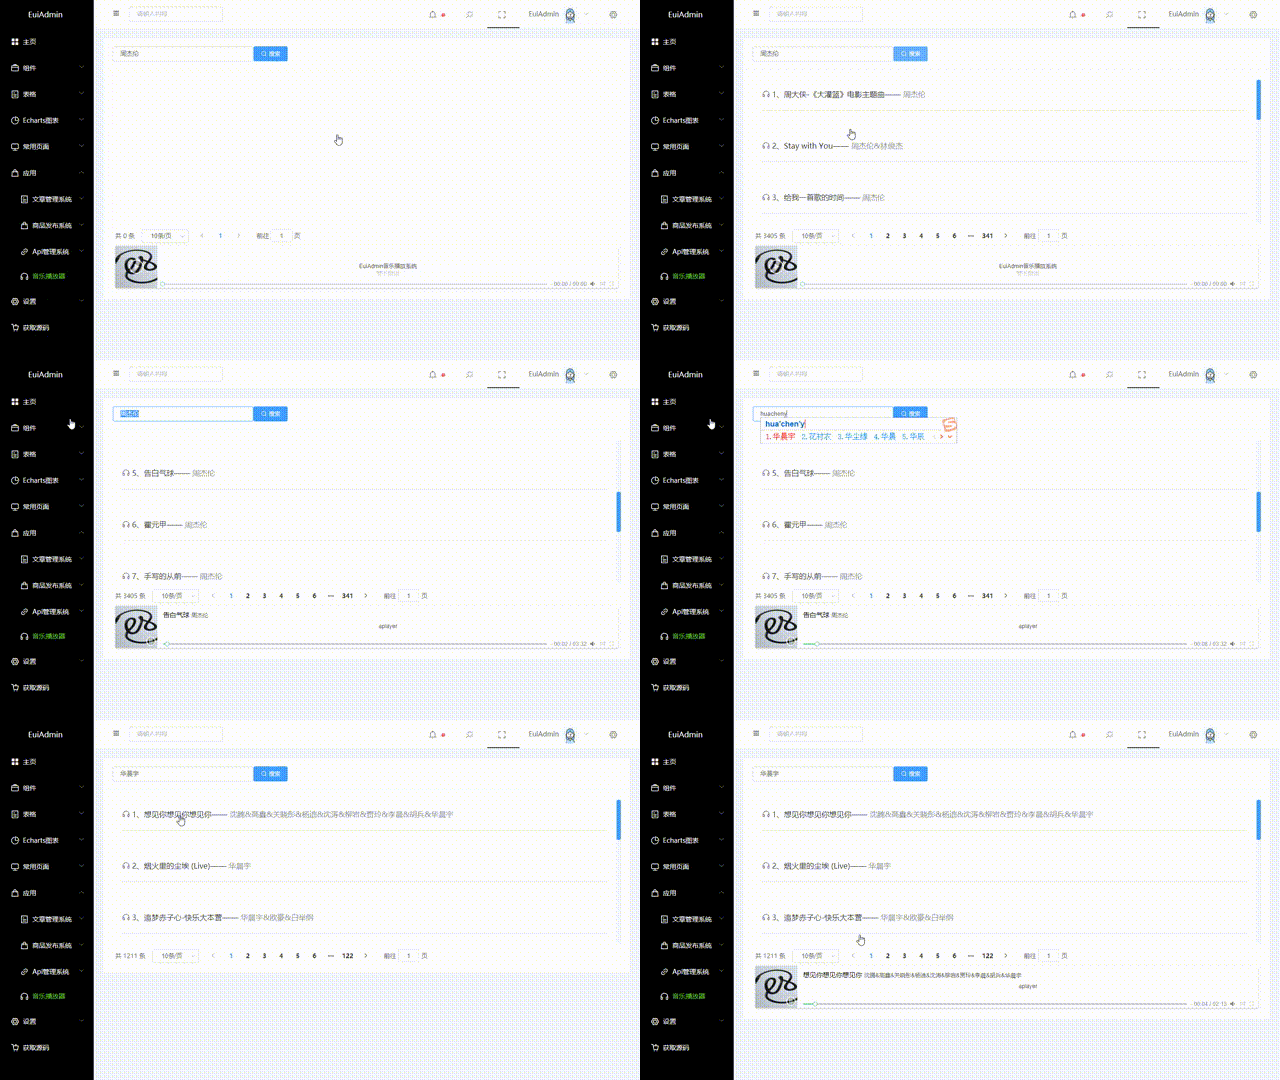
基于EuiAdmin+axios实现跨域与酷我音乐进行交互,实现音乐播放器例子:

总结:
Vue集成axios为了能够在与后台实现数据交互,真正发挥前端的作用。实现前后端分离,构建前后端数据交互的通道,你也可以前往euiadmin.com获取源码帮助您理解。


