本篇文章主要针对 Android性能优化 中 Android APK的大小优化。
然现在网速已经非常快,用户流量也很多,但是对于我们的 Android apk 文件进行优化还是很有必要的,动不动几十上百兆的大小,用户体验还是很不好的,下面我们就来整理一下 Android apk 的优化方法。
icon 图标使用 svg
在我们的App中会有很多icon,而且美工小姐姐一般都是成套的给,所以在我们的res文件中可能需要放入多套icon,这样一来就会使我们的apk文件体积变得非常大了,所以,优化的第一步就从icon 处理开始。
ion 尽量使用svg 文件,而不要使用png文件。
首先 svg 文件是以xml文件的方式存在的,占用空间小,而且能够根据设备屏幕自动伸缩不会失真。
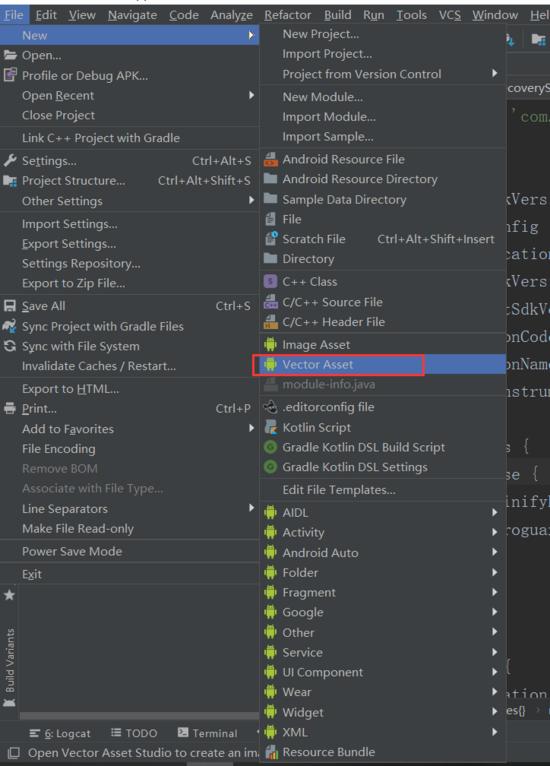
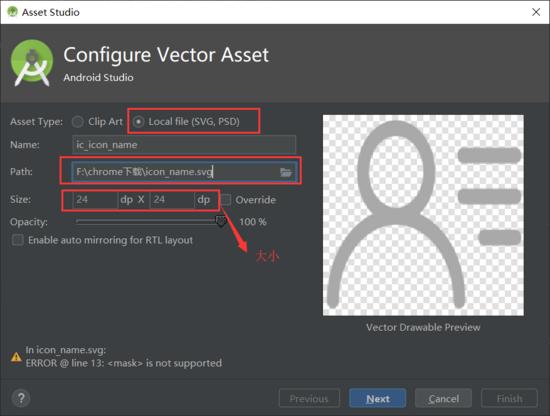
Andoid 本身是不支持直接导入svg文件的,所以我们需要将svg 文件进行转换一下。如下:
使用如下:
- <ImageView
- android:layout_marginTop="100dp"
- android:layout_gravity="center_horizontal"
- android:layout_centerInParent="true"
- android:src="@drawable/ic_icon_name"
- android:layout_width="wrap_content"
- android:layout_height="wrap_content"
- />
- 或者
- <ImageView
- android:layout_marginTop="100dp"
- android:layout_gravity="center_horizontal"
- android:layout_centerInParent="true"
- app:srcCompat="@drawable/ic_icon_name"
- android:layout_width="wrap_content"
- android:layout_height="wrap_content"
- />
icon状态区分使用 Tint 着色器
Tint着色器能够实现图片变色,利用Tint显示不同颜色的图片,在原本需要多张相同图片不同颜色的情况,能够减少apk的体积。
UI效果如下:
注意了,这是同一张图片的不同效果。
使用如下:
- 加上一行代码 android:tint="@color/colorAccent"
- <ImageView
- android:layout_marginTop="100dp"
- android:layout_gravity="center_horizontal"
- android:layout_centerInParent="true"
- android:src="@drawable/ic_icon_name"
- android:layout_width="wrap_content"
- android:layout_height="wrap_content"
- android:tint="@color/colorAccent"
- />
需要多套不同尺寸的icon时,使用 svg
Android studio 自带功能,可以自行配置需要的icon尺寸,打包时会自动生成对应尺寸的png 图片。
使用如下:
在app的build.graldle中的defaultConfig 标签下:
- defaultConfig {
- applicationId "com.example.apk"
- minSdkVersion 19
- targetSdkVersion 28
- versionCode 1
- versionName "1.0"
- testInstrumentationRunner "android.support.test.runner.AndroidJUnitRunner"
- //minSdkVersion 19 (5.0)
- vectorDrawables.generatedDensities('xhdpi','xxhdpi','xxxhdpi')
- //minSdkVersion > 19
- // vectorDrawables.useSupportLibrary = true
- }
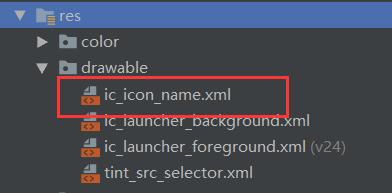
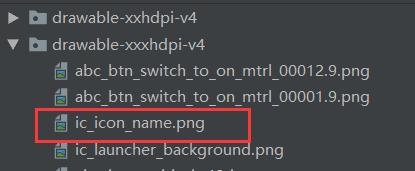
此时,drawable文件如下:
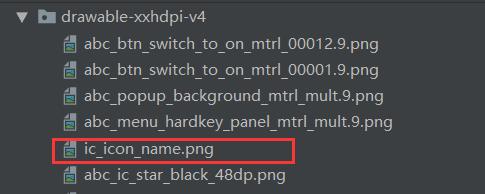
打包后如下:
以后APP内就只需要一套图就可解决多套图造成apk体积增大的问题了。
App内大图压缩,使用webp格式图片
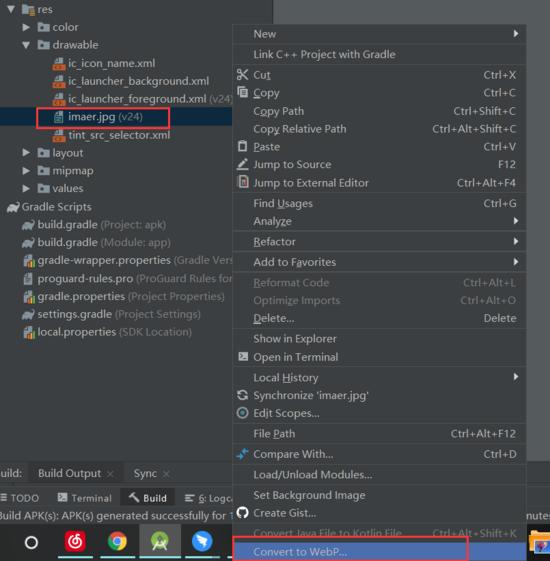
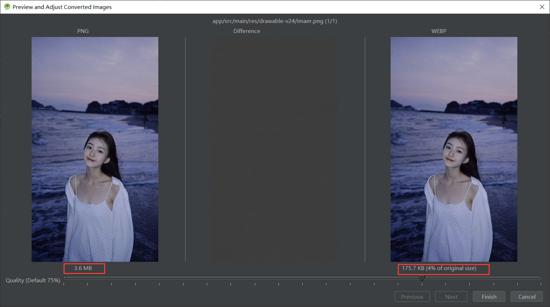
WebP格式,谷歌开发的一种旨在加快图片加载速度的图片格式。图片压缩体积大约只有JPEG的2/3,并能节省大量的服务器宽带资源和数据空间。
使用如下:
转化前后对比
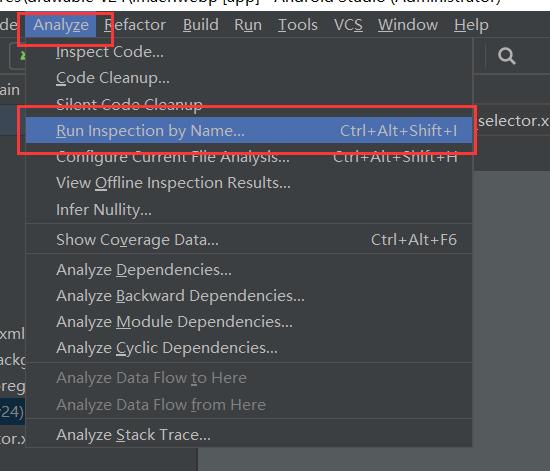
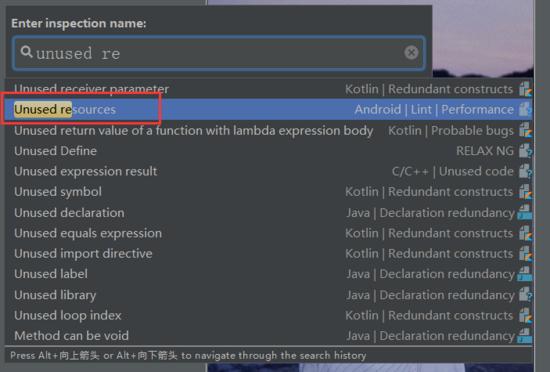
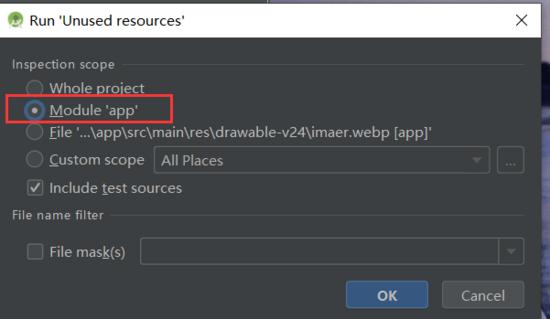
移除无用资源
- 一键移除 (不推荐)
- 一键移除未用到的资源,如果出现使用动态id加载资源会出现问题,而且这是物理删除,一旦删除将找不回了,所以能不用尽量别用,非要用请事先备份res文件。
使用如下:
- 使用 shrinkResources 进行移除,配合 //Zipalign优化
- 使用 shrinkResources 必须先开启代码混淆 minifyEnabled
使用如下:
- buildTypes {
- release {
- //开启代码混淆
- minifyEnabled true
- //Zipalign优化
- zipAlignEnabled true
- //移除无用的resource文件
- shrinkResources true
- proguardFiles getDefaultProguardFile('proguard-android-optimize.txt'), 'proguard-rules.pro'
- }
- }
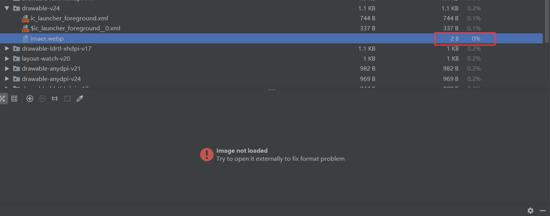
打包后效果如下:
虽然图片还存在. 但400多k的大小变成了2B。
资源打包设置
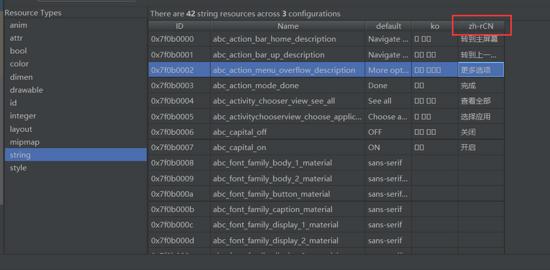
由于第三方库的引入,如appcompat-v7的引入库中包含了大量的国际化资源,可根据自身业务进行相应保留和删除。
原始包如下:
原始包中存在各国的语言,所以我们一般只需要保留中文即可,配置如下:
- defaultConfig {
- applicationId "com.zthx.xianglian"
- minSdkVersion 19
- targetSdkVersion 28
- versionCode 1
- versionName "1.0.0"
- testInstrumentationRunner "android.support.test.runner.AndroidJUnitRunner"
- //只保留指定和默认的资源
- resConfigs('zh-rCN','ko')
- }
配置后如下:
动态库打包配置
如果项目中包含第三方SDK或者直接使用了NDK,如果不进行配置会自动打包全cpu架构的动态库进入apk,而对于真机,只需要保留一个armeabi或者armeabi-v7a就可以了,所以可以进行一下配置。
- //配置so库架构(真机: arm ,模拟器 x86 )
- ndk {
- abiFilters "armeabi", "armeabi-v7a"
- }
开启代码混淆压缩
- buildTypes {
- release {
- //源代码混淆开启
- minifyEnabled true
- proguardFiles getDefaultProguardFile('proguard-android-optimize.txt'), 'proguard-rules.pro'
- }
- }
关于代码混淆配置,这里就不再多说,不了解的可以自行去网上了解一下。
至此,apk 极致优化八道步骤就结束了,如果你的apk没有进行过任何优化,那么这八道工序下来,目测你的apk体积至少缩减到一半,赶快去试试这神奇的优化吧。


