概述
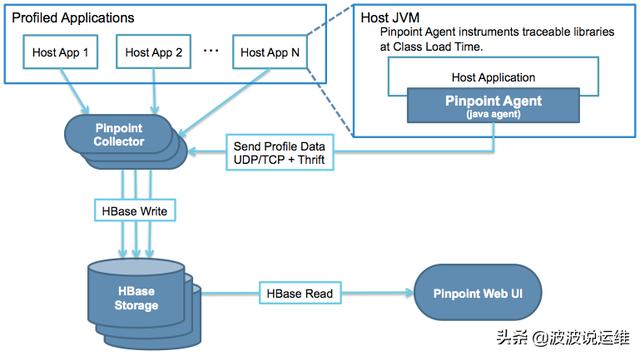
pinpoint是开源在github上的一款APM监控工具,它是用Java编写的,用于大规模分布式系统监控。它对性能的影响最小(只增加约3%资源利用率),安装agent是无侵入式的,只需要在被测试的Tomcat中加上3句话,打下探针,就可以监控整套程序了。今天主要是想记录一下它安装的过程,方便日后查阅。
环境配置
配置如下:

百度网盘:链接:https://pan.baidu.com/s/17l8nFR94Oy_OnfH7ST67ag
提取码:l851
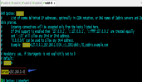
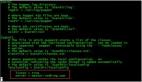
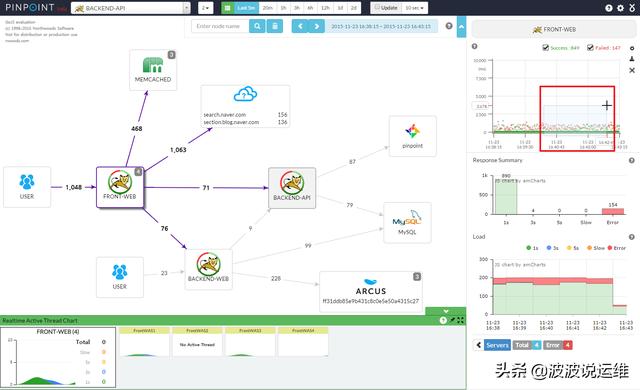
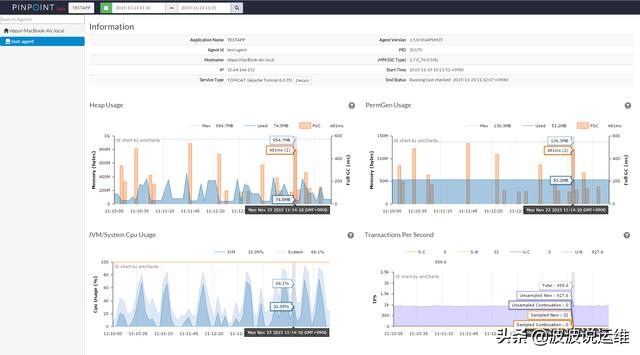
下面是官方的一些截图:
1、环境配置
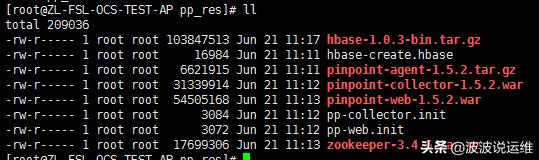
1.1 获取需要的依赖包
进入home目录,创建一个"pp_res"的资源目录,用来存放需要安装的包。
- mkdir /home/pp_res
- cd /home/pp_res/
使用xshell等类似的工具,将需要的文件上传到Linux虚拟机中,主要要传的文件都在百度网盘中。
- jdk8 --- Java运行环境
- hbase-1.0 --- 数据库,用来存储监控信息
- tomcat8 --- Web服务器
- pinpoint-collector.war --- pp的控制器
- pinpoint-web.war --- pp展示页面
- pp-collector.init --- 用来快速启动pp-col,不要也可以
- pp-web.init --- 用来快速启动pp-web,不要也可以
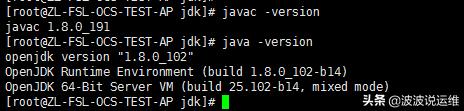
1.2 配置jdk1.8
这套APM系统主要是用jdk1.8来进行部署的,首先要配置jdk的环境变量。
#tar -xvf jdk-8u191-linux-x64.tar.gz –C /usr/local/jdk
#mv /usr/local/1.8.0_191 /usr/local/jdk
配置java环境变量
#vi /etc/profile
- JAVA_HOME=/usr/local/jdk
- JRE_HOME=$JAVA_HOME/jre
- PATH=$PATH:$JAVA_HOME/bin:$JRE_HOME/bin
- CLASSPATH=:$JAVA_HOME/lib/dt.jar:$JAVA_HOME/lib/tools.jar:$JRE_HOME/lib/dt.jar
- export JAVA_HOME JRE_HOME PATH CLASSPATH
- export PATH
让环境变量生效
- #source /etc/profile
测试java的环境变量是否配置好了。
- # java -version
2、安装Hbase
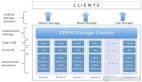
pinpoint收集来的测试数据,主要是存在Hbase数据库的。所以它可以收集大量的数据,可以进行更加详细的分析。
2.1 将Hbase解压,并且放入指定目录
- cd /home/pp_res/
- tar -zxvf hbase-1.0.3-bin.tar.gz
- mkdir -p /data/service
- mv hbase-1.0.3/ /data/service/hbase
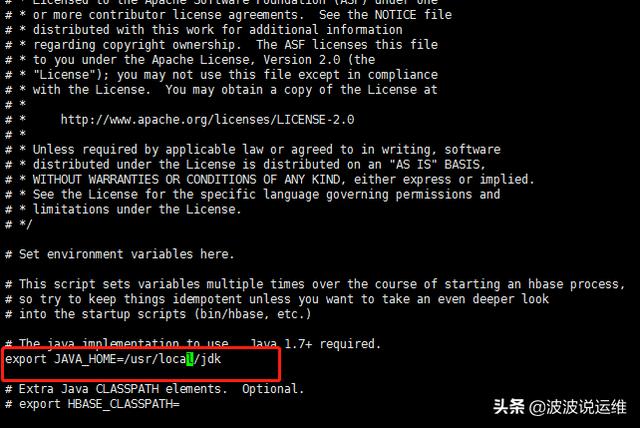
2.2 修改hbase-env.sh的JAVA_HOME环境变量位置
- cd /data/service/hbase/conf/
- vi hbase-env.sh
在27行左右的位置,修改如下:
- export JAVA_HOME=/usr/local/jdk
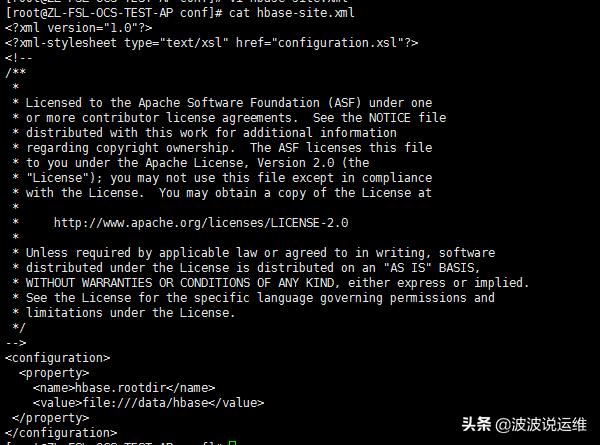
2.3 修改Hbase的配置信息
#vi hbase-site.xml
在结尾修改成如下,这里我们指定Hbase本地来存储数据,生产环境将数据建议存入HDFS中。
- <configuration>
- <property>
- <name>hbase.rootdir</name>
- <value>file:///data/hbase</value>
- </property>
- </configuration>
2.4 启动hbase
- cd /data/service/hbase/bin
- ./start-hbase.sh
查看Hbase是否启动成功,如果启动成功的会看到"HMaster"的进程。

2.5 初始化Hbase的pinpoint库
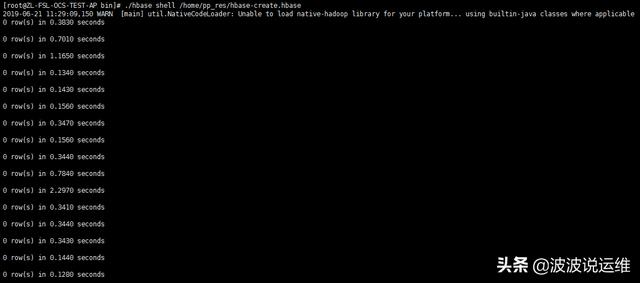
执行pinpoint提供的Hbase初始化语句,这时会初始化一会。
- ./hbase shell /home/pp_res/hbase-create.hbase
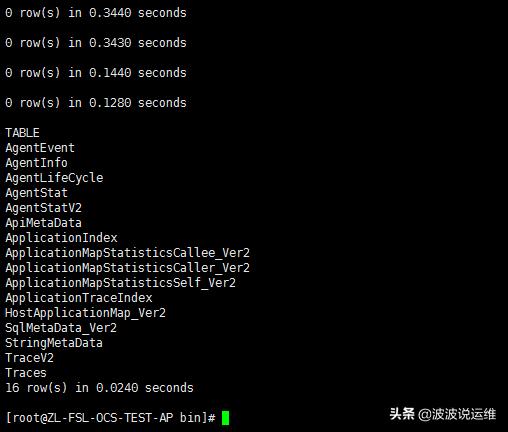
执行完了以后,进入Hbase。
- ./hbase shell

进入后可以看到Hbase的版本,还有一些相关的信息。
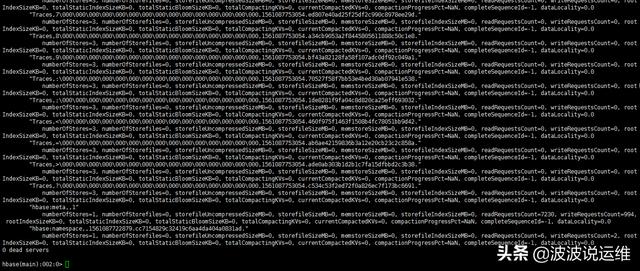
输入"status 'detailed'"可以查看刚才初始化的表,是否存在。
- hbase(main):001:0> status 'detailed'
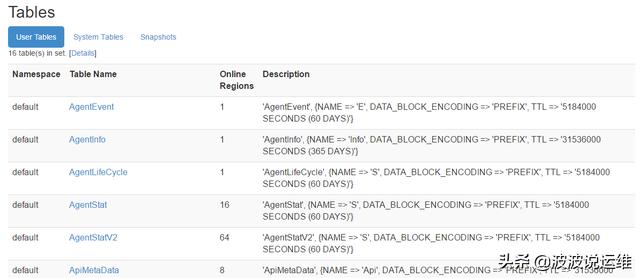
也可以登录web,来查看HBase的数据是否初始化成功。
- HbaseWeb : http://172.26.150.143:16010/master-status
3、 安装pinpoint-collector
3.1 部署war包
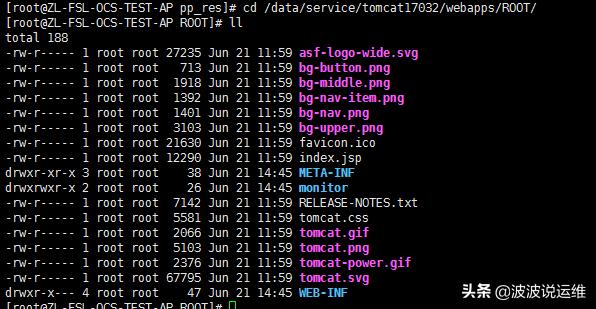
解压Tomcat,将Tomcat重命名移动到指定位置,这部分就不做介绍了,端口规划为17032。
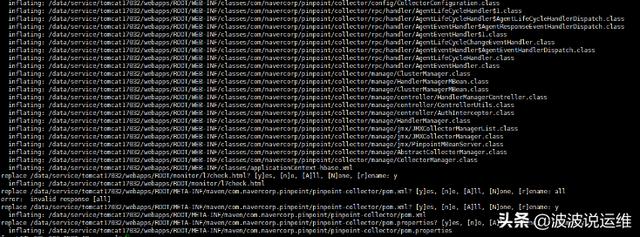
部署pinpoint-collector.war包:
- cd /home/pp_res/
- unzip pinpoint-collector-1.5.2.war -d /data/service/tomcat17032/webapps/ROOT
重启Tomcat:
- cd /data/service/tomcat17032/bin
- ./startup.sh

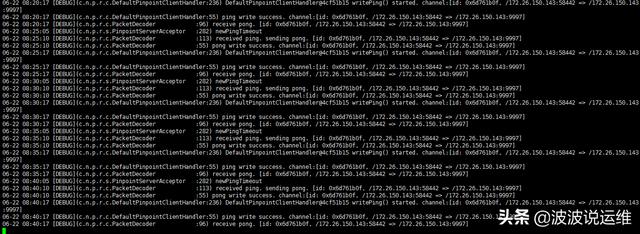
查看日志:
- tail -200f catalina.out
4、安装pinpoint-web
4.1 部署war包
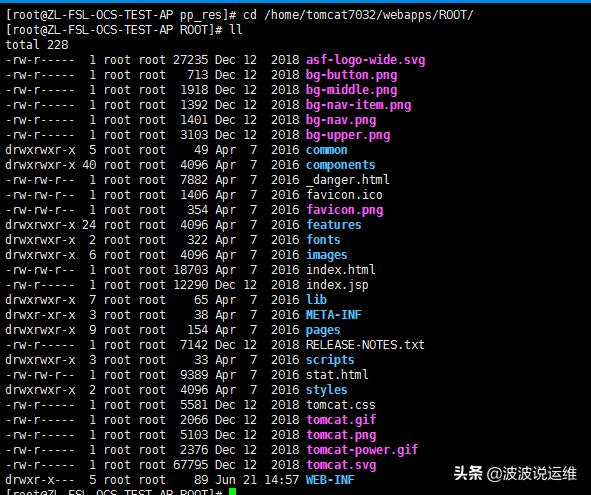
1)部署pinpoint-collector.war包
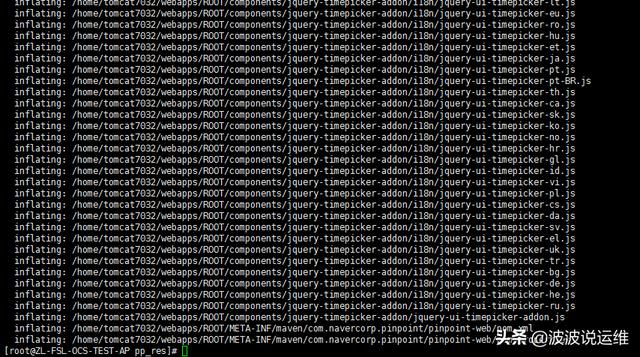
- cd /home/pp_res/
- unzip pinpoint-web-1.5.2.war -d /home/tomcat7032/webapps/ROOT
这里说明一下:
- hbase.properties 配置我们pp-web从哪个数据源获取采集数据,这里我们只指定Hbase的zookeeper地址。
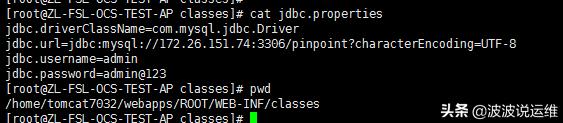
- jdbc.properties pp-web连接自身Mysql数据库的连接认证配置。
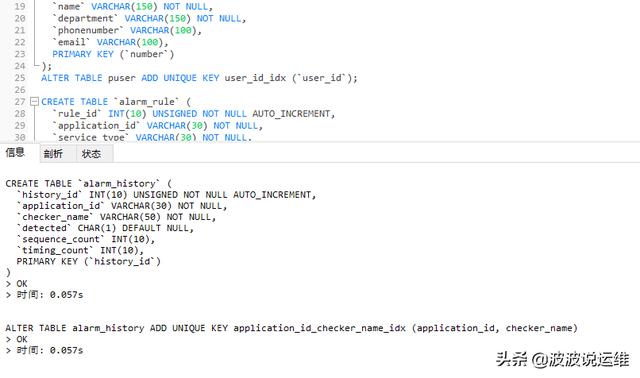
- sql目录 pp-web本身有些数据需要存放在MySQL数据库中,这里需要初始化一下表结构。
- pinpoint-web.properties 这里pp-web集群的配置文件,如果你需要pp-web集群的话。
- applicationContext-* .xml 这些文件在后续的调优工作中会用到。
- log4j.xml 日志相关配置。
2)启动Tomcat
- cd /home/tomcat7032/bin
- ./startup.sh
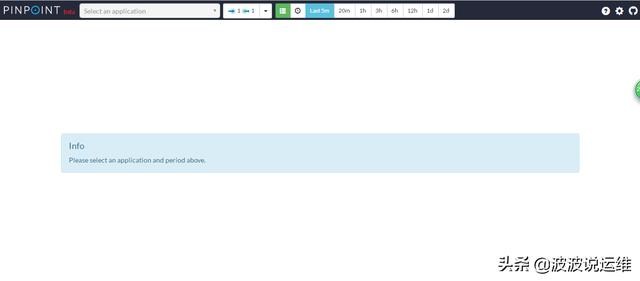
3)测试访问
在浏览器中输入"http://172.26.150.143:7032",就会出现主页面了。
4.2、配置mysql
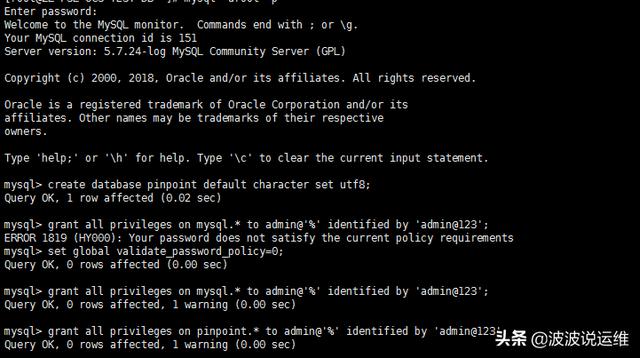
1)创建mysql
- create database pinpoint default character set utf8;
- grant all privileges on mysql.* to admin@'%' identified by 'admin@123';
- grant all privileges on pinpoint.* to admin@'%' identified by 'admin@123';
2)导入数据

3)修改配置文件
5、部署pp-agent采集监控数据
5.1 在测试系统中,部署pp-agent采集监控数据
部署采集器就很简单了,只需要加3句话就好了。我这边做一个测试的Tomcat,来模拟部署。
首先,先建立一个文件夹,放测试需要的包
- mkdir /home/pp_test
- cd /home/pp_test

5.2 配置pp-agent采集器
1)解压pp-agent
- cd /home/pp_test
- tar -xvf pinpoint-agent-1.5.2.tar.gz -C /data
- mv /data/pinpoint-agent-1.5.2/ /data/pp-agent
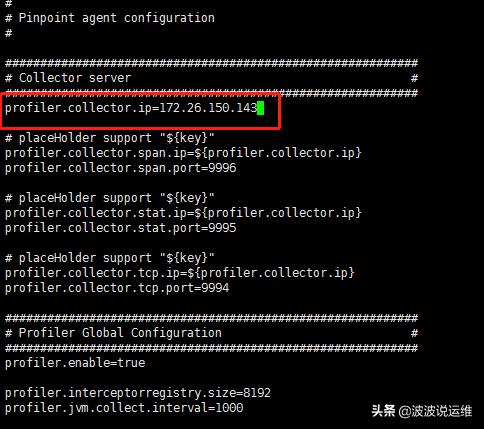
2)编辑配置文件
- vi /data/pp-agent/pinpoint.config
#主要修改IP,只需要指定到安装pp-col的IP就行了,安装pp-col启动后,自动就开启了9994,9995,9996的端口了。这里就不需要操心了,如果有端口需求,要去pp-col的配置文件("pp-col/webapps/ROOT/WEB-INF/classes/pinpoint-collector.properties")中,修改这些端口
- profiler.collector.ip=172.26.150.143
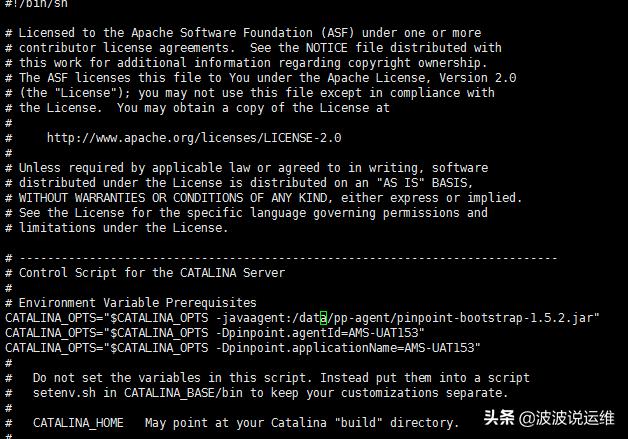
3)修改测试项目下的tomcat启动文件"catalina.sh",修改这个只要是为了监控测试环境的Tomcat,增加探针
- vi /home/tomcat7030/bin/catalina.sh
在20行增加如下字段
***行是pp-agent的jar包位置
第二行是agent的ID,这个ID是***的,我是用pp + 今天的日期命名的,只要与其他的项目的ID不重复就好了。
第三行是采集项目的名字,这个名字可以随便取,只要各个项目不重复就好了。
- CATALINA_OPTS="$CATALINA_OPTS -javaagent:/data/pp-agent/pinpoint-bootstrap-1.5.2.jar"
- CATALINA_OPTS="$CATALINA_OPTS -Dpinpoint.agentId=AMS-UAT153"
- CATALINA_OPTS="$CATALINA_OPTS -Dpinpoint.applicationName=AMS-UAT153"
5.4 监控Tomcat
配置好了。就可以开始监控了,启动测试用的Tomcat的服务器。
- cd /home/tomcat7030/bin
- ./startup.sh

查看启动日志,确实Tomcat启动。
- tail -f ../logs/catalina.out
启动了,我们就可以访问测试环境了。
这时候在访问pp-web,可以发现它的下拉框中,多了一个app(而且pp-agent监控的日志在pp-col的日志也会对应显示)。
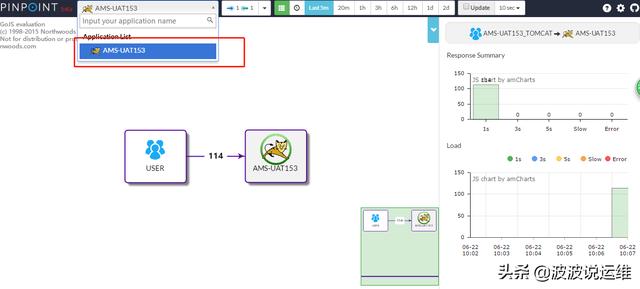
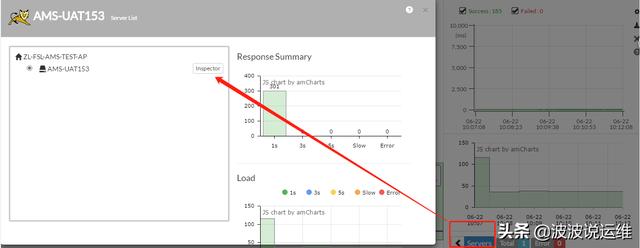
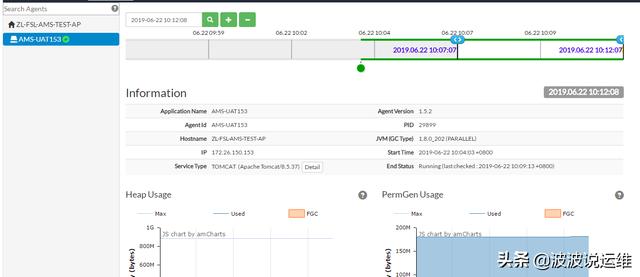
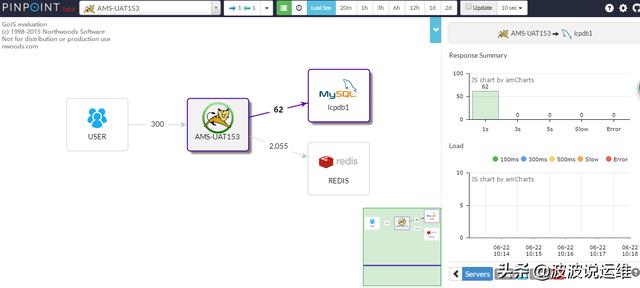
具体请求:
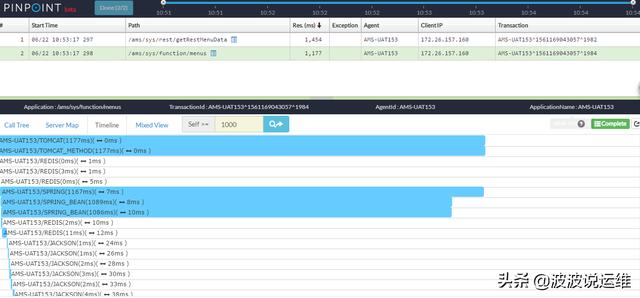
总结
到这里,整个部署过程就完了。值得要注意的地方:
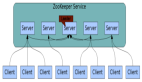
如果Hbase不是与pp-web, pp-col装在一台机器上,需要安装zookeeper,只要安装就好,确实2181端口启动就好。
如果zookeeper安装在独立机器上,这里需要修改一下pp-colletor 和 pp-web的配置文件pinpoint-collector.properties,pinpoint-web.properties,不然会导致俩个模块启动失败。
Collector在 agent Jvm 高并发环境下,只能最多进行1对3的收集。