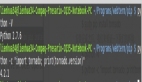
参考文档http://liftoff.github.io/GateOne/Developer/embedding.html
从https://github.com/liftoff/GateOne下载的Gate One源代码中,在gateone/tests/hello_embedded中有关于如何将Gate One嵌入我们应用的指导说明。本篇随笔就是根据该指导进行处理,然后写的笔记。
首先先使用一个div来存放我们的Gateone,如下所示,
<div id="gateone_container" style="position: relative; width: 60em; height: 30em;">
    <div id="gateone"></div>
</div>
然后我们将Gate One源码中的gateone.js拷贝到我们web应用中,然后在我们的html中引入进来。或者直接使用使用Gate One服务上的gateone.js,如下所示,
<script src="https://127.0.0.1/static/gateone.js"></script>
***调用GateOne.init()将我们Gate One嵌入我们的Web应用。
一个简单的示例代码和效果图如下所示,
<!DOCTYPE html>
<html lang="en">
  <head>
    <meta http-equiv="content-type" content="text/html; charset=UTF-8" />
    <title>Basic Embedding Gate One</title>
    <script src="../static/gateone.js"></script>
    <script>
      window.onload = function() {
          // Initialize Gate One:
          GateOne.init({url: 'https://127.0.0.1'});
      }
    </script>
  </head>
  <body>
<div>Hello lienhua34</div>
<!-- Decide where you want to put Gate One -->
    <div id="gateone_container" style="position: relative; width: 60em; height: 30em;">
        <div id="gateone"></div>
    </div>
  </body>
</html>

调用GateOne.init()方法不只可以传递Gate One服务的URL,我们可以传递其他的参数来自定义嵌入的GateOne服务内容。例如,theme用于设置Gate One的主题,style用于自定义Gate One的样式。我们在上面的基本应用代码中修改GateOne.init()方法的调用参数如下,
GateOne.init({
    url: 'https://127.0.0.1',
    embedded: true,
    // Let's apply some custom styles while we're at it ...
    style: { 'background-color': 'yellowgreen', 'box-shadow': '0 0 40px blueViolet'}
});
然后访问我们的应用得到如下效果,
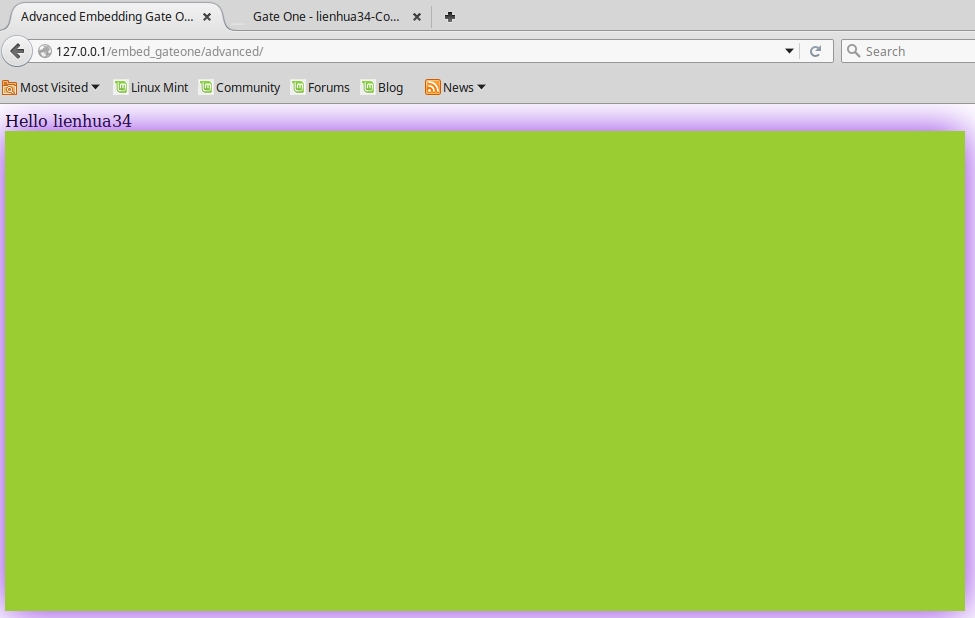
我们看到嵌入的Gate One背景色变成了绿色,说明我们传递的style样式生效了。但是,等等。。。
我们发现一个很大的问题,嵌入的Gate One没有了之前打开Terminal的按钮,于是我们根本无法使用Gate One的网页Terminal功能了。这个是embedded参数的作用!当将embedded参数设置成true,表示只将Gate One初始化到页面中而不让Gate One做任何事情。于是,我们需要通过代码显示得让Gate One做事情,例如我们通过一个按钮来让Gate One打开一个Terminal,代码如下所示,
<form id="add_terminal">
     <input type="submit" value="Add a Terminal" style="margin-left: .Sem;"></input>
</form>
<script>
      document.querySelector('#add_terminal').onsubmit = function(e) {
          // Don't actually submit the form
          e.preventDefault();
          var existingContainer = GateOne.Utils.getNode('#'+GateOne.prefs.prefix+'container');
          var container = GateOne.Utils.createElement('div', {
                 'id': 'container', 'class': 'terminal', 'style': {'height': '100%', 'width': '100%'}
          });
          var gateone = GateOne.Utils.getNode('#gateone');
          if (!existingContainer) {
             gateone.appendChild(container);
          } else {
             container = existingContainer;
          }
          // Create the new terminal
          termNum = GateOne.Terminal.newTerminal(null, null, container);
      }
</script>
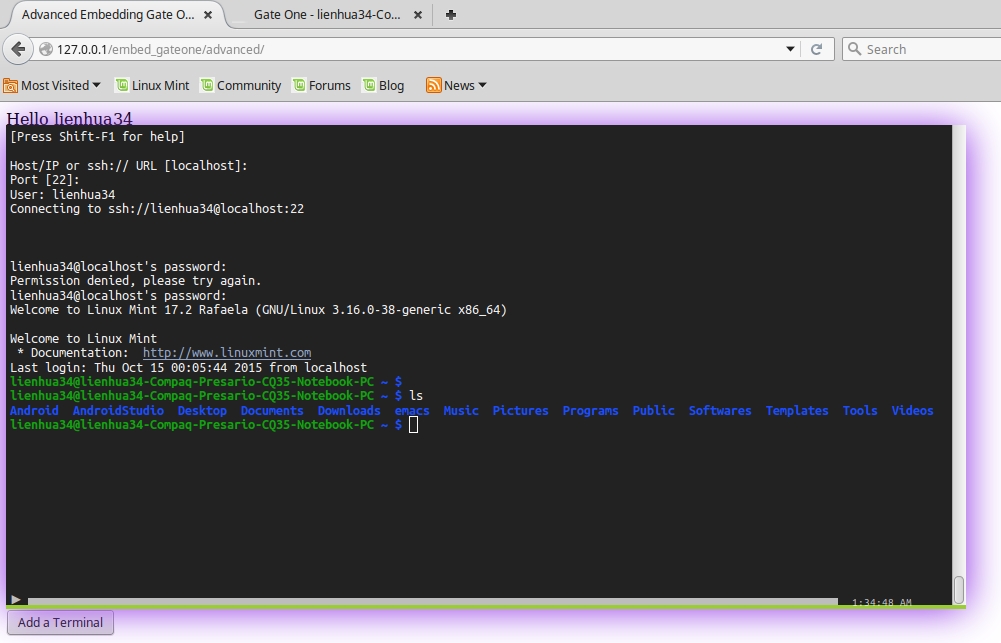
此时我们便可以通过点击”Add a terminal“按钮来新建一个Terminal,效果如下图所示,
GateOne.init()方法可以提供一个回调函数,该回调函数会在Gate One初始化完成之后自动调用。于是,我们可以在该回调函数中自动创建一个Terminal。其JavaScript代码如下,
在创建新Terminal的方法newTerminal中使用到了GateOne.Base.superSandbox()。该方法用于包装任何代码,而该代码会一直等待到其所有依赖被加载完毕才会执行。上面代码创建新Terminal的实际代码会等待GateOne.Terminal和GateOne.Terminal.Input加载完毕才会执行。