一、DiscreteDoubleKeyFrame
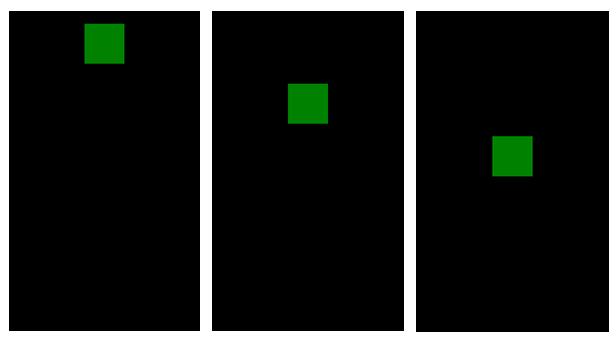
离散型关键帧动画,重点,我们理解一下“离散”的意思,其实你查一下《新华字典》,“离”和“散”的意思相近。我们可以这样解释:每个关键帧之间是直接过渡,其间不经过动画插补。似乎这样理解有点苦涩难懂,所以,我们还是从实例入手。
请参考以下XAML代码写一个示例:
- <Grid Loaded="OnGridLoaded">
- <Rectangle Width="100" Height="100" Fill="Green" VerticalAlignment="Top">
- <Rectangle.RenderTransform>
- <TranslateTransform x:Name="trm"/>
- </Rectangle.RenderTransform>
- </Rectangle>
- <Grid.Resources>
- <Storyboard x:Name="std">
- <DoubleAnimationUsingKeyFrames Duration="0:0:5" RepeatBehavior="15"
- Storyboard.TargetName="trm"
- Storyboard.TargetProperty="Y">
- <DiscreteDoubleKeyFrame KeyTime="0:0:2" Value="150"/>
- <DiscreteDoubleKeyFrame KeyTime="0:0:3" Value="280"/>
- <DiscreteDoubleKeyFrame KeyTime="0:0:5" Value="380"/>
- </DoubleAnimationUsingKeyFrames>
- </Storyboard>
- </Grid.Resources>
- </Grid>
在后台的C#代码中,千万不要记了启动动画,等下运行后发现动不了就麻烦了。
- private void OnGridLoaded(object sender, RoutedEventArgs e)
- {
- this.std.Begin();
- }
然后你可以运行了,注意认真观察动画的演变过程。
不知道你观察到了什么?你是否发现,矩形向下运动的过程是直接跳跃式的,每个关键之间没有创建过渡效果,而且直接跳到对应值。
二、DiscreteColorKeyFrame
这也是一个离散型关键帧动画,从名字上我们知道,它是针对颜色进行动画处理的。还是看例子吧。
请参考下面XAML代码写一个测试程序:
- <Grid Loaded="OnGridLoaded">
- <Ellipse Width="250" Height="250">
- <Ellipse.Fill>
- <SolidColorBrush x:Name="brush" Color="Blue"/>
- </Ellipse.Fill>
- </Ellipse>
- <Grid.Resources>
- <Storyboard x:Name="std">
- <ColorAnimationUsingKeyFrames Duration="0:0:8"
- RepeatBehavior="20"
- Storyboard.TargetName="brush"
- Storyboard.TargetProperty="Color">
- <DiscreteColorKeyFrame KeyTime="0:0:2" Value="Yellow"/>
- <DiscreteColorKeyFrame KeyTime="0:0:5" Value="Gray"/>
- <DiscreteColorKeyFrame KeyTime="0:0:7" Value="Red"/>
- </ColorAnimationUsingKeyFrames>
- </Storyboard>
- </Grid.Resources>
- </Grid>
后台代码就不帖了,都懂得写什么了。
然后运行一下,查看效果。
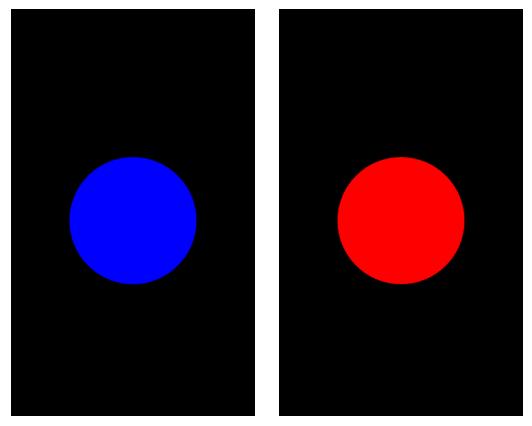
从效果中可以看到,颜色的改变是没有平滑的过渡效果的,而是当时间线的播放时间到了关键帧所在的位置时,颜色是直接改变的。
三、LinearColorKeyFrame
线性颜色的关键帧与离散型动画相反,每个关键帧之间都创建平滑的过渡效果,让人看起来有连续感。
请参考以下XAML代码写一个测试程序。
- <Grid Loaded="onGridLoaded">
- <Ellipse Width="300" Height="300" >
- <Ellipse.Fill>
- <RadialGradientBrush x:Name="rdGradientBrush" Center="0.5, 0.5"
- RadiusX="0.5" RadiusY="0.5">
- <GradientStop Color="LightGreen" Offset="0"/>
- <GradientStop Color="DarkGreen" Offset="1"/>
- </RadialGradientBrush>
- </Ellipse.Fill>
- </Ellipse>
- <Grid.Resources>
- <Storyboard x:Name="std">
- <ColorAnimationUsingKeyFrames Duration="0:0:6"
- RepeatBehavior="Forever"
- Storyboard.TargetName="rdGradientBrush"
- Storyboard.TargetProperty="(RadialGradientBrush.GradientStops)[0].(GradientStop.Color)">
- <LinearColorKeyFrame KeyTime="0:0:1" Value="Orange"/>
- <LinearColorKeyFrame KeyTime="0:0:3" Value="White"/>
- <LinearColorKeyFrame KeyTime="0:0:6" Value="Pink"/>
- </ColorAnimationUsingKeyFrames>
- <ColorAnimationUsingKeyFrames Duration="0:0:6"
- RepeatBehavior="Forever"
- Storyboard.TargetName="rdGradientBrush"
- Storyboard.TargetProperty="(RadialGradientBrush.GradientStops)[1].(GradientStop.Color)">
- <LinearColorKeyFrame KeyTime="0:0:3" Value="Yellow"/>
- <LinearColorKeyFrame KeyTime="0:0:6" Value="Violet"/>
- <LinearColorKeyFrame KeyTime="0:0:7" Value="SeaGreen"/>
- </ColorAnimationUsingKeyFrames>
- </Storyboard>
- </Grid.Resources>
- </Grid>
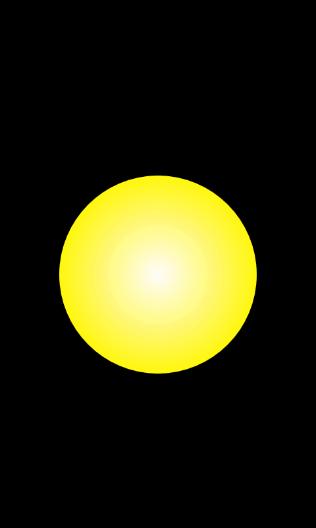
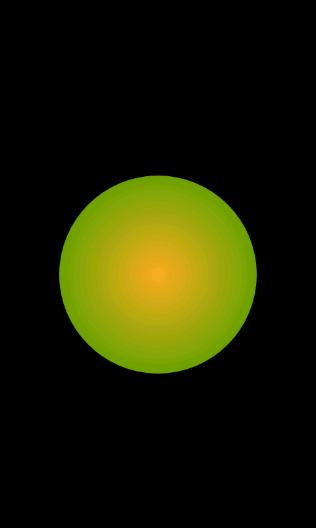
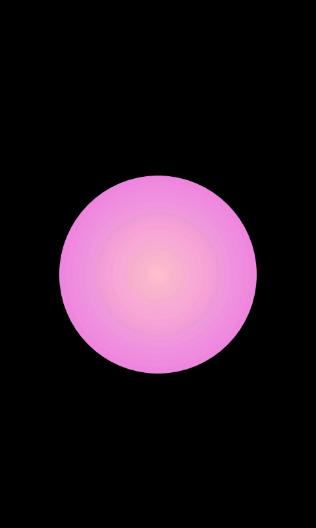
页面上的正圆是使用径向渐变填充的,渐变颜色点有两个,我们分别对这两个渐变点的颜色进行线性动画处理,这样就会做出很漂亮的效果,如下面图片所示。


