本文翻译自官网。原文见:http://www.playframework.org/documentation/1.1.1/firstapp
Play是一个Rails风格的Java Web框架。先上官网的Hello World,感觉下。运行环境,我换成了Windows ^_^
准备
安装 Java 5 以上版本及Play。安装指导见:http://www.playframework.org/documentation/1.1.1/install
项目创建
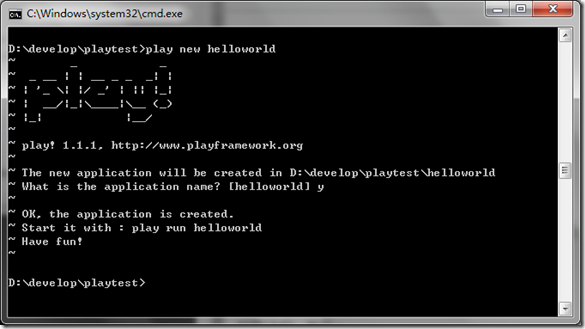
打开CMD,执行:
play new helloworld
Play new 命令在当前路径下创建了一个helloworld目录,其中包含一系列文件和目录,重要的如下:
app/ 包含应用核心,分为models,controllers和views目录。.java生活的地方^_^
conf/包含应用的所有配置。application.conf应用主配置.routes定义url路由规则,messages国际化用。
lib/ 包含应用依赖的标准.jar文件。
public/包含所有外部可访问的资源:js,css和image。
test/包含所有应用的测试程序。测试程序基于JUnit或Selenium。
注:Play要求所有文件必须是UTF-8编码。
等等应用的.class文件在哪儿。恩,Play不使用class文件而是直接读取Java源文件,并使用Eclipse compiler编译他们。
这导致两件重要的事情。首先运行时Play会检查你对源文件所作的变更并自动加载它们。其次,当发生异常时,Play将创建更好的错误报告并附加相关代码。
运行应用
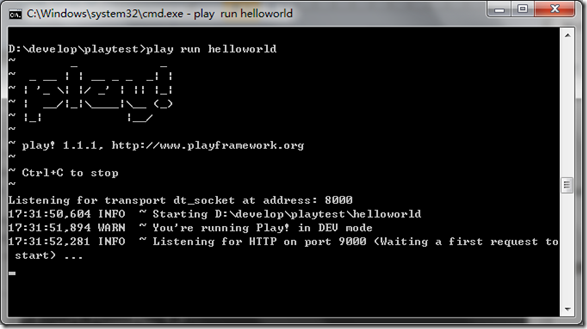
在cmd中键入play run helloworld,play启动Web Server并监听9000端口
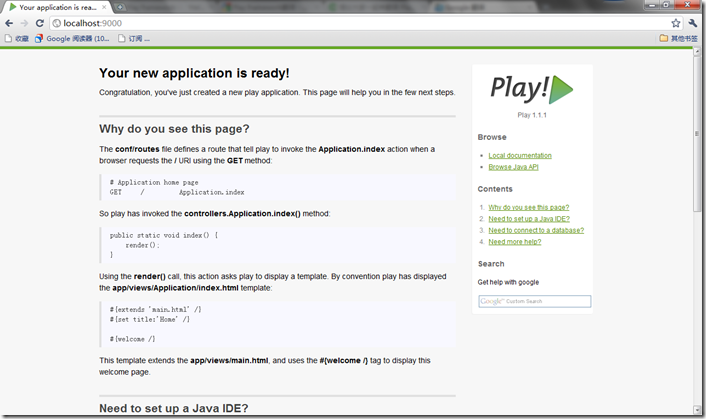
打开浏览器键入http://localhost:9000,应用显示了一个缺省的欢迎页
现在,看下此页是如何显示的。
应用的主入口点配置在conf/routes文件中。它定义了应用所有可访问的URL。打开routes文件,会看到***个route:
GET / Application.index
它告诉Play,当/路径收到GET请求后调用Application.indexJava方法。它是controllers.Application.index的缩写,因为controllers包是隐式的附加的。
创建标准Java应用时,通常使用一个入口点即main方法。Play应用则有多个,一个URL一个。这些方法称为action方法。定义action方法的类称为controller。
打开helloworld/app/controllers/Application.java:
- package controllers;
- import play.*;
- import play.mvc.*;
- import java.util.*;
- import models.*;
- public class Application extends Controller {
- public static void index() {
- render();
- }
- }
看到Application扩展了play.mvcController类。它提供了所有Controller需要使用的方法,如index动作中使用的render方法。
index方法定义成public static void,因为Controller永远无需实例化和返回值。(译注:为了防止被使用者引入状态,并让Controller自然、干净而如此设计。但副作用是render只能通过throw扔出结果,用异常当GOTO,可谓兵行诡道)。
缺省的index动作调用render方法,通知Play渲染一个模板。模板是app/views目录下一个简单的text文件。此处使用Application/index.html
打开helloworld/app/views/Application/index.html文件:
- #{extends 'main.html' /}
- #{set title:'Home' /}
- #{welcome /}
其中的内容是Play tag,类似JSP taglib.#{welcome/}tag生成了之前看到的欢迎消息。#{extends/}tags告诉Play此模板集成另一个main.html的模板.模板继承可用来创建复杂的web也并重用公共部分。
打开helloworld/app/views/main.html模板
- <!DOCTYPE html>
- <html>
- <head>
- <title>#{get 'title' /}</title>
- <meta http-equiv="Content-Type" content="text/html; charset=utf-8">
- <link rel="stylesheet" type="text/css" media="screen" href="@{'/public/stylesheets/main.css'}">
- #{get 'moreStyles' /}
- <link rel="shortcut icon" type="image/png" href="@{'/public/images/favicon.png'}">
- <script src="@{'/public/javascripts/jquery-1.4.2.min.js'}" type="text/javascript" charset="utf-8"></script>
- #{get 'moreScripts' /}
- </head>
- <body>
- #{doLayout /}
- </body>
- </html>
看到#{doLayout/}tag吗?是Application/index.html插入的位置。
#p#
创建FORM
编辑helloworld/app/views/Application/index.html模板
- #{extends 'main.html' /}
- #{set title:'Home' /}
- <form action="@{Application.sayHello()}" method="GET">
- <input type="text" name="myName" />
- <input type="submit" value="Say hello!" />
- </form>
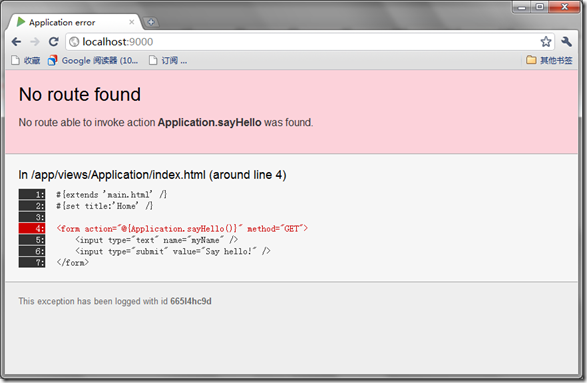
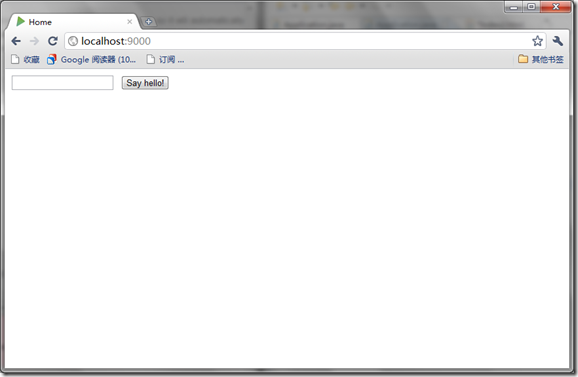
我们使用@{…}符号请求Play自动产生调用Application.sayHello动作的方法。刷新浏览器。
Oops,出错了。因为引用了一个不存在的动作。需要在helloworld/app/controllers/Application.java中创建:
- package controllers;
- import play.mvc.*;
- public class Application extends Controller {
- public static void index() {
- render();
- }
- public static void sayHello(String myName){
- render(myName);
- }
- }
我们声明了myName参数,它会自动映射到form提交的HTTP请求的myName参数。刷新浏览器。
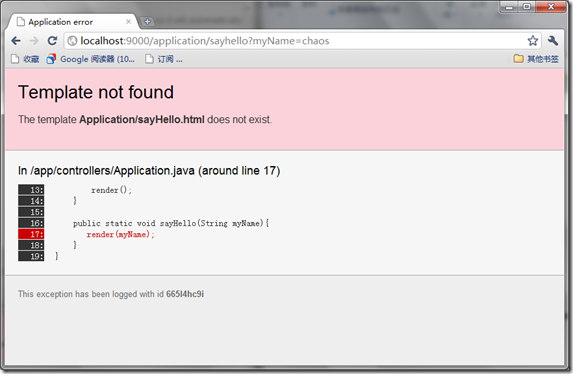
输入name提交,出现另一个错误.
因为Play渲染此动作的缺省模板时,没有找到它。我们创建文件helloworld/app/views/Application/sayHello.html
- #{extends 'main.html' /}
- #{set title:'Home' /}
- <h1>Hello ${myName ?: 'guest'}!</h1>
- <a href="@{Application.index()}">Back to form</a>
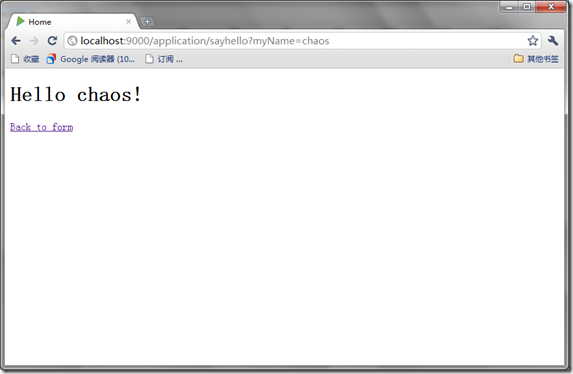
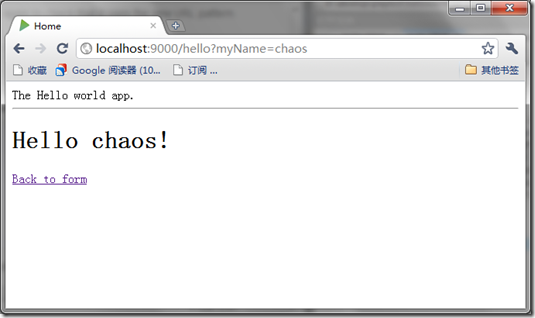
然后刷新:
提供更好的URL
看下提交的url:
http://localhost:9000/application/sayhello?myName=chaos
它不够RESTful。因为Play通过缺省规则捕获了此URL
* /{controller}/{action} {controller}.{action}
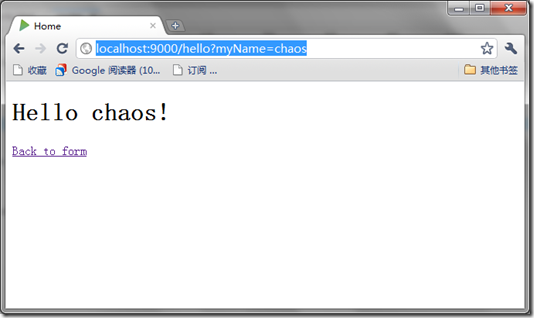
可以编辑helloworld/conf/routes文件在缺省规则前添加一条规则,提供更自然的hello url
GET /hello Application.sayHello
#p#
自定义布局
可以修改模板更改布局。编辑helloworld/app/views/main.html文件:
添加验证
给form添加一个验证,要求name字段必填。我们通过Play validation实现。编辑helloworld/app/controllers/Application.java,在sayHello action处:
- public static void sayHello(@Required String myName) {
- if (validation.hasErrors()) {
- flash.error("Oops, please enter your name!");
- index();
- }
- render(myName);
- }
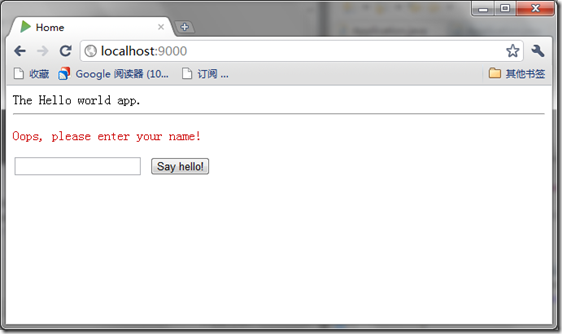
并import play.data.validation.*。@Required告诉Play自动检查myName字段是否填写。如果验证失败,我们加入一条消息到flash scope中并重定向到index动作。flash scope允许在重定向时保持消息。
编辑helloworld/app/views/Application/index.html显示错误消息
- #{extends 'main.html' /}
- #{set title:'Home' /}
- #{if flash.error}
- <p style="color:#c00">
- ${flash.error}
- </p>
- #{/if}
- <form action="@{Application.sayHello()}" method="GET">
- <input type="text" name="myName" />
- <input type="submit" value="Say hello!" />
- </form>
输入空参数并提交,OK起作用了。
自动化测试
Selenium Test
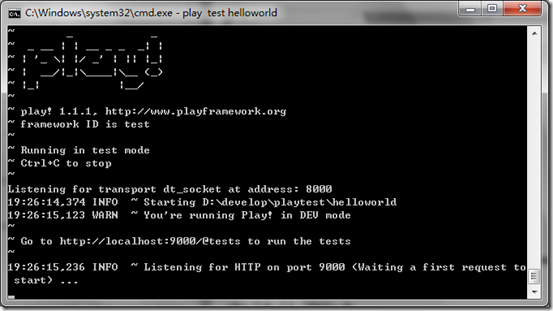
在测试模式下运行应用。在cmd中输入play test helloworld。
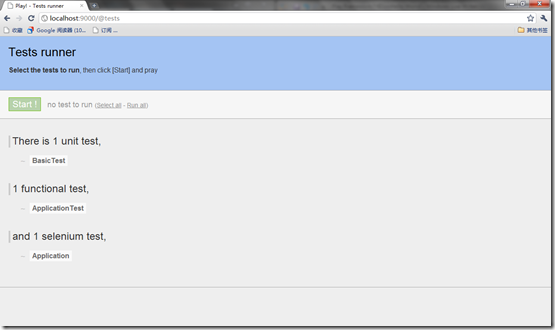
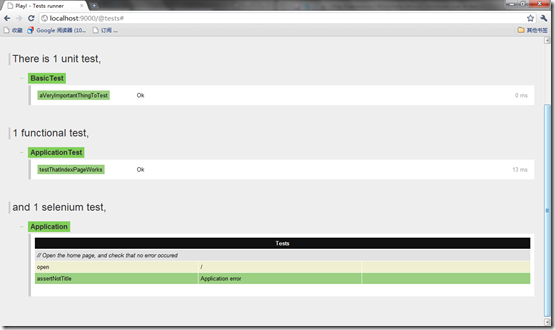
打开浏览器,输入http://localhost:9000/@tests启动测试器。
执行测试
Selenium测试用例通常写成一个html文件。Play使用Play模板引擎生成这些文件。helloworld/test/Application.test.html文件:
- *{ You can use plain selenium command using the selenium tag }*
- #{selenium}
- // Open the home page, and check that no error occured
- open('/')
- assertNotTitle('Application error')
- #{/selenium}
此测试打开home页,确认响应中没有“Application error”。
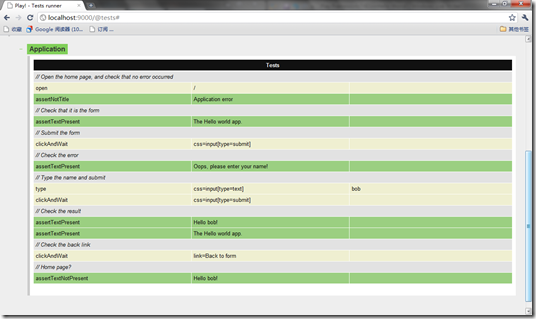
让我们来编写自己的测试。编辑测试内容:
- *{ You can use plain selenium command using the selenium tag }*
- #{selenium}
- // Open the home page, and check that no error occurred
- open('/')
- assertNotTitle('Application error')
- // Check that it is the form
- assertTextPresent('The Hello world app.')
- // Submit the form
- clickAndWait('css=input[type=submit]')
- // Check the error
- assertTextPresent('Oops, please enter your name!')
- // Type the name and submit
- type('css=input[type=text]', 'bob')
- clickAndWait('css=input[type=submit]')
- // Check the result
- assertTextPresent('Hello bob!')
- assertTextPresent('The Hello world app.')
- // Check the back link
- clickAndWait('link=Back to form')
- // Home page?
- assertTextNotPresent('Hello bob!')
- #{/selenium}
重新执行
原文链接:http://www.cnblogs.com/Chaos/archive/2011/04/16/2018361.html
【编辑推荐】


