对于Silverlight大家并不陌生,但是对于如何在Silverlight3中实现按路径运动,还是值得大家注意的。希望看过本文对大家有所帮助。
这几天需要给终端机做个一组Logo沿圆形轨迹转动效果, 直接用Winform实现太卡(通过不断绘图方式), 考虑到SL3可以脱机运行, 就用它来实现.
网上也找了很多教程, 发现没有较好的方法, ***自己"研究"出一种可行的方法, 供大家讨论:
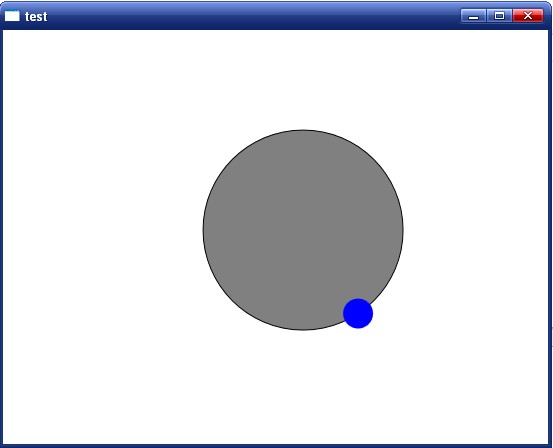
1.运行效果:

- Code
- <Window x:Class="SLTest.test"
xmlns="http://schemas.microsoft.com/winfx/2006/xaml/presentation" xmlns:x="http://schemas.microsoft.com/winfx/2006/xaml" Title="test" Height="600" Width="800"> <Window.Resources> <Storyboard x:Key="Storyboard1"> <PointAnimationUsingPath Storyboard.TargetName="MyAnimatedEllipseGeometry" Storyboard.TargetProperty="Center" Duration="0:0:5" RepeatBehavior="Forever"> <PointAnimationUsingPath.PathGeometry> <PathGeometry Figures="M 299.9 300 A 100,100 360 1 1 300.1,300 Z"/> </PointAnimationUsingPath.PathGeometry> </PointAnimationUsingPath> </Storyboard> </Window.Resources> <Window.Triggers> <EventTrigger RoutedEvent="FrameworkElement.Loaded"> <BeginStoryboard Storyboard="{StaticResource Storyboard1}"/> </EventTrigger> </Window.Triggers> <Grid> <Path x:Name="pt" Stroke="Black" Fill="Gray" Data="M 299.9 300 A 100,100 360 1 1 300.1,300 Z" /> <Path Fill="Blue"> <Path.Data> <EllipseGeometry x:Name="MyAnimatedEllipseGeometry" Center="300,300" RadiusX="15" RadiusY="15" /> </Path.Data> </Path> </Grid> </Window>
相信大家都能看得懂代码的意思, 这里由于时间原因(马上要下班走人了)我就不多啰嗦了, 大家有什么好的方案也欢迎一同讨论.
原文标题:Silverlight3实现按路径运动[原创]
链接:http://www.cnblogs.com/yimi329/archive/2009/11/17/1604822.html


